


6.4. Modify the date and time
This window allows to de sync the analyser time and the computer time.
“KIGAZ settings”
window is open on
“Date / Hour”
or click on the button.
➢
Click on the button to adjust analyser time to computer time.
6.5. Sensors state
This window allows to access the sensors features of the connected analyser.
“KIGAZ settings”
window is open on
“Sensors”
or click on the button.
➢
The displayed features are:
•
Type of sensor (CO, NO,...)
•
State of sensor (connected, not connected...)
•
Serial number of the sensor
6.6. Set printings
This window allow to enter the 4 header lines of the ticket printed by the analyser.
“KIGAZ settings”
window is open on
“Printing”
or click on the button.
➢
Enter the required text in
“Header line 1, 2, 3 and 4”
lines.
➢
Click on the button to send modifications to the analyser.
6.7. Battery level
This window allows to see the battery level of the analysis. The analyser must be turned on and on battery.
“KIGAZ settings”
window is open on
“Battery level”
or click on the button.
The software displays the battery level.
6.8. Access to information about the instrument and update the instrument
6.8.1. Access to information about the instrument
“KIGAZ settings”
window is open on
“Information”
or click on the button.
The following information is displayed:
•
Product code: ex: KIGAZ 310
•
Serial number: ex: 00.01.2057
•
Firmware version: ex: 0.92
•
Build: ex: 1247
It is possible to give an inventory number to the device (number selected and given by the user):
➢
Click on
“Inventory number”
field and enter the desired number.
6.8.2. Update the device
It is possible to update the firmware of the analyser, it means the internal software that allows to the analyser to work properly. It is also
possible to install a 3
rd
language.
➢
Click on
KIGAZ
menu then go to
Settings
and click on
Information,
or click on the tool
bar button then on the button.
The
“KIGAZ settings”
window is displayed.
➢
Click on the
button.
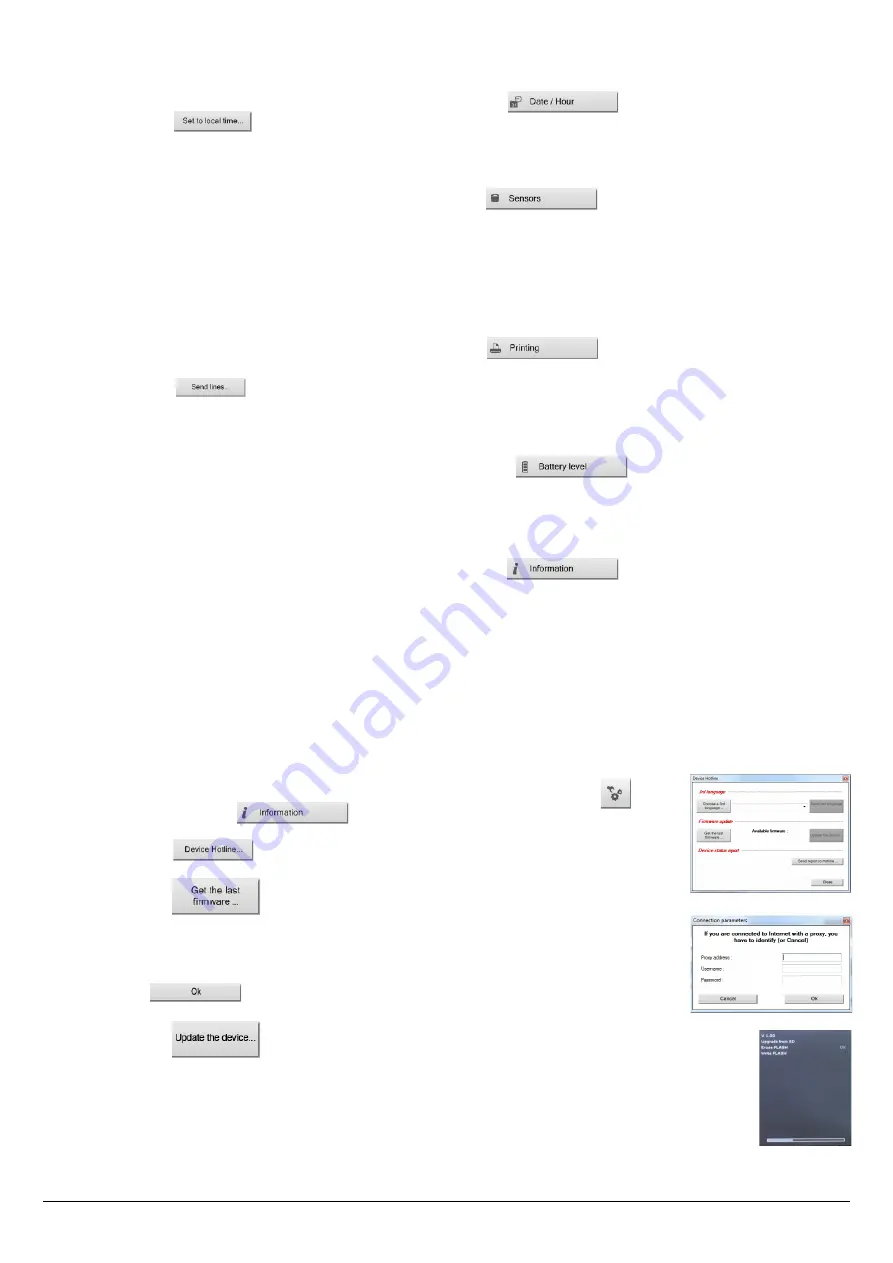
The following window opens:
➢
Click on the button.
The connection parameters window opens:
Two choices are then possible:
•
The Internet connection is not protected by a proxy
➢
Click on
button
on the connection parameters window.
A progress bar is displayed then the available firmware number is displayed.
➢
Click on the
button.
The update lasts for a few minutes.
➢
Turn off then turn the device.
A black screen with a progress bar are displayed (see opposite) then It turns off itself.
➢
Turn on the device then go to
“Information”
menu of the analyser to check if the update has been taken into
account.
Set the analyser
53


