


4.7.2
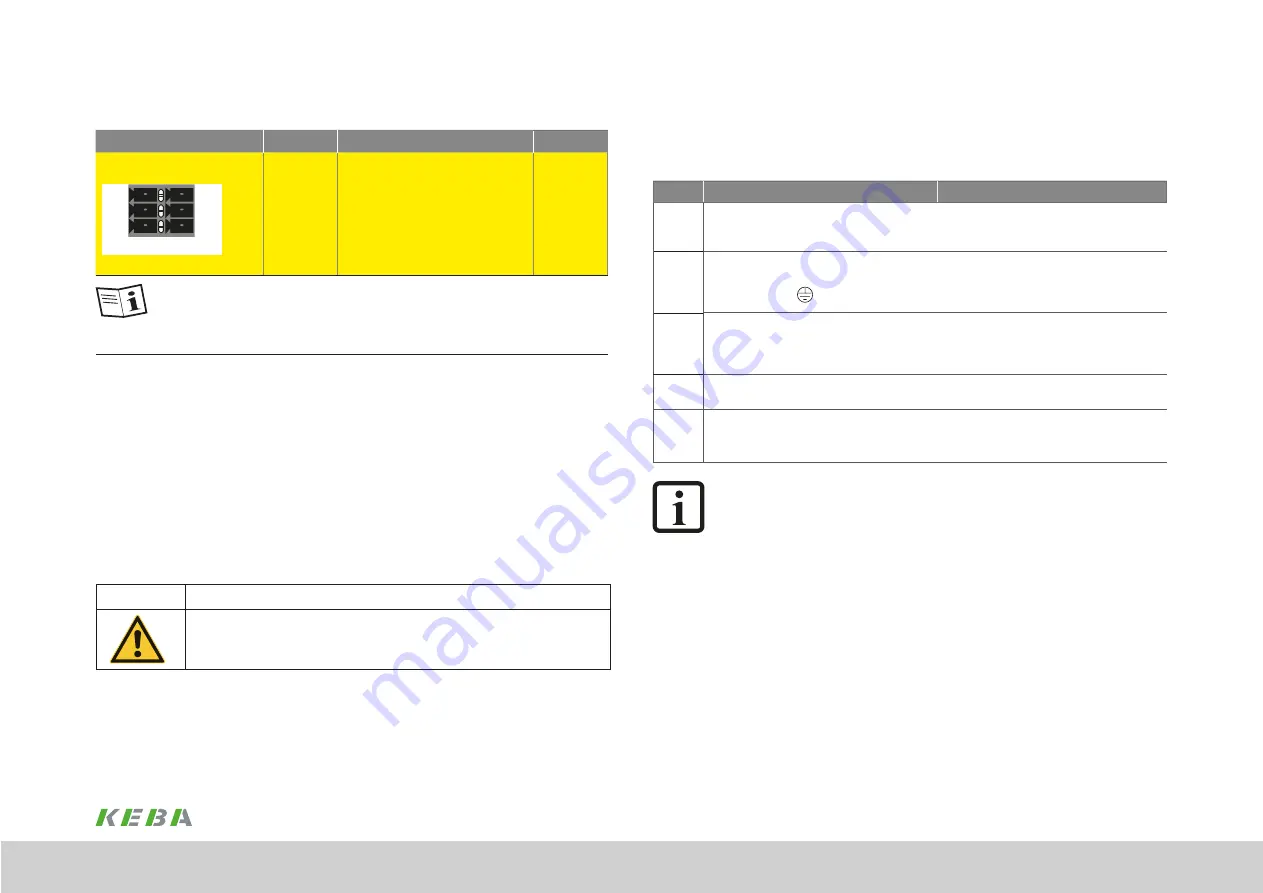
Digital inputs on X26A (safe digital inputs)
Figure
Term.
Type
Function
X26A/Safe-DI
SDI00
SDI02
SDI01
SDI03
GND
GND
X26A/ Safe - DI
SDI00
Safe digital input
STO 1 CH1
SDI01
Safe digital input
STO 1 CH2
SDI02
Safe digital input
STO 2 CH1
SDI03
Safe digital input
STO 2 CH2
GND
Reference ground
GND
GND
Reference ground
GND
NOTE:
You will find the specification for the inputs SDIxx and further details about
the STO function in connection with the bank of DIL switches S-ADR in the
document "Specificaton SD0" ID no.: 1404.252B.x-xx
Table 4.17 Allocation of the control inputs X26A/Safe-DI
Specification for the terminals
The control terminal X25 is implemented using a 2-layer 2x 6 pole plug-in terminal with
3.5 mm spacing from Phoenix-Contact.
−
Type: MCDN 1.5/6-G1-3.5
The safety terminal X26A is implemented using a 2-layer 2x 3 pole plug-in terminal with
3.5 mm spacing from Phoenix-Contact.
−
Type: MCDN 1.5/3-G1-3.5
CAUTION!
Damage to the device due to incorrect wiring!
Avoid loop currents in the wiring.
If high currents flow via the ground terminals, high-impedance isolation from the device ground is
possible. This can result in the malfunction of the drive.
4.8 Motor connection
The BG3 axis controllers permit the connection of up to two motors (X31A / X31B). It is
intended to connect one motor (X31A) to the BG4 axis controller.
Step
Action
Comment
1.
Specify the cable cross-section depending on the
maximum current and ambient temperature.
Select cable cross-section as per local and
country-specific regulations and conditions.
2.
Connect the shielded motor cable to the motor
connection on the axis controller (X31A / X31B)
and earth the motor
.
Connect the shield at both ends to reduce
interference emissions.
3.
Wire the temperature sensor
(if fitted) to terminal/TEMP using separate shielded
cables and activate the temperature evaluation
using KeStudio DriveManager.
Connect the shield at both ends to reduce
interference emissions.
4.
If fitted, connect the motor holding brake to
terminal/BRAKE.
See Figure 4.12 to Figure 4.16
5.
Type D3-DA 310/
C-C0
xxx only:
Attach the plastic cover for the motor terminals to
the device.
The cover provides protection against contact
with bare and live parts. The controller must only
be operated with the cover fitted.
NOTE:
If you use motors that permit the connection of the motor temperature sensor
to the motor terminals "TEMP" on the axis controller or, alternatively the motor
temperature sensor is to be connected via the encoder connection
(see Table 4.5 to Table 4.12), this information is to be stated expressly with the
motor order.
41
1 Electrical installation
Operation Manual KeDrive D3-DA BG3 and BG4
1804.200B.1-01 Date: 03/2023
Electrical installation
Содержание KeDrive D3-DA BG3
Страница 1: ...Operation manual Compact multi axis system KeDrive D3 KeDrive D3 DA Axis Controller BG3 and BG4...
Страница 14: ...14 1 Safety Operation Manual KeDrive D3 DA BG3 and BG4 1804 200B 1 01 Date 03 2023 Safety...
Страница 24: ...24 1 Operation Manual KeDrive D3 DA BG3 and BG4 1804 200B 1 01 Date 03 2023...
Страница 66: ...66 1 Operation Manual KeDrive D3 DA BG3 and BG4 1804 200B 1 01 Date 03 2023...
Страница 78: ...78 1 Appendix Operation Manual KeDrive D3 DA BG3 and BG4 1804 200B 1 01 Date 03 2023 Appendix...
Страница 82: ...82 1 Glossary Operation Manual KeDrive D3 DA BG3 and BG4 1804 200B 1 01 Date 03 2023 Glossary...
Страница 83: ...83 1 Operation Manual KeDrive D3 DA BG3 and BG4 1804 200B 1 01 Date 03 2023...


