Installation
ProLine 2200 User’s Manual REV N
This information is subject to the controls of the Export Administration Regulations [EAR]. This information shall not be provided to
non-U.S. persons or transferred by any means to any location outside the United States contrary to the requirements of the EAR.
3-18
Initial Filling of the Torch Coolant Reservoir
Note: Never turn on the power supply before filling the torch
coolant reservoir with the proper coolant solution.
When handling coolant, it is recommended that you wear nitrile
gloves and safety glasses.
1. Remove the coolant reservoir cap and fill the reservoir with 2 gallons of
coolant solution.
2. Apply main power to the ProLine unit.
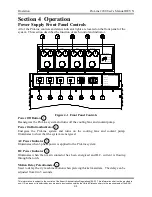
3. Depress and hold the green ON button on the ProLine control panel.
4. The coolant pump will begin pumping coolant fluid through the system. The
Coolant Flow LED will remain out until the coolant has filled the entire
system and begins flowing back into the tank. The coolant pump will turn off
if the coolant level drops below the minimum level inside the reservoir. If this
happens, add more coolant solution to the reservoir and return to Step 3.
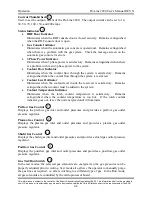
5. When the Coolant Flow LED illuminates, release the green ON switch. The
ProLine system should remain energized and continue pumping coolant
through the system.
6. Locate the small red push-button on top of the coolant filter/deionization
cartridge. Depress and hold the button until no air is seen inside the clear
filter housing.
7. Fill the reservoir with coolant solution until the coolant gauge indicates full.
Coolant should be added to the system any time the level drops below half
full.
8. Check for coolant leaks at all hose connections inside the power supply, RHF
console, and at the torch.

