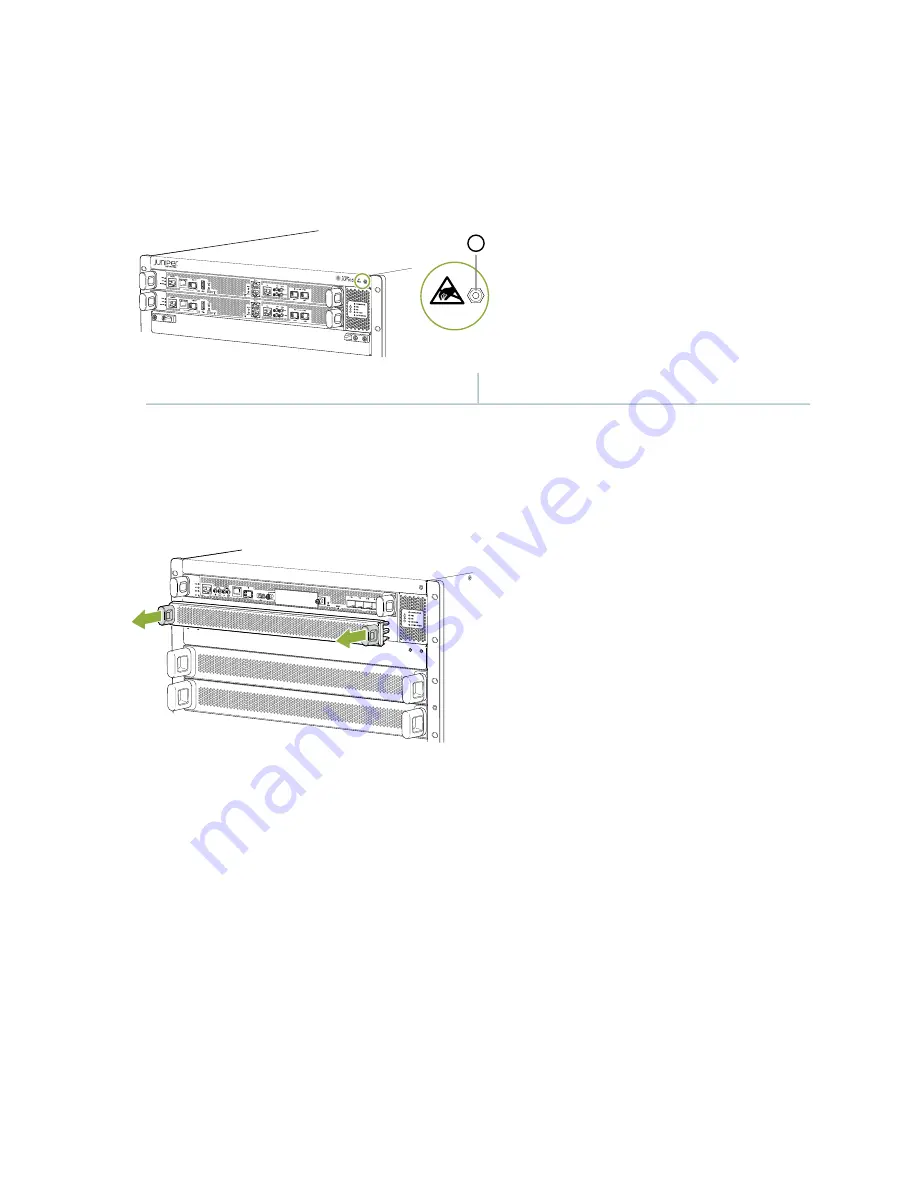
1. Wrap and fasten one end of an ESD strap around your bare wrist, and connect the other end of the
strap to the ESD point on the front of an MX10008 (see
Figure 72: ESD Point for MX10008 Chassis Front
g100217
MX10008
1
1
—
ESD point
2. Either remove the cover panel from the available RCB slot (see
) or remove the
failing RCB (see
“Removing a Routing and Control Board” on page 175
Figure 73: Removing a Routing and Control Board Cover Panel
g050585
3. Remove the new RCB from the electrostatic bag and inspect it for any damage before installing it into
the chassis.
4. Lift the RCB by its sides, being careful not to strike the connectors against any object.
5. Carefully align the sides of the RCB with the guides inside the chassis.
6. Slide the RCB into the chassis, carefully ensuring that it is correctly aligned.
7. Grasp both handles and simultaneously rotate them clockwise until the RCB is fully seated and the
handles are vertical (see
).
The RCB begins the power-on sequence after it is fully seated.
177
Содержание MX10008
Страница 1: ...MX10008 Universal Routing Platform Hardware Guide Published 2019 11 11 ...
Страница 19: ......
Страница 89: ......
Страница 129: ......
Страница 170: ......
Страница 179: ...Figure 76 Removing Fan Tray JNP10008 FAN from an MX10008 FAN FTC SIB STATUS FAN FTC SIB STATUS 181 ...
Страница 183: ...Figure 79 Installing Fan Tray JNP10008 FAN in an MX10008 FAN FTC SIB STATUS FAN FTC SIB STATUS 185 ...
Страница 278: ...5 CHAPTER Troubleshooting Hardware Restoring Junos OS 283 Alarm Messages 287 ...
Страница 279: ......
Страница 287: ......
Страница 318: ...Restricted Access Warning 321 ...
Страница 333: ...Jewelry Removal Warning 336 ...
Страница 336: ...Operating Temperature Warning 339 ...
Страница 345: ...DC Power Disconnection Warning 348 ...
Страница 349: ...DC Power Wiring Sequence Warning 352 ...
Страница 352: ...DC Power Wiring Terminations Warning 355 ...
Страница 361: ...Translation The emitted sound pressure is below 92 dB A per GR63 CORE 364 ...


