


CN70 Barcode Scanner
Knowledge Guide
13 of 25
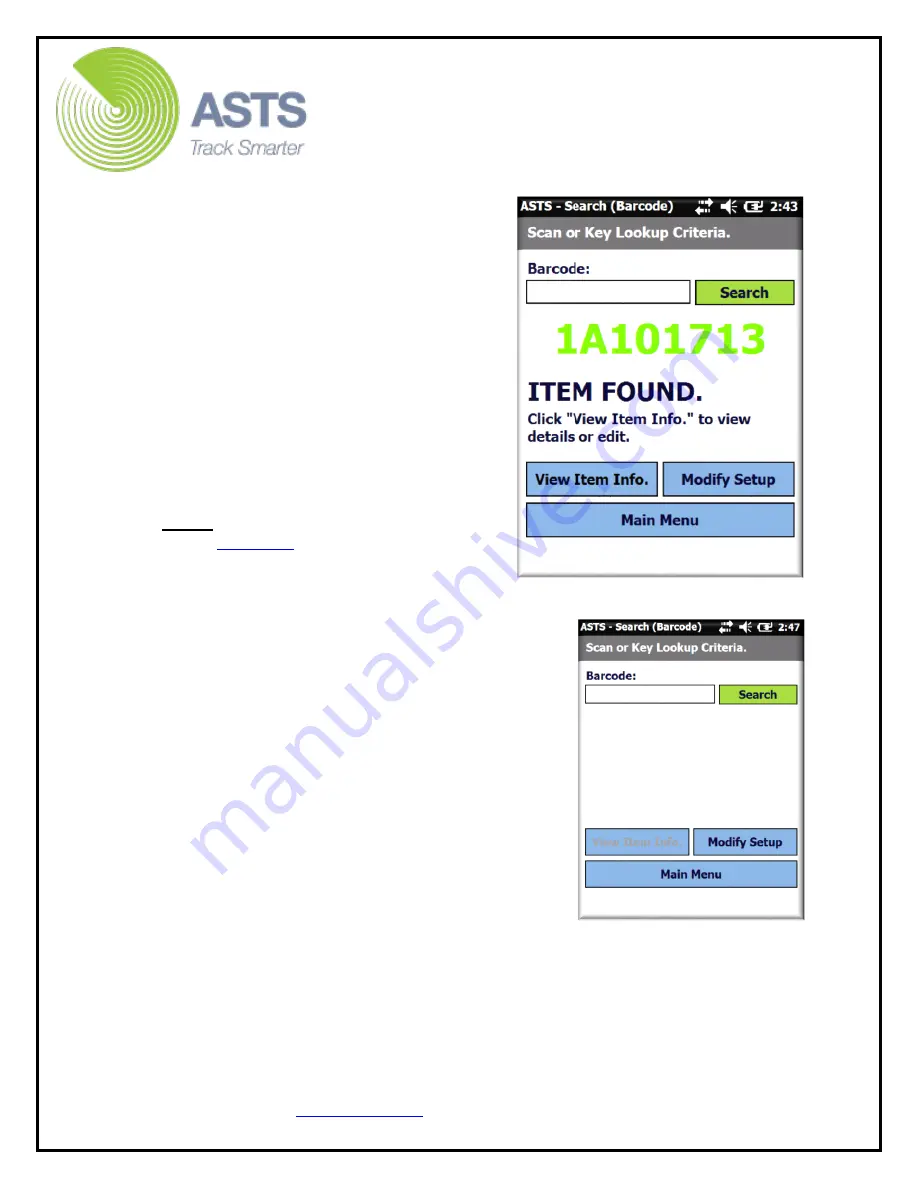
10.
When the barcode number
searched is found, the Search Result
screen displays the item information.
The found item has been successfully
inventoried/scanned and tagged with a
new Inventory Date based on the actual
date scanned. Once the scanner
(inventory/OUT_###) file is uploaded
into the ASTS database, the inventory
information for the item(s) will be
updated to reflect the new date. The
User (POC), Building, and Room (etc.)
fields will be updated with the
information entered (step 5 of this
process) as a result of the inventory
process.
Note:
If the barcode is not found, refer
to the
11.
The “Item Found” screen offers a
few options to view additional
information to the scanned item.
a.
Select the “View Item Info” button to
view/edit the barcode’s item
information.
b.
Select the “Modify Setup” button to
return to the “Location Information”
page.
c.
Select the “Main Menu” button to return
to the ASTS Main Menu on the barcode
scanner.
12.
After scanning the last item of the
inventory (prior to uploading the data from the
scanner), click the “Main Menu” button to
navigate the ASTS scanner software back to
the Main Menu page.


