Part 2 - Getting Started
27
•
Rescan
: Scans for DirectIP™ cameras that
were not scanned automatically. If the auto scan
option has been disabled, the system will not
automatically recognize new DirectIP™ camera
connections. In this case, press the
Rescan
to
scan for new camera connections.
•
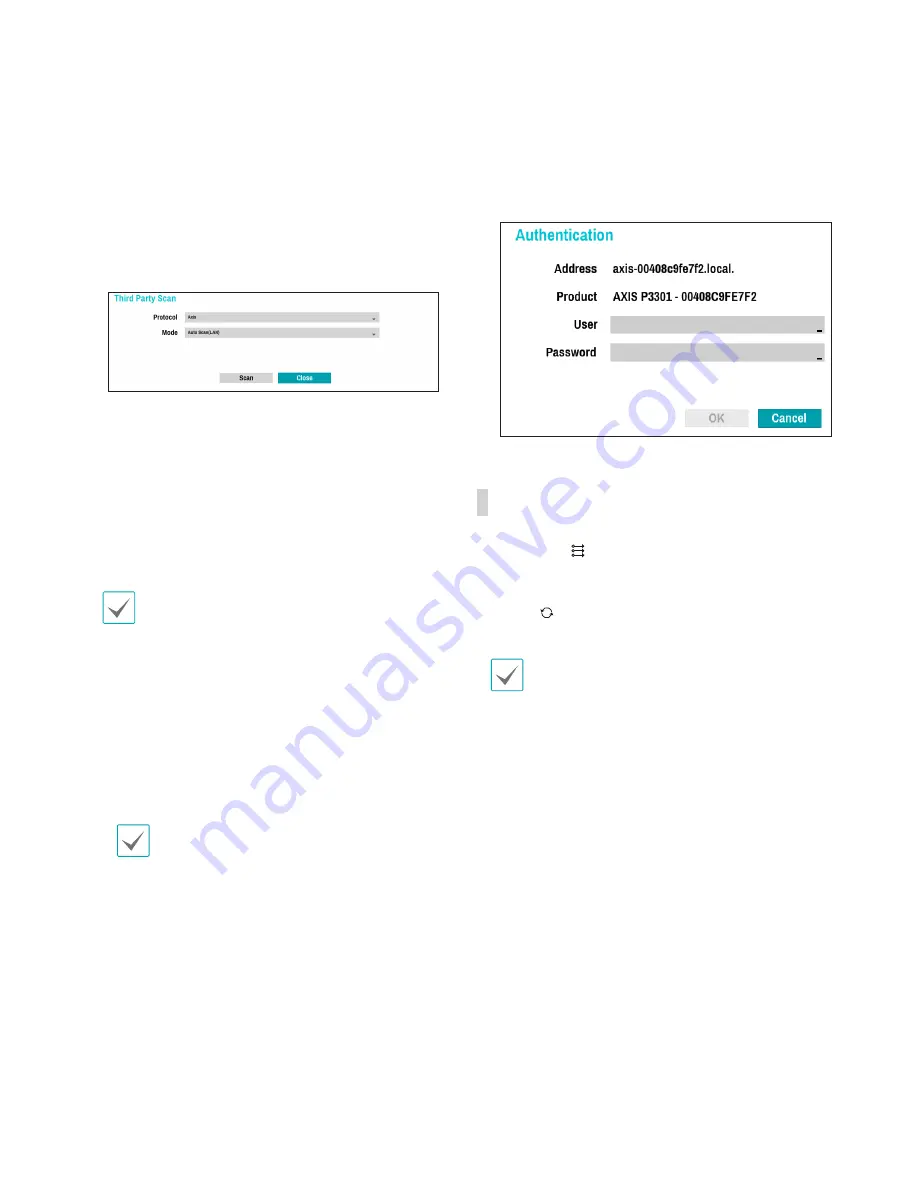
Third Party Scan
: Used to manually scan for
third-party cameras that cannot be recognized by
the auto scan feature.
•
Auto Detection
: Activated in Live mode.
Automatically notifies the user of unregistered
DirectIP™ camera connections.
2
From the
Protocol
drop-down list, select the
protocol used by the network device you wish
to search for (Axis, Panasonic WV, or Onvif
Conformance).
Even if the network device uses a protocol
supported by the NVR, the device itself may not
be visible for scanning and registration by the
NVR. For more information about supported
network devices and models, contact your retailer.
3
From the Mode drop-down list, select
Auto Scan
(LAN)
or
IP Address Scan
.
4
Select
Scan
to commence scanning.
•
Only cameras that are connected to the
NVR via video in ports can be scanned and
registered.
•
Selecting
Auto Scan (LAN)
as the mode
scans for network devices matching the
selected protocol.
•
Setting
IP Address Scan
as the mode scans
for network devices matching the specified
address or falling under the specified
address's range. By specifying an IP address,
you can also specify which port to use with
the Remote Admin feature.
•
If
Auto Scan (LAN)
fails to recognize a
network device, try using
IP Address Scan
instead.
5
Select a camera from the scan list and then
select
Add Camera
. The device login window will
appear.
6
Enter a
User ID
and a
Password
for the selected
camera.
Camera View Buttons
•
Alignment
Button: Realigns camera screens
displayed on the video display area in the order of
Video In
port connections.
•
Reset
Button: Refreshes the video display area
and the camera list.
Selecting
Reset
clears all scanned devices from
the list.


