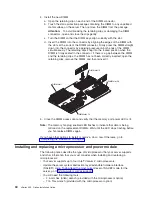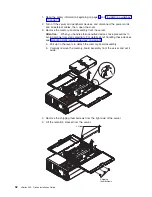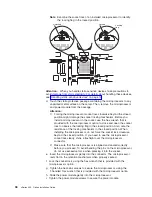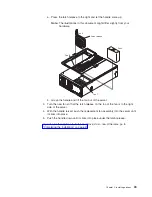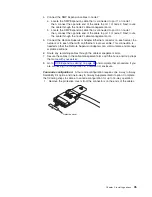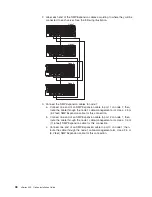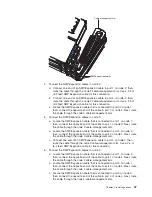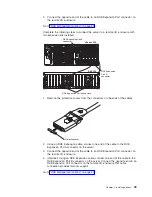
a. Press the latch release to the right and let the handle come up.
Note:
The illustrations in this document might differ slightly from your
hardware.
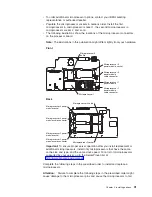
Fan 1
Fan 2
Fan 3
Fan 4
NO
TE:
FOR
PR
OP
ER AIR
FLO
W, REP
LA
CE F
AN
W
ITHIN 2 M
INUT
ES
FR
ONT O
F BO
X
NO
TE:
FO
R PR
OPER
AIRF
LO
W, REPLA
CE F
AN
W
ITHIN 2 M
IN
UT
ES
FR
ONT O
F BO
X
Latch release
b. Grasp the handle and lift the fan out of the server.
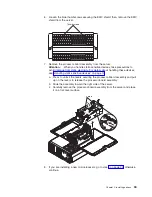
3. Turn the new fan so that the latch release on the top of the fan is to the right
side of the server.
4. With the handle raised, push the replacement fan assembly into the server until
it clicks into place.
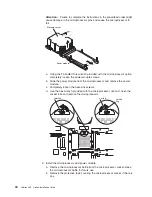
5. Push the handle down until it clicks into place under the latch release.
If you have other options to install or remove, do so now. Otherwise, go to
“Completing the installation” on page 41.
Chapter 2. Installing options
39
Содержание xSeries 455
Страница 1: ...xSeries 455 Option Installation Guide ERserver...
Страница 2: ......
Страница 3: ...xSeries 455 Option Installation Guide SC88 P919 80 ERserver...
Страница 12: ...x xSeries 455 Option Installation Guide...
Страница 24: ...12 xSeries 455 Option Installation Guide...
Страница 70: ...58 xSeries 455 Option Installation Guide...
Страница 74: ...62 xSeries 455 Option Installation Guide...
Страница 82: ...70 xSeries 455 Option Installation Guide...
Страница 85: ......
Страница 86: ...Part Number 88P9198 Printed in U S A SC88 P919 80 1P P N 88P9198...

