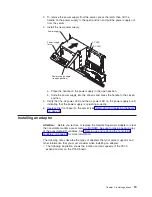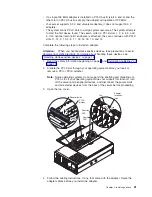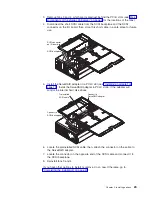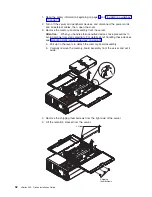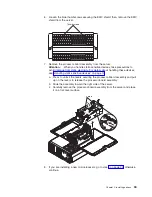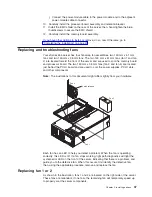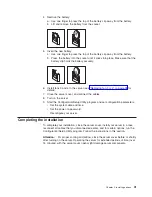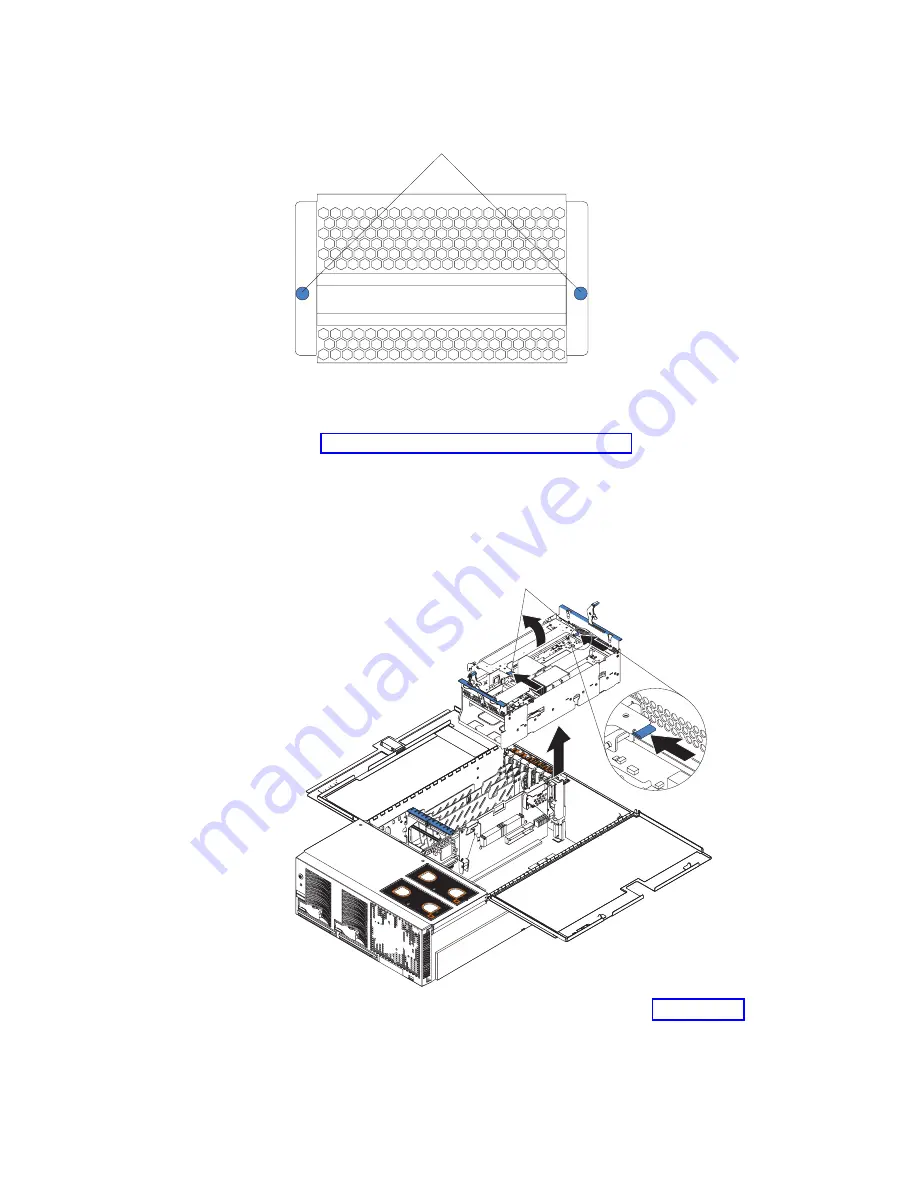
6. Loosen the blue thumbscrews securing the EMC shield; then, remove the EMC
shield from the server.
Thumbscrews
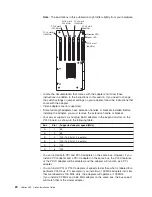
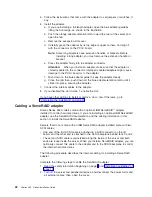
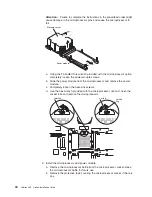
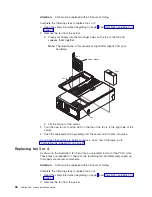
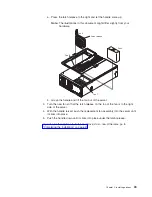
7. Remove the processor-board assembly from the server.
Attention:
When you handle static-sensitive devices, take precautions to
avoid damage from static electricity. For details about handling these devices,
see “Handling static-sensitive devices” on page 14.
a. Press to unlock the levers securing the processor-board assembly and pull
up on the levers to release the processor-board assembly.
b. Slide the assembly toward the right side of the server.
c. Carefully remove the processor-board assembly from the server and place
it on a flat, level surface.
NO
TE
:
FO
R P
RO
PE
R A
IR
FL
OW,
R
EP
LA
CE
FA
N
W
IT
HIN
2 M
IN
UT
ES
FR
ON
T O
F B
OX
NO
TE
:
FO
R P
RO
PER
A
IR
FLO
W,
R
EP
LA
CE
FA
N
W
IT
HIN
2 M
IN
UT
ES
FR
ON
T O
F B
OX
Levers
8. If you are installing a new microprocessor, go to step 9 on page 34; otherwise,
continue.
Chapter 2. Installing options
33
Содержание xSeries 455
Страница 1: ...xSeries 455 Option Installation Guide ERserver...
Страница 2: ......
Страница 3: ...xSeries 455 Option Installation Guide SC88 P919 80 ERserver...
Страница 12: ...x xSeries 455 Option Installation Guide...
Страница 24: ...12 xSeries 455 Option Installation Guide...
Страница 70: ...58 xSeries 455 Option Installation Guide...
Страница 74: ...62 xSeries 455 Option Installation Guide...
Страница 82: ...70 xSeries 455 Option Installation Guide...
Страница 85: ......
Страница 86: ...Part Number 88P9198 Printed in U S A SC88 P919 80 1P P N 88P9198...

