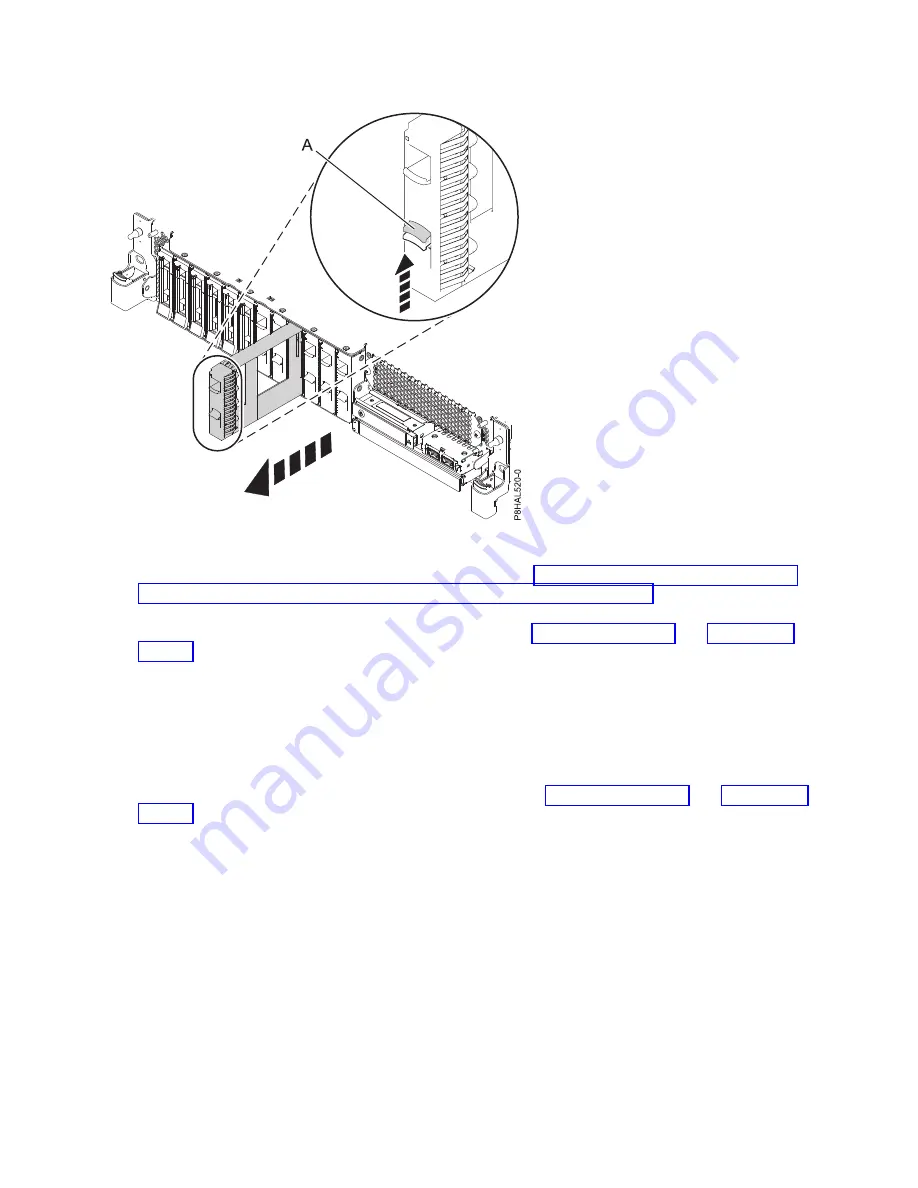
For instructions to remove a filler from other systems, see “Removing a disk drive filler from the
5148-21L, 5148-22L, 8247-21L, 8247-22L, 8284-21A, or 8284-22A” on page 97.
4.
Unlock the drive bay handle (A) by pressing it and pulling it out toward you. If the handle is not all
the way out, the drive does not slide into the system. See Figure 32 on page 34 and Figure 33 on
page 34.
5.
Hold the drive by the top and bottom edges as you position the drive, and insert it into the drive
slot.
6.
Slide the drive halfway into the system.
7.
Return to the console, and then press
Enter
. In the Verify Device Concurrent Add display, verify that
the selected slot is the slot in which you want to install the drive.
8.
When the identify LED flashes for the selected slot, slide the drive all the way into the slot, and
push the drive bay handle (A) in until it locks, as shown in Figure 32 on page 34 and Figure 33 on
page 34.
Important:
Ensure that the drive is fully seated and is all the way into the system.
Figure 31. Removing a disk drive filler from a base function system
Disk drives or solid-state drives
33
Содержание Power System 5148-22L
Страница 2: ......
Страница 18: ...xvi Disk drives or solid state drives...
Страница 202: ...184 Disk drives or solid state drives...
Страница 203: ......
Страница 204: ...IBM...


