Note:
When you have drive slots available in a system, enclosure, or expansion unit, fill the slot
positions in the system first. However, you can choose a different disk drive or solid-state drive
placement that depends on your data protection strategy.
3.
To identify the available slot by using the diagnostic command, complete the following steps:
a.
Log in as root user.
b.
At the command line, type
diag
and then press
Enter
.
c.
On the Diagnostic Operating Instructions display, press
Enter
to continue.
d.
On the Function Selection display, select Task Selection.
e.
Select RAID Array Manager.
f.
Select IBM SAS Disk Array Manager.
g.
Select Diagnostics and Recovery Options.
h.
Select SCSI and SCSI RAID Hot Plug Manager.
i.
Select Attach a Device to a SCSI Hot Swap Enclosure Device. A list of empty slots in the SCSI hot
swap enclosure device is shown.
4.
Record the position (an available empty slot) where the new disk drive must be installed. For
example, the next available disk drive or SSD slot might be P2-D3.
5.
Find the package that contains the new drive.
Attention:
Drives are fragile. Handle with care.
6.
Attach the electrostatic discharge (ESD) wrist strap. The ESD wrist strap must be connected to an
unpainted metal surface until the service procedure is completed, and if applicable, until the service
access cover is replaced.
Attention:
v
Attach an electrostatic discharge (ESD) wrist strap to the front ESD jack, to the rear ESD jack, or to
an unpainted metal surface of your hardware to prevent the electrostatic discharge from damaging
your hardware.
v
When you use an ESD wrist strap, follow all electrical safety procedures. An ESD wrist strap is
used for static control. It does not increase or decrease your risk of receiving electric shock when
using or working on electrical equipment.
v
If you do not have an ESD wrist strap, just prior to removing the product from ESD packaging and
installing or replacing hardware, touch an unpainted metal surface of the system for a minimum of
5 seconds. If at any point in this service process you move away from the system, it is important to
once again discharge yourself by touching an unpainted metal surface for at least 5 seconds before
you continue with the service process.
7.
Remove the drive from the static-protective package and place it on an ESD mat.
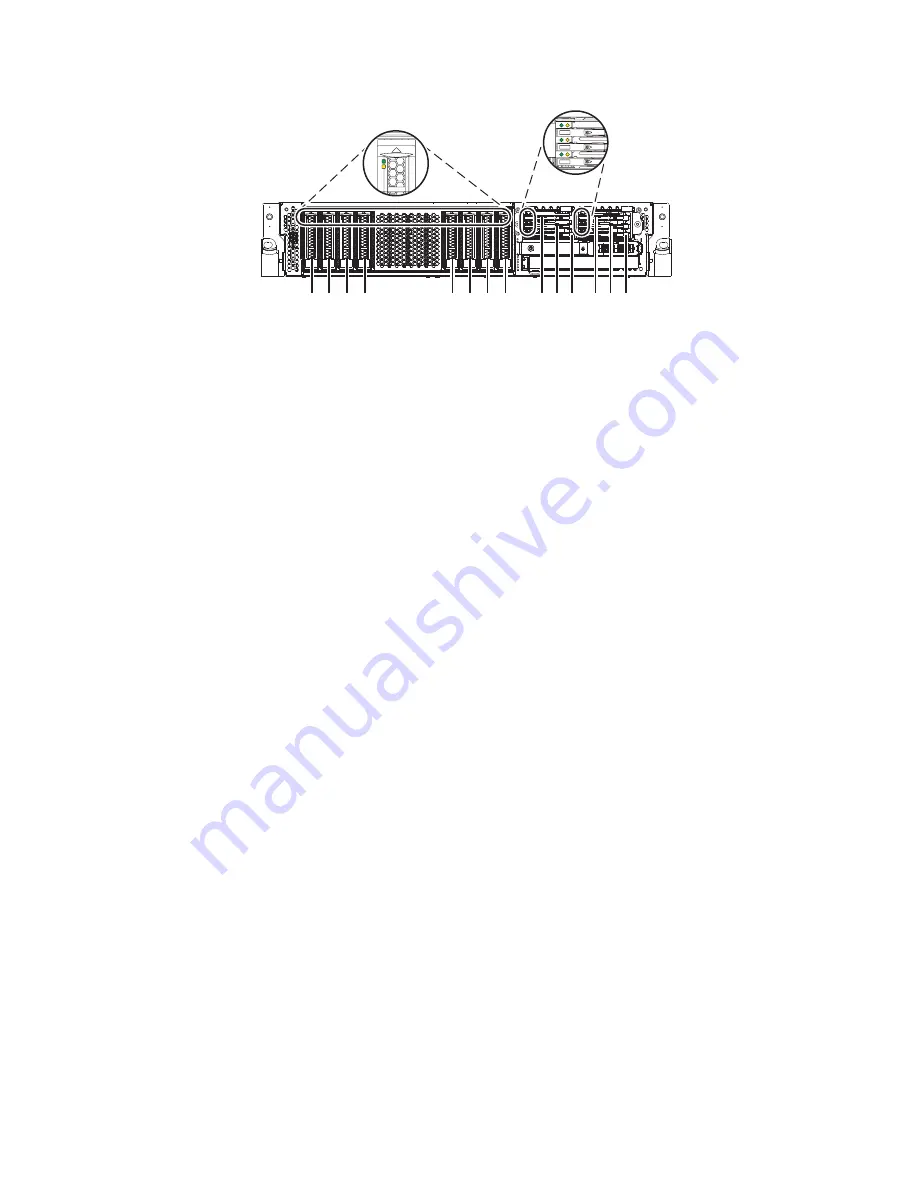
P2-D14
P2-D12
P2-D10
P2-D13
P2-D1
1
P2-D9
P2-D8
P2-D7
P2-D6
P2-D5
P2-D4
P2-D3
P2-D2
P2-D1
P8HAL509-1
Figure 11. Disk drive, solid-state drive, and service indicator locations for an expanded function system
Disk drives or solid-state drives
15
Содержание Power System 5148-22L
Страница 2: ......
Страница 18: ...xvi Disk drives or solid state drives...
Страница 202: ...184 Disk drives or solid state drives...
Страница 203: ......
Страница 204: ...IBM...


