Performing maintenance
FAM 5
en(us)
83 / 100
BEWA FAM5 3667663b en-us 2012-12-12.doc
2012-12-12
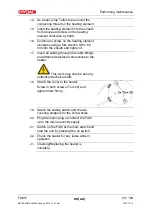
14. As a seal, wrap Teflon tape around the
connecting thread on the heating element.
15. Insert the heating element into the sheath
from above and screw on the heating
element clockwise by hand.
16. Continue to screw on the heating element
clockwise using a fork wrench SW = 65
mm into the sheath and tighten it.
17. Insert all cabling through the cable fittings
and attach all electrical connections to the
heater.
This work may only be done by
authorized technical staff.
18. Attach the cover to the heater.
Screw in both screws (Torx 20) and
tighten them firmly.
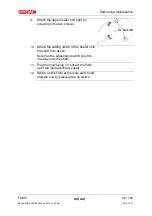
19. Attach the setting switch and the two
covering stoppers for the screw holes.
20. Plug the mains plug or connect the FAM
up to the main electricity supply.
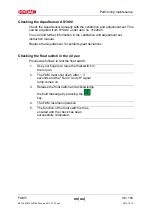
21. Switch on the FAM at the main switch and
start the unit by pressing the on switch.
22. Check the heater for any leaks while in
operation.
21. Cleaning/Replacing the heater is
complete.
Содержание FAM-5-M-2-A-05-R-H-B-Z-1
Страница 15: ...Safety information FAM 5 en us 15 100 BEWA FAM5 3667663b en us 2012 12 12 doc 2012 12 12 Knowledge about reuse ...
Страница 25: ...FAM Description FAM 5 en us 25 100 BEWA FAM5 3667663b en us 2012 12 12 doc 2012 12 12 FAM system components ...
Страница 29: ...Hydraulic diagram FAM 5 en us 29 100 BEWA FAM5 3667663b en us 2012 12 12 doc 2012 12 12 Hydraulic diagram ...
Страница 98: ......
Страница 99: ......

