Step 4
For descriptions of the parameters for setting basic information about a storage pool, see
Parameter Description: Creating a Storage Pool
Step 5
For descriptions of the parameters for setting disk information about a storage pool, see
Parameter Description: Creating a Storage Pool
Step 6
Create a storage pool according to the description of icons on the interface.
Icon
Description
Select the option buttons on the left of disks that you prefer in the
Available Disks
list, and then click this icon. The disks you selected are
added to the
Selected Disks
list.
After you click this icon, all disks in the
Available Disks
list are added
to the
Selected Disks
list.
Select the option buttons on the left of disks that you prefer in the
Selected
Disks
list, and then click this icon. The disks you selected are added to
the
Available Disks
list.
After you click this icon, all disks in the
Available Disks
list are added
to the
Selected Disks
list.
Step 7
Click
OK
.
The
Info
dialog box is displayed, stating "Operation succeeded."
Step 8
Click
OK
.
Step 9
In the navigation tree, Select the
Pools
node in which a thin provision volume is to be created.
Step 10
On the menu bar, choose
Configuration
>
Create Thin Provision Volume...
.
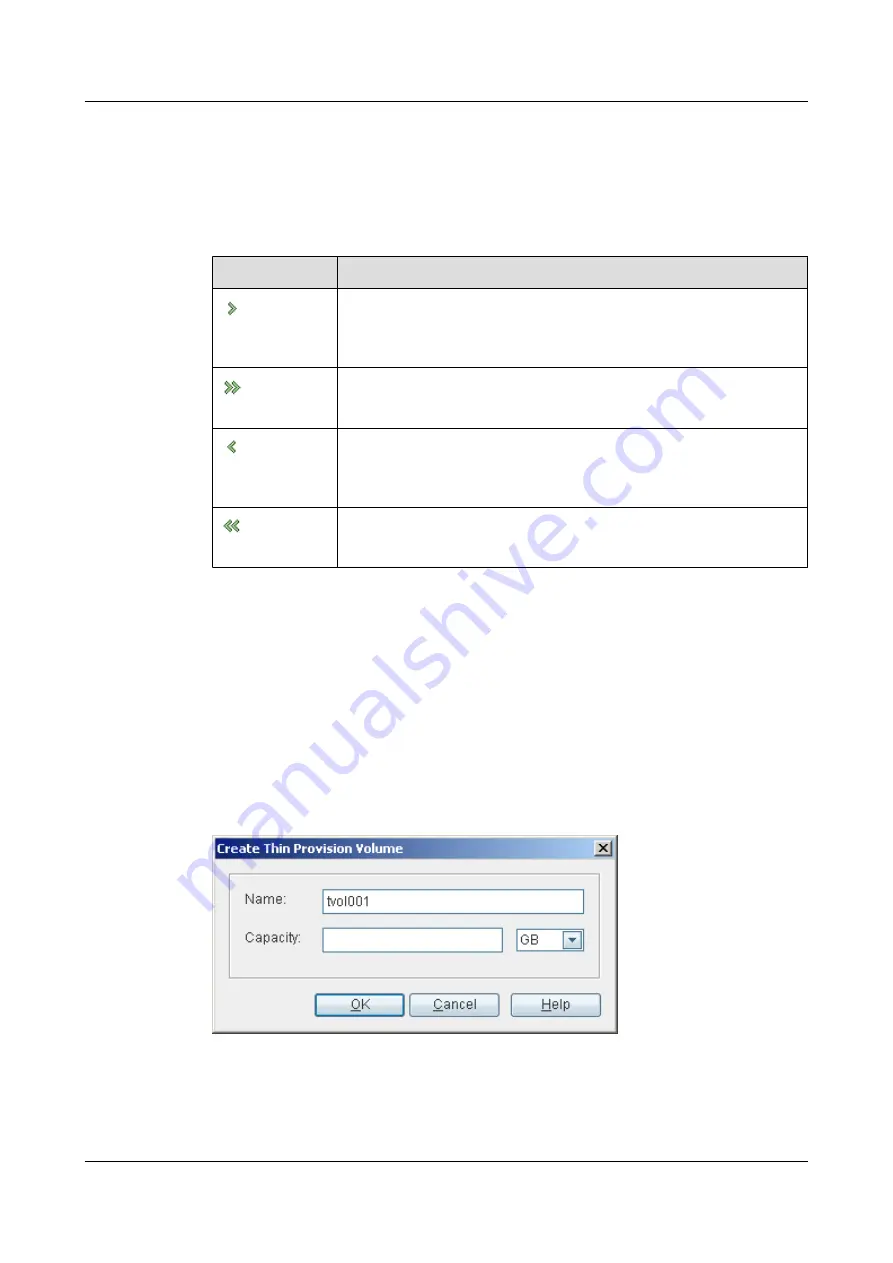
The
Create Thin Provision Volume
dialog box is displayed, as shown in
.
Figure 4-24
Create Thin Provision Volume
dialog box
Step 11
For descriptions of the parameters for setting information about a thin provision volume, see
4.26.25 Parameter Description: Creating a Thin Provision Volume
.
OceanStor VIS6000 Series Virtual Intelligent Storage
System
Initial Configuration Guide
4 Configuring Basic Services
Issue 08 (2010-05-10)
Huawei Proprietary and Confidential
Copyright © Huawei Technologies Co., Ltd.
4-33


