13
HT130003 / HT130042
HT130030 / HT130043
User Manual
CorTemp
®
Data Recorder v4.3
9001 Series
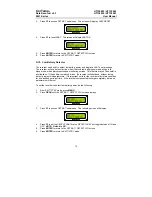
not. Attention to detail during data entry is critical to ensure accurate temperature
data collection.
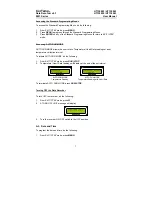
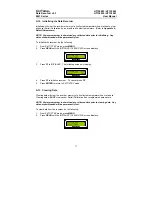
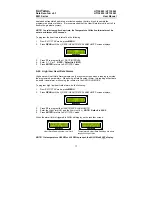
A.15. Changing Active Sensor
The active sensor tells the recorder to assign a specific Calibration # to the sensor signal it
is receiving.
To change the active sensor, do the following:
1. From
the
EXIT / STBY
mode, press
MENU
.
2. Press
READ
until the
ADD SENSOR / SENSOR ACT
screen displays.
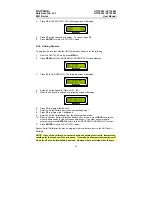
3. Press
F2
to program the
ACTIVE SENSOR
.
4.
Enter the 2-digit Sensor # (Player #).
NOTE: Default is 01.
5. Press
ENTER
to return to
EXIT / STBY
mode.
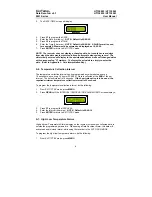
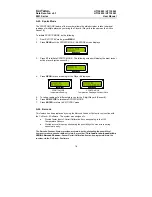
A.16. ID Number
A 9-digit ID # can be assigned to the collected data. This ID # will appear in the
downloaded data. The recorder unit # can be used as the ID # to identify which recorder
the collected data was downloaded from.
To assign an ID #, do the following:
1. From
EXIT / STBY
mode, press
MENU
.
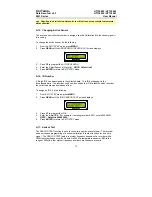
2. Press
READ
until the
ID# / SENSOR TEST
screen displays.
3. Press
F1
to program the
ID #
.
4.
Enter the 9-digit ID #. For example, if entering recorder
#0521
, enter
000000521
.
NOTE: Default is 000000000
.
5. Press
ENTER
to return to
EXIT / STBY
mode.
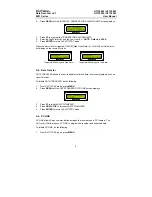
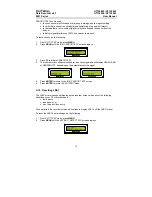
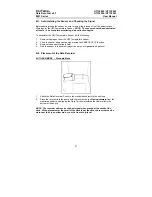
A.17. Sensor Test
The
SENSOR TEST
function is used to check for an active sensor signal. The recorder
does not require programming of a sensor calibration # in order to check for an active
signal. The
SENSOR TEST
feature is system frequency dependent, a recorder with a
262kHz system frequency will only detect a 262kHz temperature sensor or EMI in the
range of 262kHz; other system frequency recorders are the same scenario.
CorTemp
®
CorTemp
®

