6.
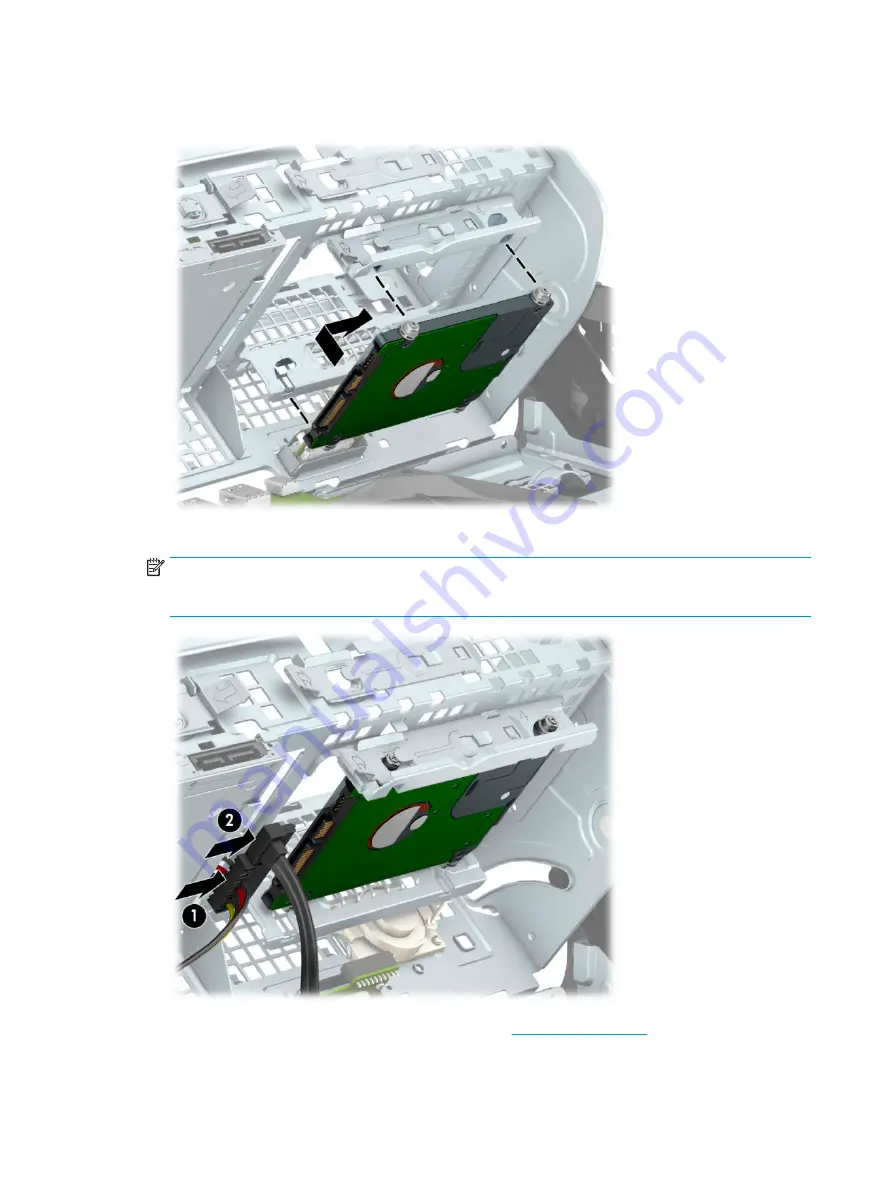
Align the mounting screws on the drive with the J-slots on the sides of the drive bay. Press the drive into
the drive bay, and then slide the drive forward until it locks in place.
7.
Connect the power cable (1) and data cable (2) to the rear of the hard drive.
NOTE:
If the 2.5-inch hard drive is the primary drive, connect the other end of the data cable to the
dark-blue SATA connector on the system board labeled SATA0. If it is a secondary hard drive, connect the
other end of the data cable to one of the light-blue SATA connectors on the system board.
8.
Rotate the drive cage back down to its normal position (
).
9.
Reassemble the computer.
44
Chapter 4 Removal and replacement procedures
Содержание EliteDesk 800 G5
Страница 1: ...Maintenance and Service Guide HP EliteDesk 800 G5 SFF ...
Страница 4: ...iv Safety warning notice ...
Страница 9: ...Index 139 ix ...
Страница 10: ...x ...
Страница 73: ...7 Remove the eight Torx T15 screws that secure the system board to the chassis System board 63 ...


