•
NIC0 Static IP Address: <<enclosure_1_blade_bay_1_ip>>.
•
ESXi Root Password: <<compute_server_root_password>>.
•
(Optional) Hostname: <<enclosure_1_blade_bay_1_hostname>>.
4 It can take one to two hours to deploy the servers, depending on the number of servers being deployed
at once as well as on the current firmware levels. To view a high-level status of the deployment, select
the cluster in vCenter to which you are deploying the blade, and select Monitor Tab > HP Management >
Task.
vCenter does not automatically refresh this screen, so you must manually refresh it for a current status
update.
5 When deployment is complete, the host will be imported into vCenter and its networking configured in a
way similar to that in OneView or in the reference host to which it is pointed.
6 Repeat this procedure for each cluster or set of blades that you deploy.
Post Installation: Configure Compute Server for OneView
Configuring the compute server for OneView is optional, although HPE recommends making the OneView
Server Profile list more user-friendly for the end user.
Procedure
1 Open a web browser and connect to the HPE OneView Web Administration Portal.
2 From the top-left corner, select HP OneView > Server Profiles.
3 For this example, locate blade 1 from enclosure 1 in the list.
Note
To make the blade easier to locate, each name is prefixed with the name of the VMware cluster in
which it was deployed.
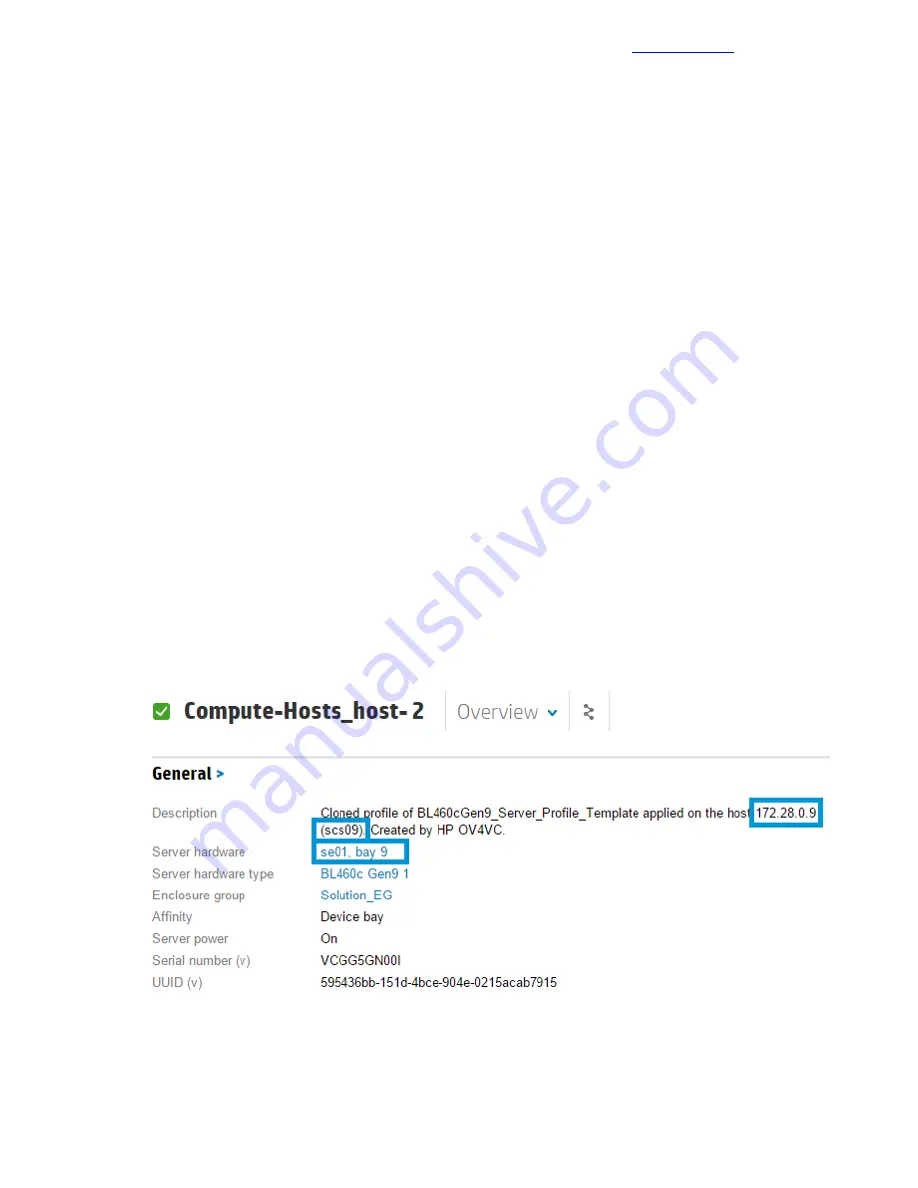
In the General section of the Overview window for a server profile, the Server hardware field displays
the enclosure and bay for the server profile. The IP address and hostname of the server appear in the
description field.
4 After you locate the blade, hover over General and click Edit.
5 Change the Name to Server_Profile_<<enclosure_1_blade_bay_1_hostname>>.
92
Copyright
©
2017 by Nimble Storage, Inc. All rights reserved.
Post Installation: Configure Compute Server for OneView


