16 Recycling
Battery
When a non-rechargeable or rechargeable battery has reached the end of its useful life, do not dispose of the
battery in general household waste. Follow the local laws and regulations in your area for battery disposal.
HP encourages customers to recycle used electronic hardware, HP original print cartridges, and rechargeable
batteries. For more information about recycling programs, see the HP Web site at
http://www.hp.com/
recycle
.
Display
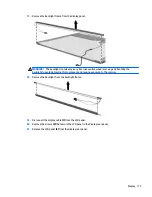
WARNING!
The backlight contains mercury. Caution must be exercised when removing and handling the
backlight to avoid damaging this component and causing exposure to the mercury.
CAUTION:
The procedures in this chapter can result in damage to display components. The only
components intended for recycling purposes are the liquid crystal display (LCD) panel and the backlight.
When you remove these components, handle them carefully.
NOTE:
Materials Disposal. This HP product contains mercury in the backlight in the display assembly that
might require special handling at end-of-life. Disposal of mercury may be regulated because of
environmental considerations. For disposal or recycling information, contact your local authorities, or see the
Electronic Industries Alliance (EIA) Web site at
http://www.eiai.org
.
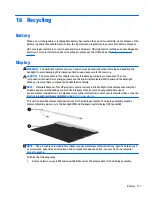
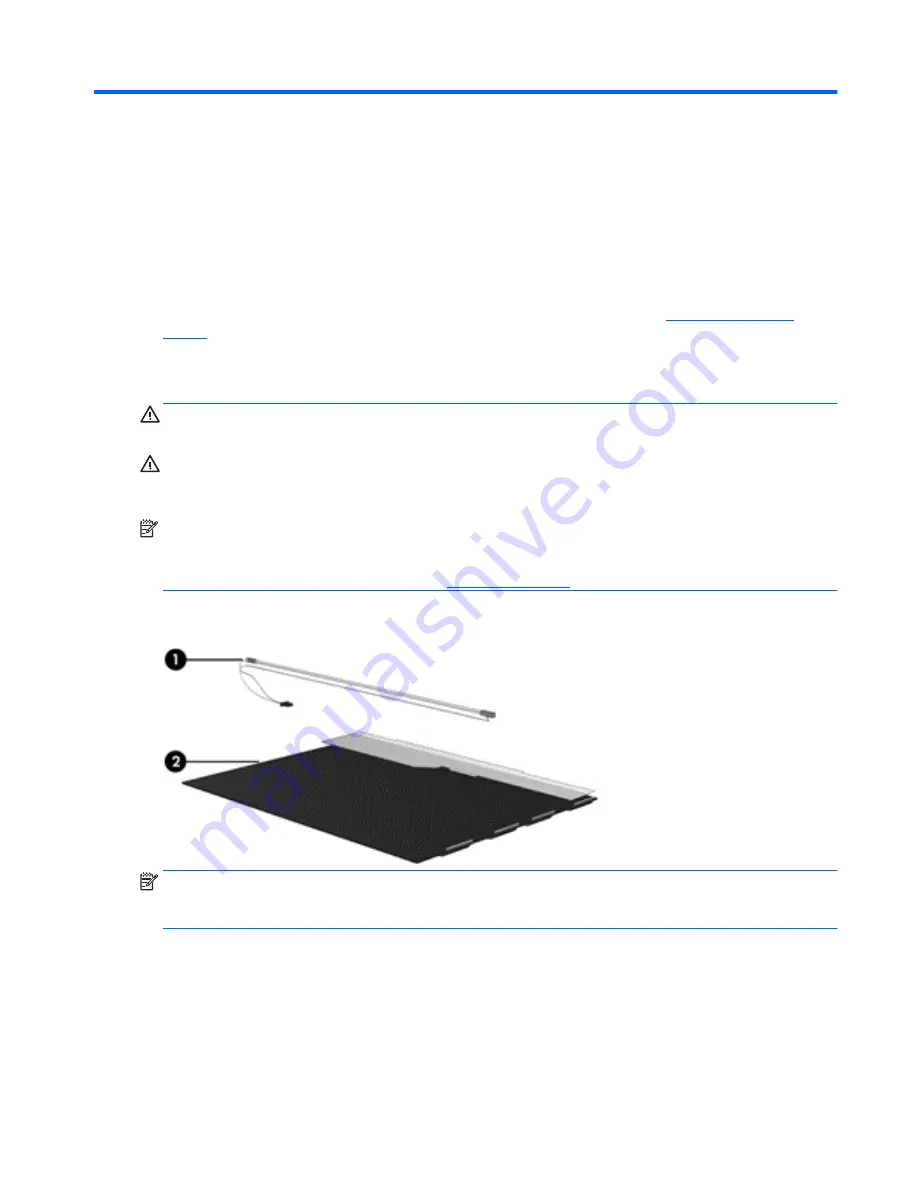
This section provides disassembly instructions for the display assembly. The display assembly must be
disassembled to gain access to the backlight
(1)
and the liquid crystal display (LCD) panel
(2)
.
NOTE:
The procedures provided in this chapter are general disassembly instructions. Specific details, such
as screw sizes, quantities, and locations, and component shapes and sizes, can vary from one computer
model to another.
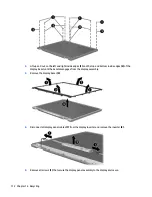
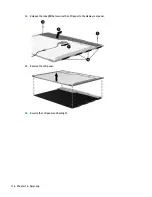
Perform the following steps:
1.
Remove all screw covers
(1)
and screws
(2)
that secure the display bezel to the display assembly.
Battery 111
Содержание 255 G3
Страница 1: ...HP 255 G3 Notebook PC Maintenance and Service Guide ...
Страница 4: ...iv Safety warning notice ...
Страница 12: ...4 Chapter 1 Product description ...
Страница 34: ...26 Chapter 3 Illustrated parts catalog ...
Страница 46: ...38 Chapter 5 Removal and replacement procedures for Customer Self Repair parts ...
Страница 53: ...9 Remove the top cover 2 Reverse this procedure to install the top cover Component replacement procedures 45 ...
Страница 80: ...72 Chapter 6 Removal and replacement procedures for Authorized Service Provider parts ...
Страница 84: ...76 Chapter 7 Using Setup Utility BIOS and HP PC Hardware Diagnostics UEFI in Windows 8 1 ...
Страница 88: ...80 Chapter 8 Using Setup Utility BIOS and System Diagnostics in Windows 7 ...
Страница 114: ...106 Chapter 14 Statement of Volatility ...
Страница 118: ...110 Chapter 15 Power cord set requirements ...

