Playing Back Video
19
•
Blue indicates manual recording.
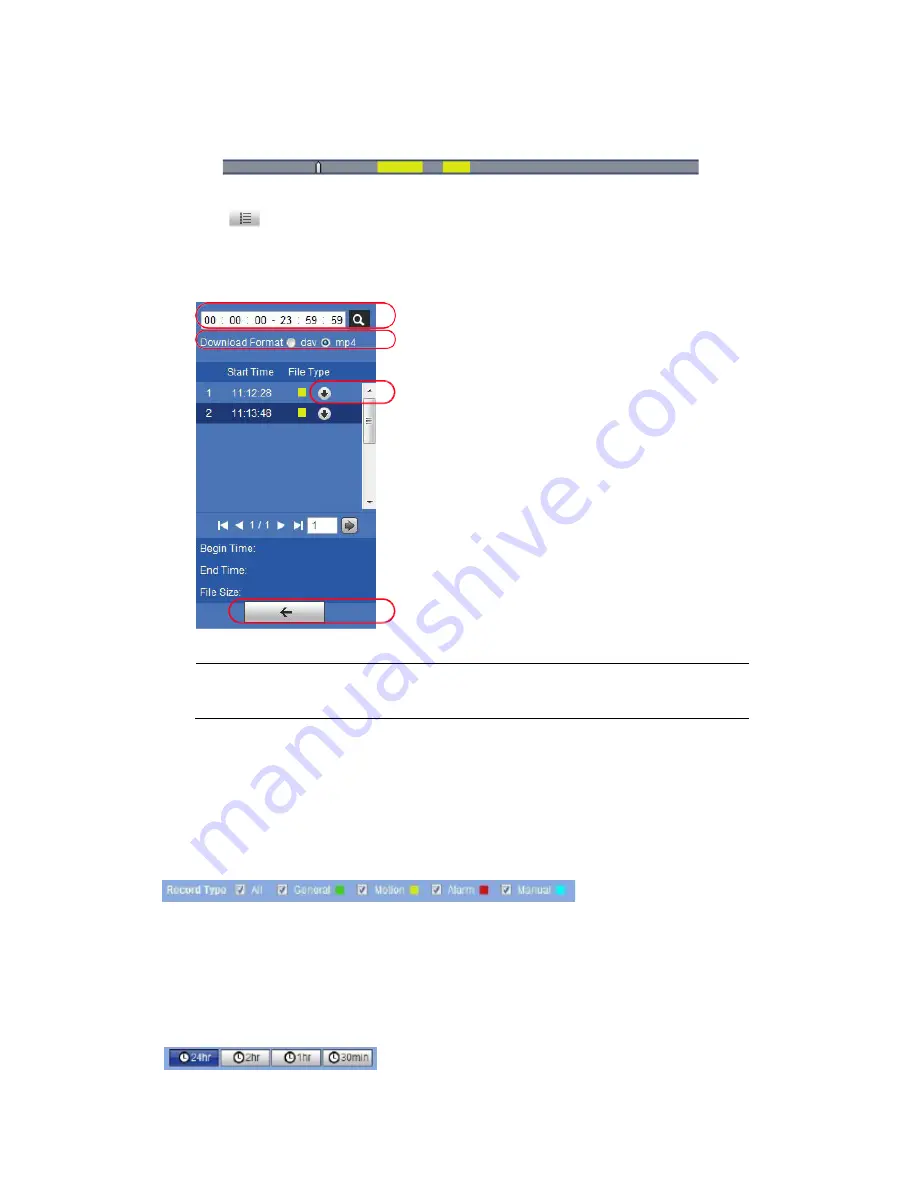
Figure 4-4 Recording Timeline
2.
Click on the timeline to select a playback time.
3.
Click
to open the list of recorded files.
4.
Double-click a file in the file list to begin playback, and to see the file size, start time, and end time.
Use the
, to review the video.
Figure 4-5 Playback File Details
Note
On the playback file interface, you can download a file to your local PC.
Searching for a File by Recording Type
By selecting a recording file type, you can filter by a particular recording type so that the timeline and file
list display only those types of recorded files. You can also select the record type to display in the
Playback window. The filter is at the top of the Playback window.
Figure 4-6 Recording Type Filter in Playback
Timeline Configuration
You can configure the playback timeline in Playback to show the last 24 hours, 2 hours, 1 hour, or 30
minutes of recorded video. Click to select.
Figure 4-7 Playback Timeline Configuration
Enter a start and end time to search for recorded video.
Select a recording type. Select
dav
, as MP4 is not
supported.
Click the download button to download the
dav
file to
the local computer.
Click to return to the calendar interface.
1
2
4
3


