ATEC
Pearl, ATEC Sapphire and ATEC Emerald
Breast Biopsy and Excision System
LIT309:RevB
This document contains information that is confidential and proprietary to Suros Surgical Systems, Inc., a Hologic company. The document
and/or information contained herein may NOT be disclosed to any party without the express written consent of Suros. Covered by one or
more of the following patents and other patents pending: 6,758,824 and 6,638,235. © 2007 Suros Surgical Systems, Inc. ATEC, Suros and
Suros Compassionate Technologies are trademarks or registered trademarks of Suros in the United States and other countries. All rights
reserved.
26
3.6.15
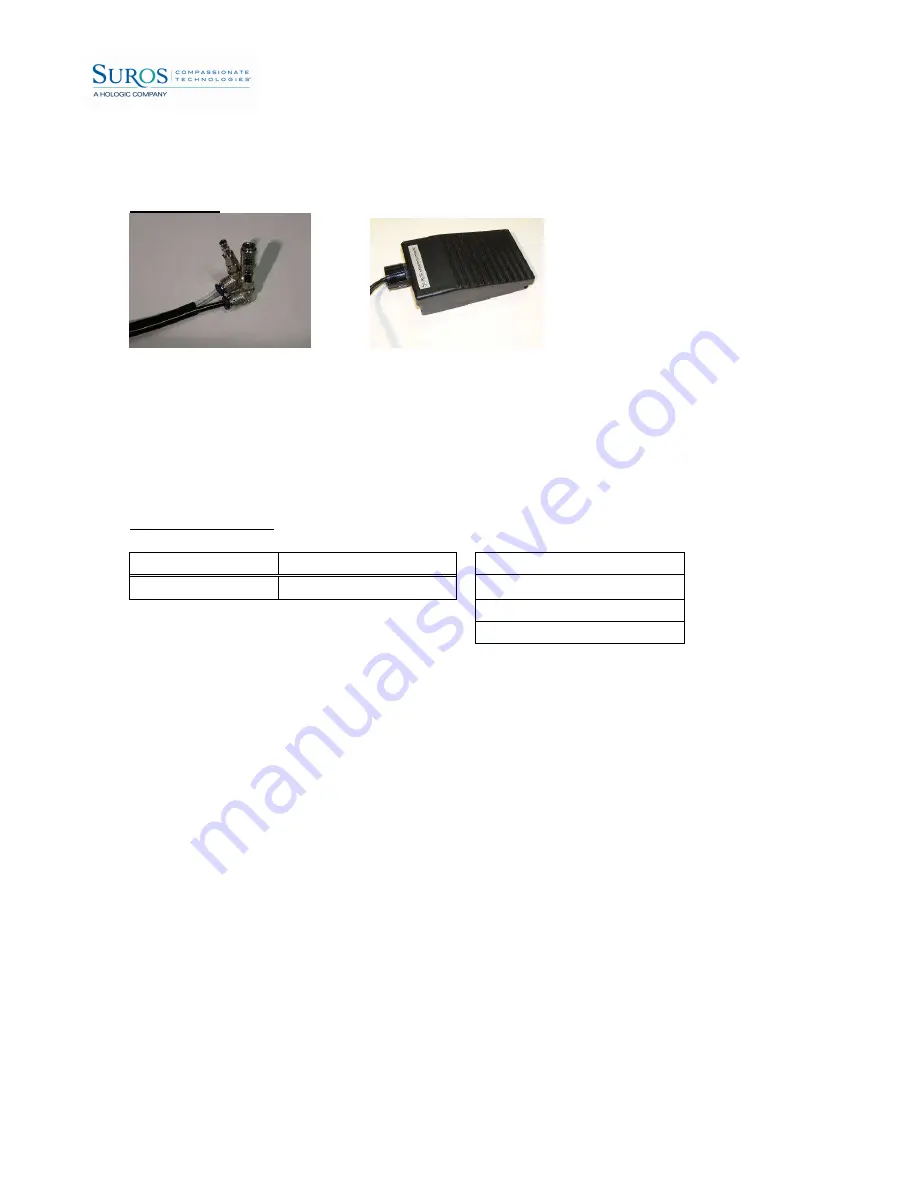
Footswitch
Inspection
Footswitch fittings and couplers. Footswitch
1. Examine the black and clear tubing by the couplers that connect to the console for
kinks. Follow repair instructions for any kinks.
2. Ensure that the black and clear tubing is pushed fully into the air fittings.
3. Ensure that the strain relief knob has been bottomed out. If not, tighten the nut all the
way.
Footswitch Repair
Parts:
Tools:
Part #
Description
7mm Wrench
N/A
N/A
8mm Wrench
9mm Wrench
Razor Blade
1. If any kinks are found, cut and discard the tubing from the kinked section.
2. The distance from the end of the black and clear tubes to the beginning of the black
jacketing should measure 1.25”. Carefully cut and remove the necessary amount of
the black jacketing using a razor blade.
3. Screw an Elbow and the Male Inlet Fitting (attached to the clear tube) together.
Ensure the gasket is on the elbow!
Torque to 25 in/lbs. Use a 7mm socket and 8mm wrench.
Do NOT set the fittings down without applying the proper torque.
Attach to the clear tube.
4. Screw an Elbow and the Female Outlet Fitting (attached to the black tube) together.
Ensure the gasket is on the elbow!
Torque to 23 in/lbs. Use a 8mm wrench and a modified 9mm crow foot on a
CDI 1502MRMHSS torque wrench. The crow foot MUST stay inline with the
wrench. This may be accomplished by “locking” the ratchet head. See next
photo.
Do NOT set the fittings down without applying the proper torque.
Attach to the black tube, same end as the above step.


