Title
Drawing
NO
Area Designer
Instruction Manual
C-41-02495
33
/
51
4.4 Sensor settings
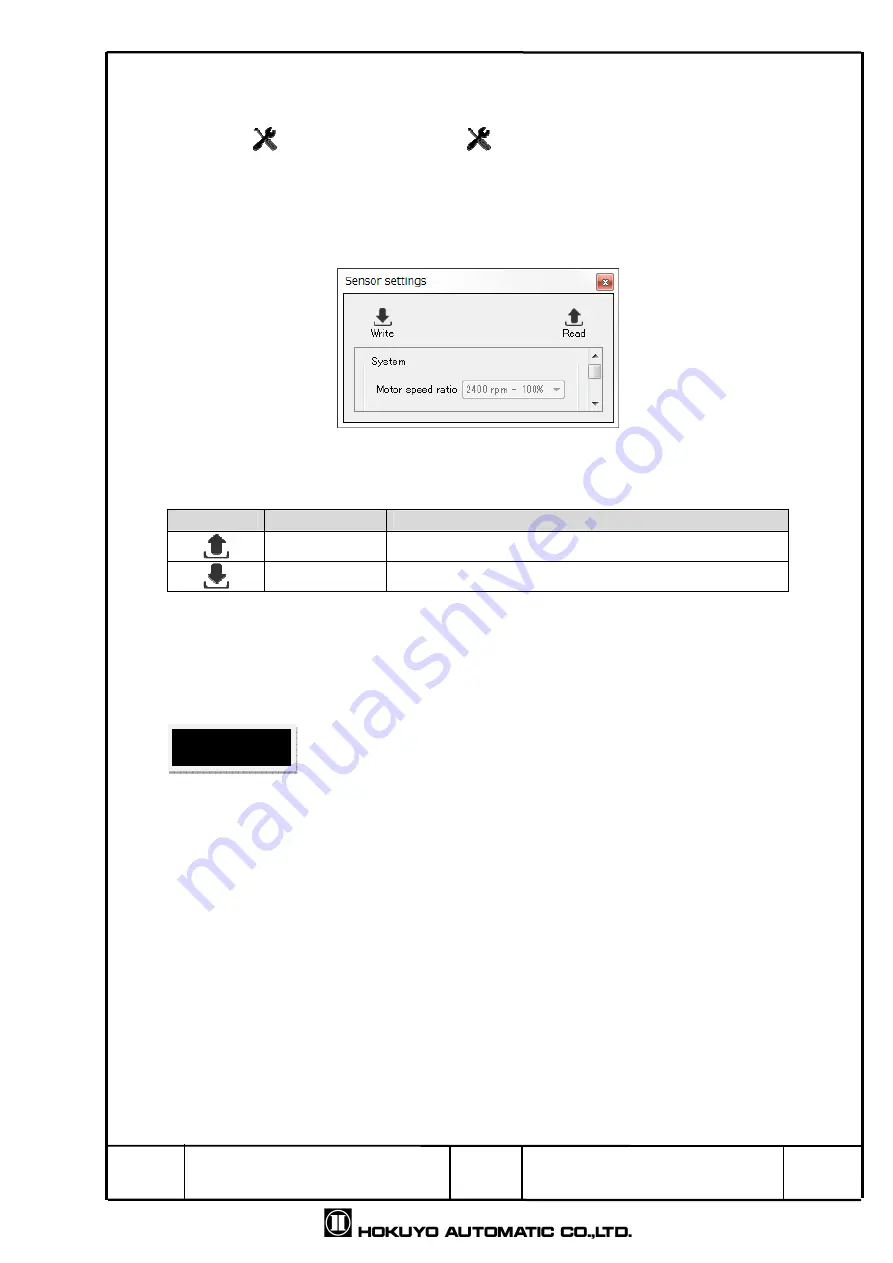
This window is used to set parameters of the sensor. Click [View] in the menu bar →
[Mode] → [
/ Sensor settings] or the
icon in the tool bar, and the window illustrated
in Fig. 4.4 will be displayed. By using shortcut keys of “Ctrl + Alt + S” also the below
window can be displayed. The details of the tools displayed will be explained in Table 4.4-1.
In table 4.4-1 [Read] and [Write] can only be used when there is connection with the
sensor.
Fig 4.4 Sensor setting
Table 4.4-1
Display of sensor setting
Icon
Name
Description
Read
Read the parameter from sensor.
Write
Write the configured parameter into sensor.
In the case of changing the internal parameter of the sensor, from the sensor setting the user
needs to change the value of parameter then click write to sensor. When you want to read the
internal parameter of the sensor then click read from sensor.
□
When the parameters have changed, the background display will be yellow and
inverted because of the parameter in the sensor settings is different from the internal
settings of the sensor. By clicking read or write if the sensor settings and internal
setting of the sensor are same it will then return to its original color.
In table 4.4-2 it explains the details of configurable parameters by sensor setting. In
order to reflect the configured items into the sensor, it is necessary to write to the sensor.
Be sure to refer to the product specifications and the user’s manual for information
regarding the configurations.
Cautions


