31
Copyright © 2011-2019 by Highly Reliable Systems, Inc. All rights reserved.
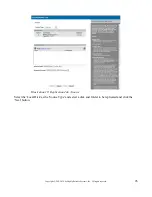
Standard Seed type, the disk to be used for the seed and set the name and options as required (see the
section below on Seed Out Jobs). If you are seeding a Replication Job to Amazon S3, you also need to
create an AWS Import Job from the options page (you should familiarize yourself with the procedures
required to send data to Amazon on the AWS website). Click 'Finish' to create the job. A Replication
Seed Out Job will be created that is associated with the Replication Job selected and will use the
settings from that job to create the seed (e.g. which folder, etc.)
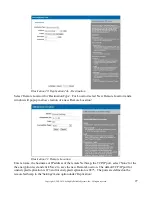
Once the Job is created, run the Job by selecting the seed Job from the Jobs screen and clicking 'Start'.
The NetSwap will copy the files to the seed disk and perform any preparation required depending on
the type of Replication Job. For Amazon S3 seed disks, the SIGNATURE file (created by Amazon
when you create an AWS Import job) will be copied to the disk as required. The job can be monitored
like a regular Replication Job from the Replication Jobs screen.
Once the Job is completed, remove the disk.
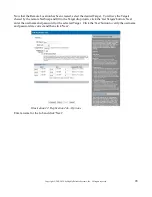
If seeding a remote NetSwap , transport the disk to the remote NetSwap and insert the disk. Select the
desired Target from the Replication Targets screen and click 'Seed In'. Fill in the name and select
desired options and click 'Finish'. This will create a Replication Seed In Job with the correct disk and
folder for the Target. Run the Job and remove when completed.
If seeding to Amazon S3 remove the disk and label it with the Disk Id you selected and pack for
shipping along with a filled out Amazon Packing List and ship to the address specified by Amazon for
that AWS Import job (this address is supplied by Amazon when the AWS Import job is created and is
specific to the data center where your bucket is located). You should familiarize yourself with the
requirements for sending media to Amazon on the AWS website. You can monitor the progress of the
AWS Import job through the Replication Seed Out Job (don't delete it until the data is successfully
seeded to Amazon) or from the 'Amazon I/E Jobs' screen.
3.3.3.2 Seed Using SpeedSeed
TM
The SpeedSeed
TM
option takes advantage of the fact that when synced (not rebuilding) both disks in a
RAID 1 (Mirror) Disk contain identical data and one disk can be removed immediately to create a seed
and be transported to the remote site.
For this example we will be using two NetSwap Plus's each with a 4TB internal disk.
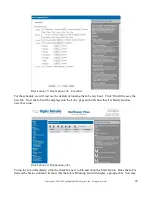
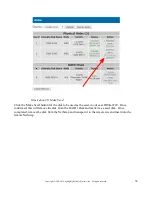
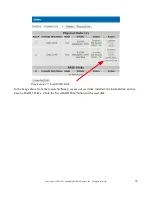
To create the seed disk on the NetSwap to be replicated from a synced RAID 1 Disk, select the 'Disks'
menu option.


