22 |
www.HandiQuilter.com
To use rulers and templates with your quilting machine
U
CAUTION: Use only 1/4 inch thick rulers with your machine. Do not use rotary-cutting rulers; they
are too thin and can easily slip under the hopping foot. Always use the Steady-Fit Ruler Base™ to
stabilize the ruler.
Keep the ruler flat and quilt only where the ruler is held securely. Avoid losing control by walking your hand
along the ruler or stopping and repositioning your hand and/or the ruler.
• Quilting with rulers requires gentle three-point pressure as follows.
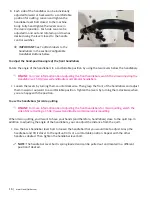
1. Position and press the ruler against any side of the hopping foot.
2. Press machine against ruler.
3. Press ruler against ruler base with only as much force as is necessary to keep the ruler from
slipping. Too much pressure will keep the machine from moving.
The quilting line will be approximately 1/4 inch away from the ruler edge. The markings on all Handi Quilter
rulers take this into consideration.
NOTE: Set the machine to stop in the needle-down position to keep the machine from moving while
making adjustments with the ruler.
Rear Laser Stylus
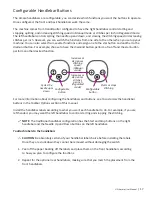
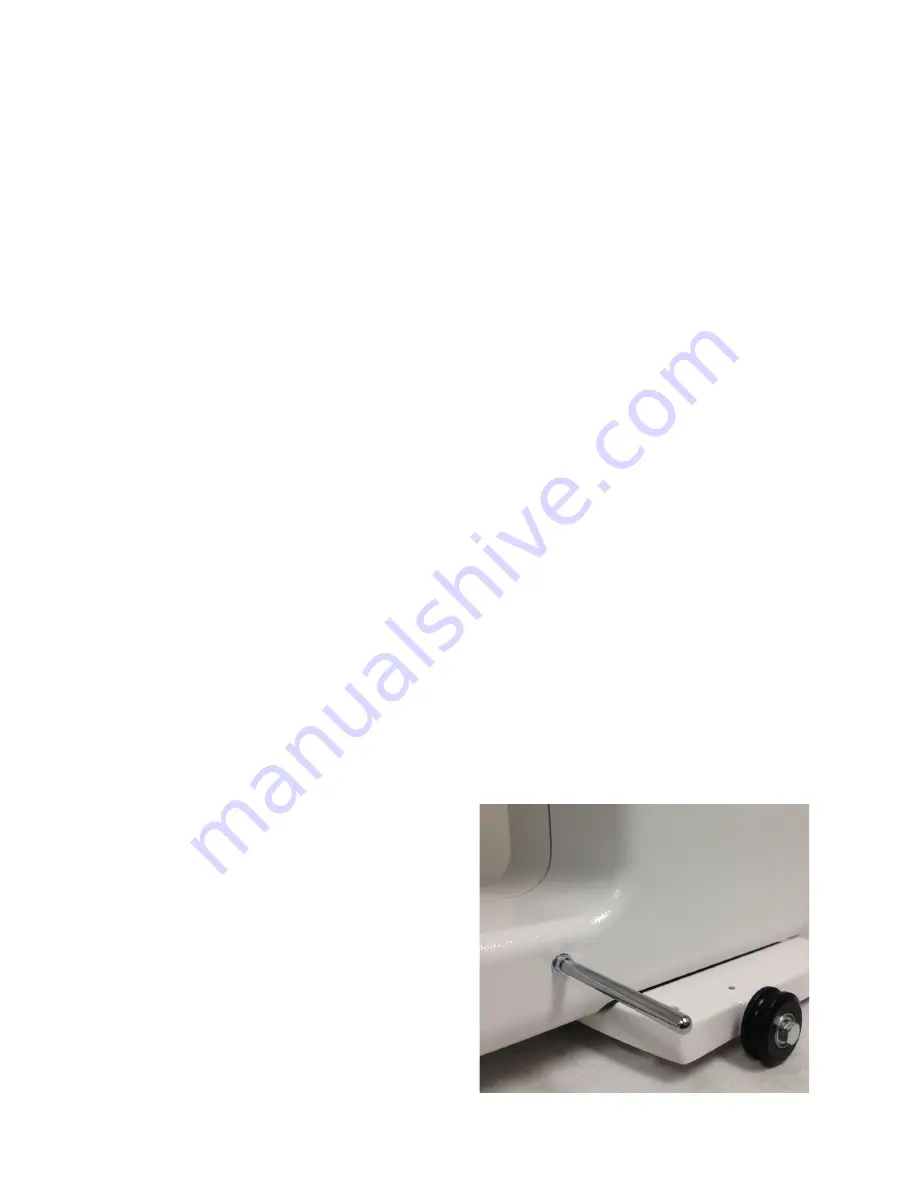
The laser light (for use with pantographs) is installed on a mounting post. The post is threaded into a hole
on the machine casting. The hole is found towards the back of the machine on the free arm about 3 inches
in front of the rear wheel.
To install the mounting post and laser stylus
ONLINE: For more information about installing the optional rear laser light, watch the video Laser
Light at: http://www.HandiQuilter.com/Amara/laserlight.
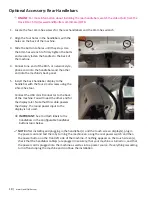
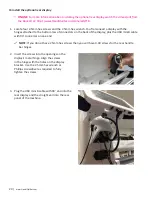
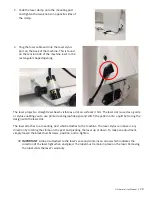
1. Locate the mounting post with nut and washer, the laser stylus, and the 8mm combo wrench.
2. Remove the nut and washer from the mounting
post. Place the nut all the way onto the
mounting post and then the washer (to protect
the machine paint). Thread the post into the
tapped hole on the machine all the way and
then fix its position by tightening the nut.


