16 |
www.HandiQuilter.com
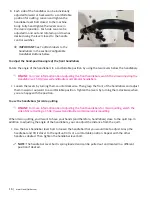
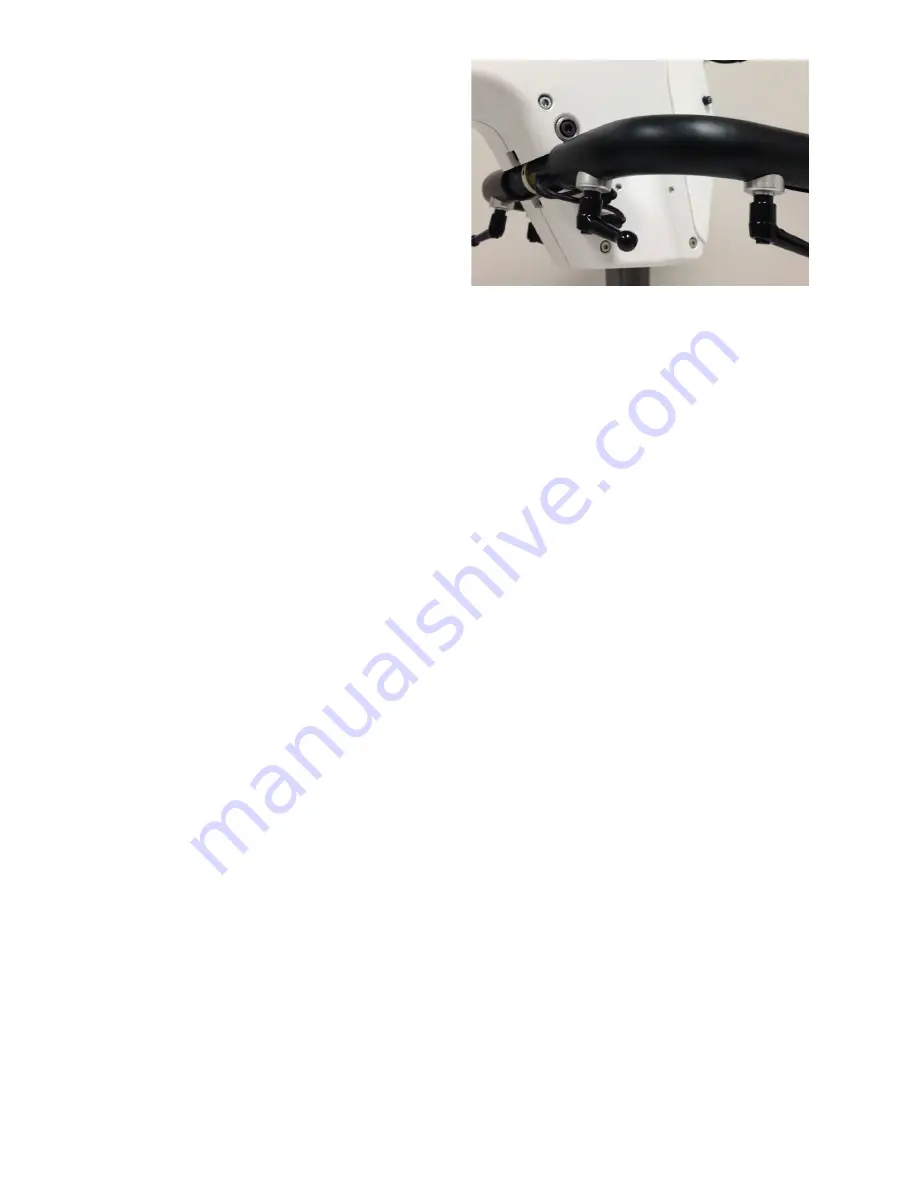
8. Each side of the handlebar can be individually
adjusted forward or backward to a comfortable
position for quilting. Loosen and tighten the
handlebar lever bolt closest to the machine
body. Fully hand-tighten the levers once in
the desired position. Each side can also be
adjusted in and out and rotated up or down as
desired using the lever closest to the handle
control switches.
Â
IMPORTANT: See To attach labels to the
handlebars in the section Configurable
Handlebar Buttons below.
To adjust the hand-position angle of the front handlebars
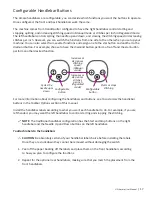
Rotate the angle of the handlebars to a comfortable position by using the two levers below the handlebars.
ONLINE: For more information about adjusting the front handlebars, watch the video Adjusting the
Handlebars at: http://www.HandiQuilter.com/Amara/handlebars.
• Loosen the levers by turning them counterclockwise. Then grasp the front of the handlebars and adjust
them inward or outward to a comfortable position. Tighten the levers by turning them clockwise when
you are happy with the position.
To use the handlebars for micro quilting
ONLINE: For more information about adjusting the front handlebars for micro quilting, watch the
video Micro Quilting at: http://www.HandiQuilter.com/Amara/microquilting.
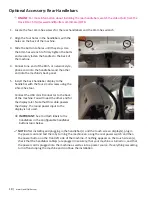
When micro quilting, you’ll want to have your hands (and therefore, handlebars) close to the quilt top. In
addition to adjusting the angle of the handlebars, you can adjust the distance from the quilt.
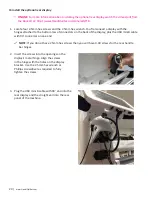
• Use the back handlebar lever bolt to loosen the handlebar that you would like to adjust. Grasp the
handlebar and tilt it closer to the quilt until it is at a comfortable position. Repeat with the other
handle as desired. Then tighten the handlebar lever bolt.
NOTE: The handle bar lever bolt is spring loaded and can be pulled out and located in a different
position if desired.


