


39
Standard programs
7.
Press
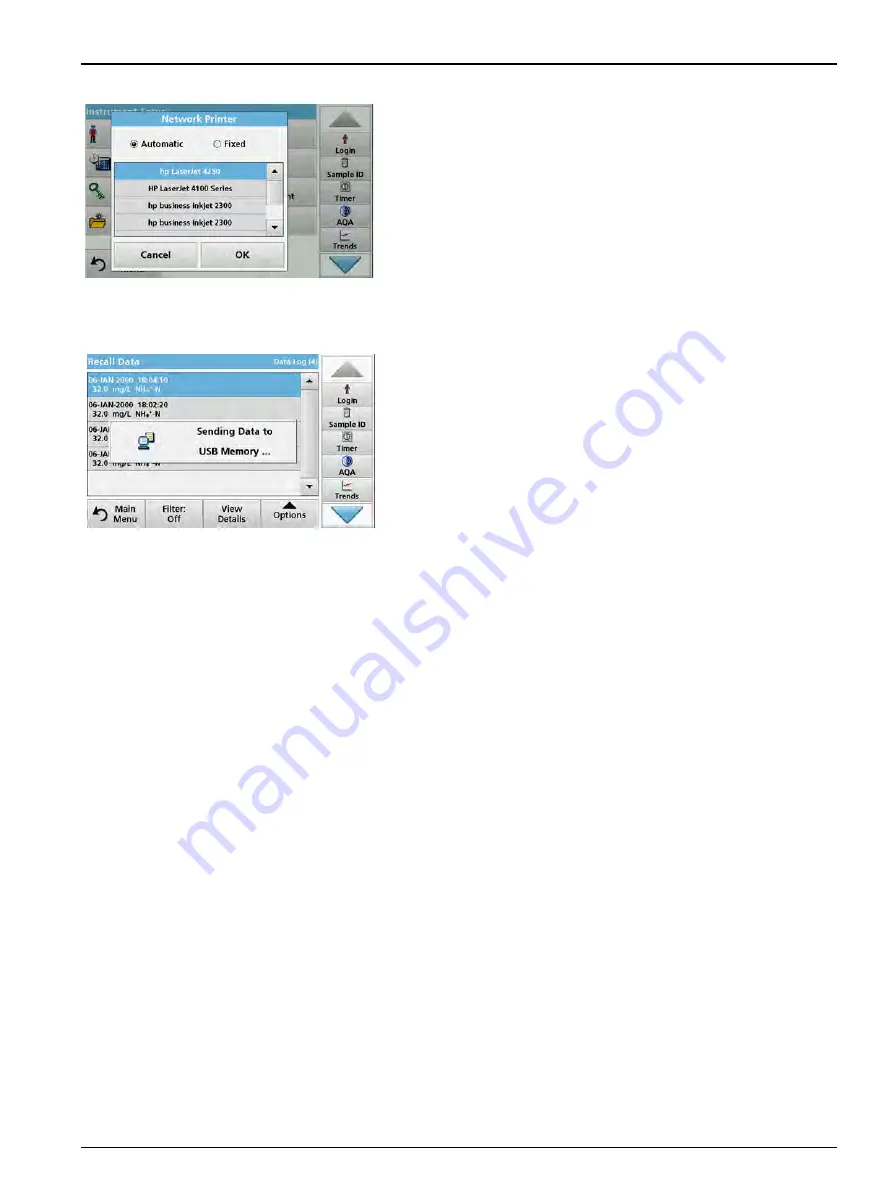
Network Printer
to define the network printer.
Automatic
: All available printers in the local network are
listed.
Select the required printer and press
OK
to confirm.
Fixed
: Enter the IP address of the required printer and press
OK
to confirm.
8.
Press
OK
to confirm the entry.
Note: Press OK again to return to the "Instrument Setup" menu.
5.2.7.2
Print data
1.
Press
Recall Data
from the Main Menu.
2.
Select the data source, where the data to be printed are
stored.
A list is displayed. Data can be filtered. Refer to
3.
Press the
Printer
icon to send the data (table, curve)
immediately to the printer.
4.
Highlight
Single point
,
Filtered data
or
All data
and press
OK
to confirm.
Send data... appears on the display
until the data is
printed.
5.2.7.3
Print data continuously
If you would like to automatically print out all measured values
immediately after measurement, the use of a continuous form
printer is recommended, for example the 4" paper thermal printer
refer to
.
1.
Connect the thermal printer to a USB type A port.
2.
Press
PC & Printer
in the "Instrument Setup" menu.
A list with information about the connections opens.
3.
Highlight
Printer
.
4.
Press
Setup
to display the Printer Setup screen.
5.
Activate
Auto Send: On
to send all measurement data
automatically to the thermal printer. Also activate in the data
log setup the
Auto Send
function. Refer to
5.2.7.4
Network setup
The DR 6000 supports communication over local networks. For
the setup of an Ethernet communication in networks, a special
configuration is required. The manufacturer recommends support
from a network administrator. Only use a shielded cable
(e.g. STP, FTP, S/FTP) with a maximum length of 20 m for the
Ethernet port. This section describes the setting options for the
photometer in relation to network communication.
Содержание DR 6000
Страница 2: ......
Страница 16: ...16 General information ...
Страница 132: ...132 Expanded programs ...
Страница 138: ...138 Maintenance 7 4 Replace fuses 1 Remove the cover below the power switch containing the fuses ...
Страница 142: ...142 Troubleshooting ...
Страница 145: ...145 Section 10 Contact ...
Страница 146: ...146 Contact ...
Страница 152: ...152 Help Guide ...
Страница 156: ...156 Index ...


