


113
Expanded programs
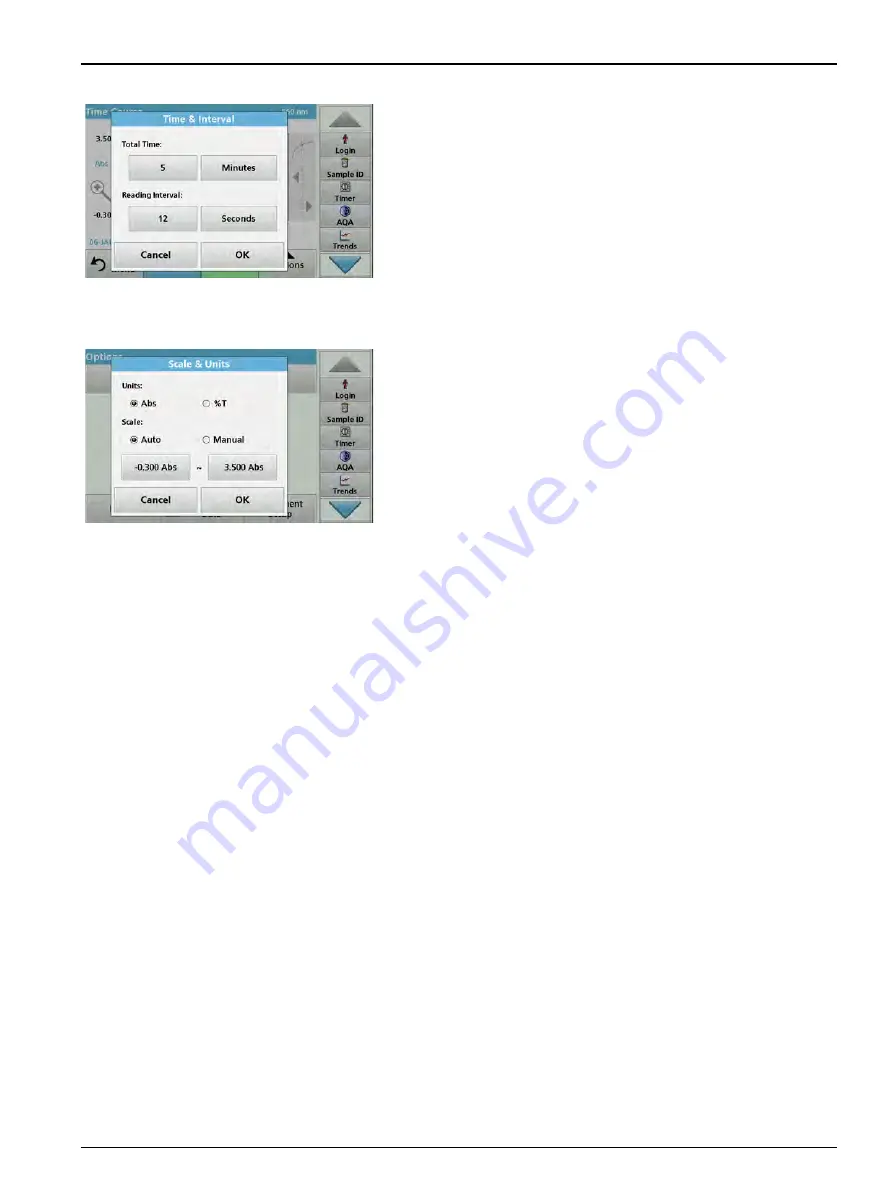
Time & Interval:
1.
Press the "Options" menu on the menu option
Time & Interval
.
2.
Enter the total time and measurement interval.
3.
Press
OK
to confirm.
Note: In total, a maximum of 2000 measuring steps can be
accomplished during a scan. To select a total time and a time interval
that would cause this number of readings to be exceeded, the time
interval is defined automatically and the OK key is inactivated.
Scale & Units:
1.
Press the "Options" menu on the menu option
Scale & Units
.
2.
Highlight
Abs
or
%T
as the required units.
3.
Highlight Auto or Manual scaling on the graph's y-axis.
Note: When selecting the manual scaling, the limit values y
min
and y
max
can be entered using the alphanumeric keypad. The graph is adjusted to
display only the values in the selected range. If automatic scaling is
selected, the instrument sets the limits automatically so that the total
range can be displayed.
4.
Press
OK
to confirm.
5.
Press
Return
to return to the Scan mode.
Reading Mode
The Reading Mode functions enable the sample to be analyzed
with a single reading, continuous readings or with an optional
carousel insert (sample changer).
•
Single Reading:
A single reading is taken after Read is
pressed.
•
Carousel 1 inch square:
Performs a series of
measurements in 1-inch square cells with an option carousel
insert.
•
Carousel 1 cm square
: Performs a series of measurements
in 1-cm square cells with an optional carousel insert.
Additional information can be found in the carousel user manual.
(
).
Содержание DR 6000
Страница 2: ......
Страница 16: ...16 General information ...
Страница 132: ...132 Expanded programs ...
Страница 138: ...138 Maintenance 7 4 Replace fuses 1 Remove the cover below the power switch containing the fuses ...
Страница 142: ...142 Troubleshooting ...
Страница 145: ...145 Section 10 Contact ...
Страница 146: ...146 Contact ...
Страница 152: ...152 Help Guide ...
Страница 156: ...156 Index ...


