


37
Standard programs
2.
Select the required action.
3.
Press
Setup
and complete the required settings.
4.
Press
OK
to confirm the entry.
The instrument then returns to "Instrument Setup".
5.2.7
PC and printer
The DR 6000 features an Ethernet port and two USB ports on the
rear of the instrument, as well as one USB port on the front (refer
to
). These interfaces can be used
to send data and graphics to local and network printers, update
data and transfer data to a PC and within a network. These
interfaces can be used for the connection of a USB stick, an
external USB keyboard or a USB Barcode handset scanner.
Note: Various accessories can also be connected simultaneously using
a USB hub.
A USB memory stick is used to update data, refer to
.
Note: A shielded USB cable must not be longer than 3 m!
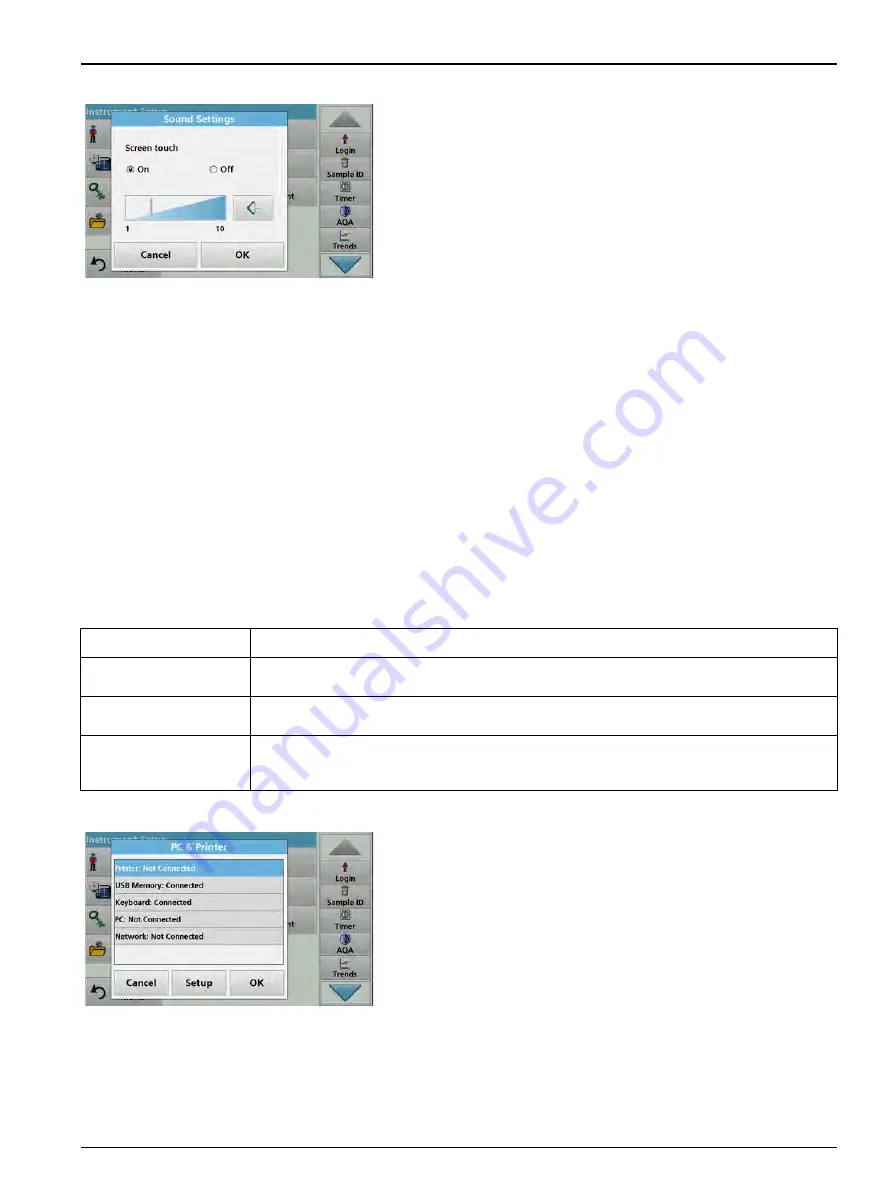
1.
Press
PC & Printer
in "Instrument Setup".
A list with information about the connections opens.
Table 3 USB connector
Interfaces
Description
USB (Type A)
This USB interface is for the connection of a printer, of a USB storage device or of a USB
keyboard.
USB B
This USB port is only intended for the connection of the DR 6000 to a PC (with installation of the
corresponding software).
Ethernet
The Ethernet port is intended for data transfer to a PC without installed software or in a local
network . Only use a shielded cable (e.g. STP, FTP, S/FTP) with a maximum length of 20 m for
the Ethernet port.
Содержание DR 6000
Страница 2: ......
Страница 16: ...16 General information ...
Страница 132: ...132 Expanded programs ...
Страница 138: ...138 Maintenance 7 4 Replace fuses 1 Remove the cover below the power switch containing the fuses ...
Страница 142: ...142 Troubleshooting ...
Страница 145: ...145 Section 10 Contact ...
Страница 146: ...146 Contact ...
Страница 152: ...152 Help Guide ...
Страница 156: ...156 Index ...


