❏
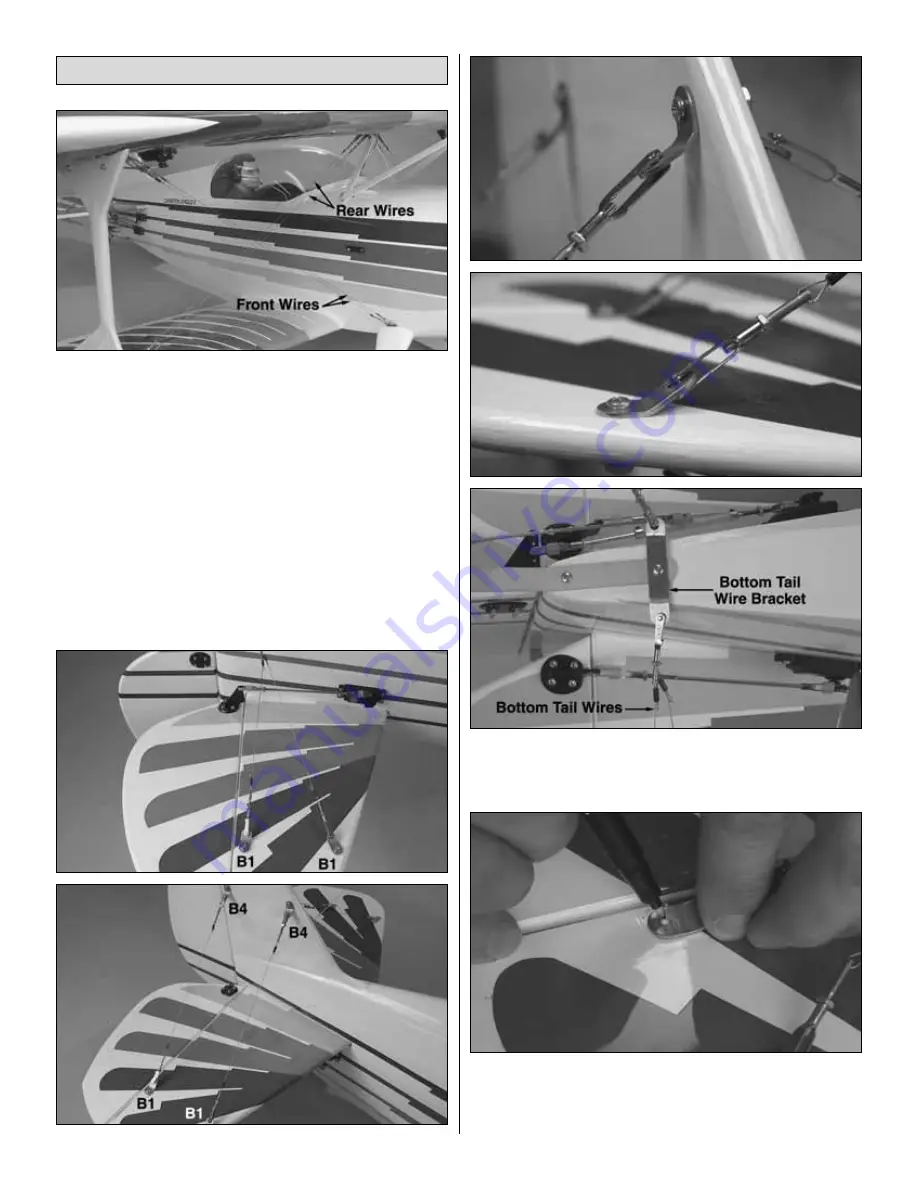
1. From clevis pin to clevis pin, measure the length of the
wires supplied. The wires measuring 21-1/2" [545mm] are the
front wing flying wires and go from the top wing down to the
fuselage by the landing gear. The wires measuring 22-1/4"
[565mm] are the rear wing flying wires and go from the bottom
wing up to the top wing near the half-round cutout for the
trailing edge over the cockpit. Fit and carefully adjust the length
of all the wires for equal tension, then tighten the nuts on the
brass couplers. Note: Silicone clevis retainers are provided for
the clevises on all the flying wires. It isn’t necessary to have the
retainers installed during assembly and initial setup, but make
certain the retainers are installed when flying the model.
Otherwise, some of the clevises may detach from the brackets.
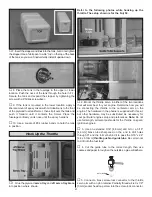
Refer to the following photos while mounting the tail wires.
❏
2. Mount the bottom tail wire bracket to the tail gear
mount using the screw that is already in the front of the mount.
Connect both double-wire bottom tail wires to the bracket.
❏
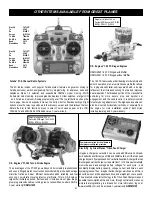
3. Connect four B1 metal brackets to each of the four clevises
on the ends of the bottom wires. Use light tension to pull the
bracket on one of the aft wires to the middle of the stabilizer
trailing edge. Mark the hole in the bracket onto the stab.
Mount the Flying Wires (Optional)
39


