engine shown, the manually-operated switch was made
from a .3 Amp slide switch, 16-gauge wire and a covered,
crimp-on connector purchased at the local RadioShack.
Slightly different hardware may be required if using a
different spark-ignition engine. All of the components
required should also be available at any hardware or home-
improvement store.
The fuel tank, stopper and fuel line included with this kit is
suitable for use with glow fuel. However, if using a gasoline
engine, the stopper and line must be converted to work with
gas. There may be several different gas-compatible stoppers
and lines available, but of the all the combinations tested,
the Du-Bro gas conversion stopper and Du-Bro medium
neoprene fuel tubing are the only ones recommended. The
Du-Bro stopper holds up best to gasoline and the Du-Bro
medium fuel tubing fits tightly and remains attached. Du-Bro
fuel line barbs are also highly recommended for keeping the
lines attached. To use the barbs however, the aluminum fuel
tubes that come with this tank must be replaced with brass
tubing so the barbs can be soldered on.
Following is a list of all the items required to convert the
stopper and fuel lines for use with gasoline:
❏
(1) Du-Bro #400 gas conversion stopper (DUBQ0675)
❏
(2) 2' [610mm] Du-Bro medium neoprene fuel tubing
(DUBQ0455)
❏
(2 pkgs.) Du-Bro #813 1/8" [3.2mm] I.D. fuel line barbs
(DUBQ0670)
❏
(1) 12" [300mm] piece of K+S 1/8" [3.2mm] soft brass
tubing (K+SR5128-box of 5)
Note: Modelers who use glow engines with large silicone
fuel tubing should also use fuel line barbs to ensure that the
larger tubing remains attached to the metal tubes in the
tank. If using fuel line barbs, the aluminum tubes supplied
with the fuel tank will have to be replaced with K&S brass
tubing so the barbs can be soldered on. Fuel line barbs are
not necessary when medium silicone fuel tubing is used.
The Christen Eagle ARF comes with all the hardware
necessary to add semi-scale flying wires. (The wires are
mounted near their scale locations, but the flying wires on
the full-size Eagle are rigid and streamlined rather than the
flexible cable used on this model). The flying wires are for
scale enhancement and are not necessary for flying, so the
Eagle may be flown with or without them. (Most pilots who
are more concerned with aerobatics than they are scale
appearance choose to fly without the wires due to the
additional set up time). To mount the flying wires, simply
follow the instructions in the manual.
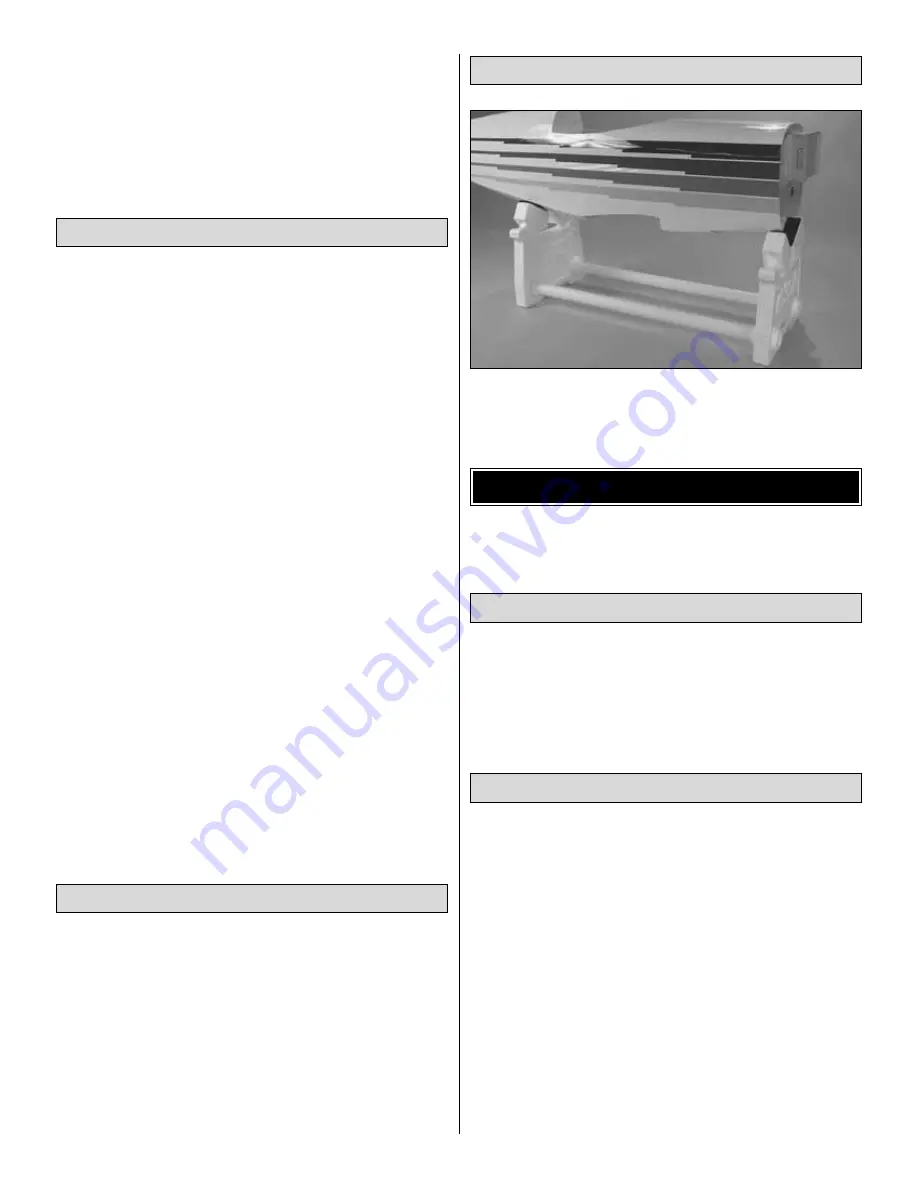
While building the Christen Eagle ARF a building stand or
cradle is a necessity. We use the Robart Super Stand II
(ROBP1402) for all of our projects in R&D.
In addition to the items previously listed, following is a list of
the rest of the items required to finish the Christen Eagle II
ARF. Order numbers are provided in parentheses.
❏
Suitable propellers
❏
1/4" [6mm] (HCAQ1000) or 1/2" [13mm] (HCAQ1050)
R/C foam rubber
❏
3' [900mm] standard silicone fuel tubing (for glow
engine--GPMQ4131)
❏
30% scale or 1/4-scale pilot
In addition to common household tools and hobby
supplies, following are the most important items required to
build the Eagle.
Great Planes Pro
™
CA and Epoxy glue
are recommended.
❏
1 oz. [30g] Thin Pro CA (GPMR6002)
❏
1 oz. [30g] Medium Pro CA+ (GPMR6008)
❏
CA applicator tips (HCAR3780)
❏
Pro 30-minute epoxy (GPMR6047)
❏
Epoxy mixing cups (GPMR8056)
❏
Microballoons (TOPR1090)
❏
Threadlocker thread locking cement (GPMR6060)
❏
RTV silicone cement or R/C-56 canopy glue (JOZR5007)
❏
Paint assortment and brushes for painting pilot
❏
Black or gray paint for cockpit and rear instrument panel
❏
Masking tape (TOPR8018)
❏
#1 Hobby knife (HCAR0105)
Adhesives and Building Supplies
Hardware and Accessories
ADDITIONAL ITEMS REQUIRED
Building Stand
Optional Flying Wires
Fuel Tank Setup
5


