❏
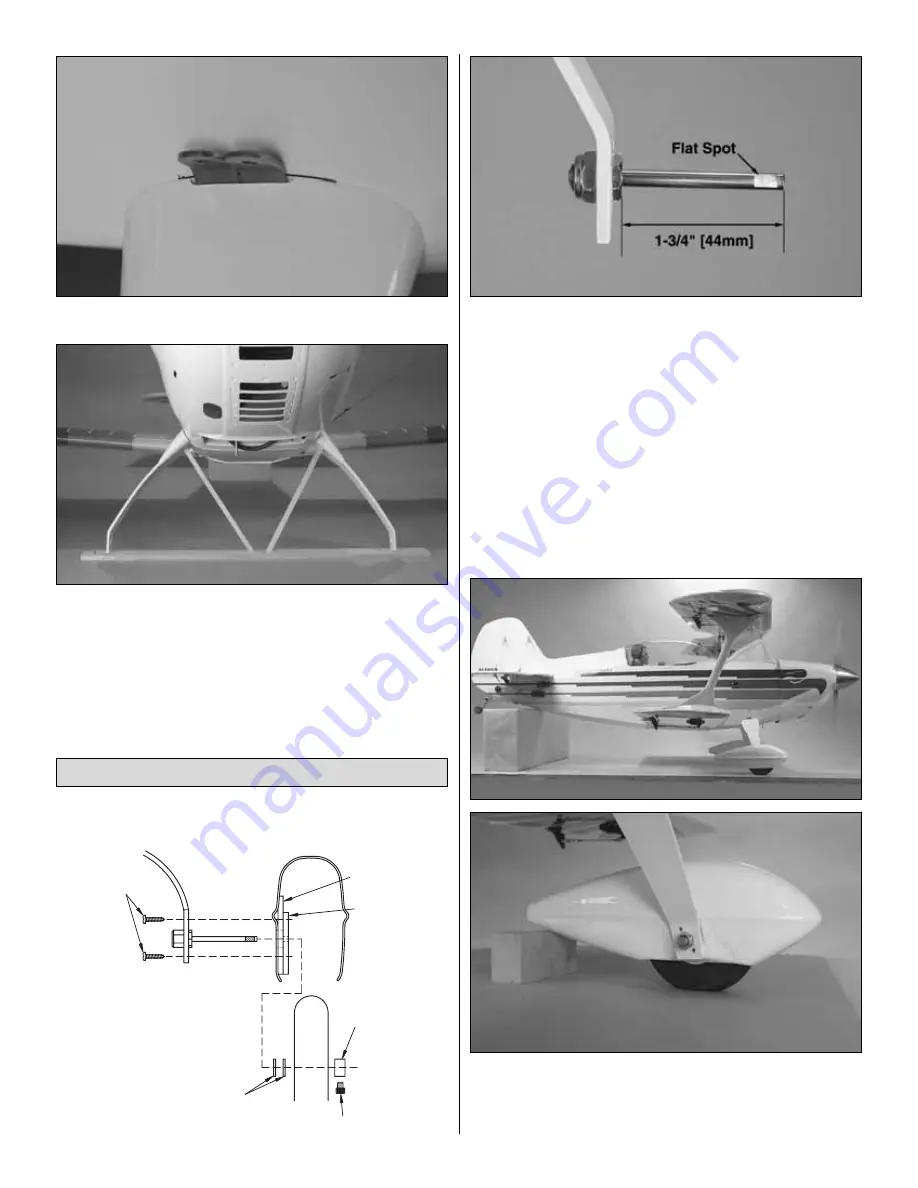
7. Trim the fairings where they meet the brackets.
❏
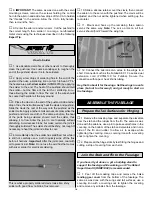
8. Use R/C 56 canopy glue or RTV silicone to glue the
fairings to the bottom of the landing gear. There should be a
clearance of 1/16" to 1/8" [2 to 3mm] between the fairing and
the fuselage to allow for movement of the gear on rough
landings. Use balsa sticks as shown in the photo to hold the
fairings in position until the adhesive dries.
Refer to this sketch while mounting the wheel pants.
❏
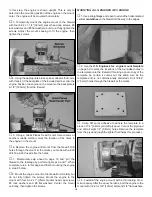
1. Cut both 3/16" x 2" [4.8 x 50mm] wheel axles to a
length of 1-3/4" [44mm]. File flat spots near the end of the
axles, then use a 7/16" wrench and a 1/2" wrench to bolt the
axles to the gear with 5/16-24 lock nuts. (Rotate the axles so
the flat spots are facing downward.)
❏
2. Take the fuselage off the building stand and place it on
your workbench resting on its gear. Slip the pants and
wheels onto the axles.
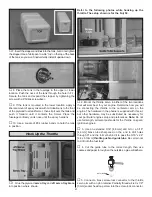
In the following step, the wheel pants should be
positioned as shown on this finished model. The wheel
pants should be parallel with the ground (workbench)
when the fuselage is parallel with the ground.
❏
3. Raise the aft end of the fuselage so it is in a level,
flying attitude. Use a box or something similar to hold it in
this position. Level the wheel pants by propping them up the
same way.
#4 x 1/2" SCREWS
WHEEL PANT
BRACE
WHEEL PANT
DOUBLER
3/16" WHEEL
COLLAR
6-32 x 1/4" SHCS
#8 WASHERS
Mount the Wheel Pants
27


