57
5
Choose the Gerber P2C (or other compatible USB plotter) and click USB for the Local
Port.
6
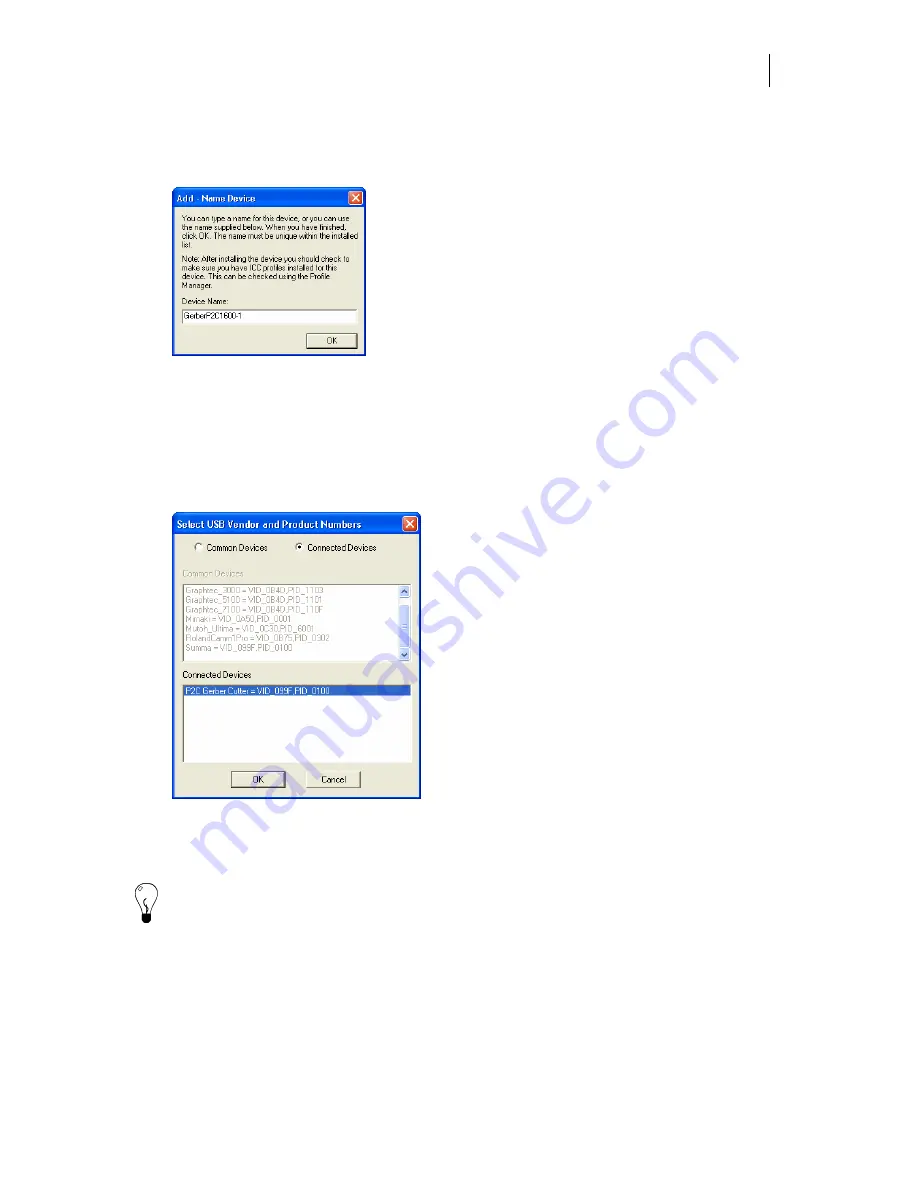
Click Add to open the Add - Name Device dialog box.
7
Accept the default name or enter your own description for the device. The description
appears in the output dialog boxes. Click OK. The name of the new plotter will appear
in the Installed Plotter(s) field of the Add or Delete Plotter(s) dialog box.
8
Close the Add or Delete Plotter(s) dialog box.
9
The first time you send a job to this plotter GQ Manager will flash prompting you to
open it. The Select USB Vendor and Product Numbers dialog box displays.
10
Choose the connected USB plotter from the Connected Devices list (or the Common
Devices list if it is a plotter in that list) and click OK. This will load the USB
information (Vendor ID and Product ID) for the plotter into OMEGA. Click OK.
Tip: If the plotter you are installing is a common device it may be listed in the Common Devices
list. Turn on Common Devices to activate that list.
11
To view the USB plotter Vendor and Product IDs, open GQMgr. Right-click the
installed USB plotter and choose Properties to open the Properties for GerberP2C (or
other plotter) dialog box.


