55
To add a remote ink jet printer
Note: Instructions for networking Gerber equipment can be found in, “Chapter Seven:
Networking Devices” or in FastFacts #3548. Follow these instructions before installing a
remote inkjet printer.
1
Open the Add or Delete Gerber ImageRIP printer(s) dialog box using one of the
methods on page 33. The Local tab displays.
2
Click the Remote tab.
3
Click the Browse button to open the Browse for Folder dialog box and select the
correct drive (Gspqueue folder) for the networked printer. Click OK to return to the
Add or Delete ImageRIP Printer(s) dialog box.
4
Click the available ImageRIP printer to be added.
Adding or deleting a plotter
Two types of plotters can be installed with your OMEGA system, local and remote. Many
Gerber plotters are installed via a COM port, but some plotters such as the Gerber P2C
™
can be
installed using a USB port. In addition to installing the USB plotter in OMEGA, you will need to
install the plotter driver that came with the equipment.
Tip: Occasionally a plotter will use a standard Windows driver instead of a custom driver and
the driver will already be loaded on your computer.
To add a local plotter via a COM port
1
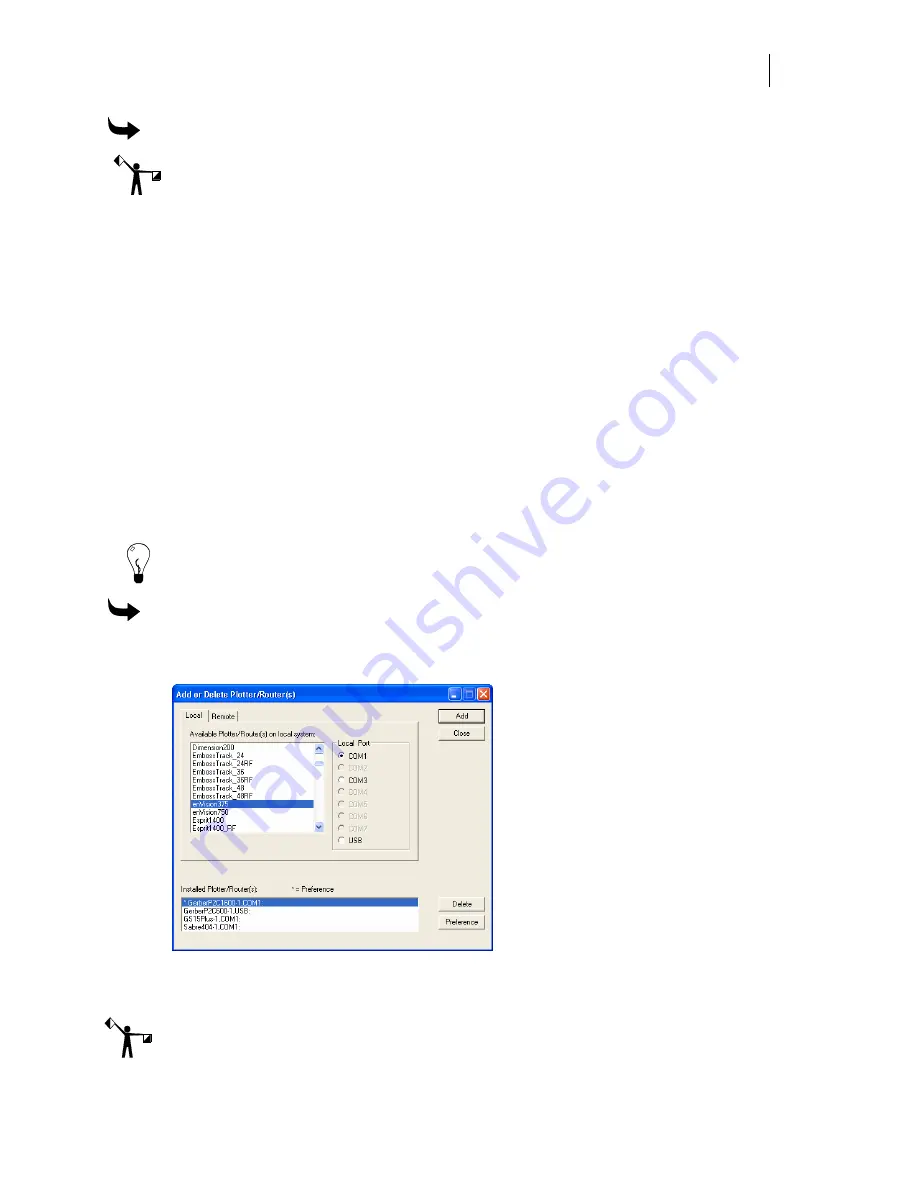
Open the Add or Delete Gerber Plotter/Router(s) dialog box using one of the methods
on page 33. The Local tab displays.
2
Select a plotter from the Available Plotter/Router(s) on local system list.
3
Choose a Local Port.
Note: If you are installing a USB plotter such as a Gerber P2C, see the procedure entitled
“Installing a plotter via a USB port” on page 53.


