5
Gateway Mid Tower Front
www.gateway.com
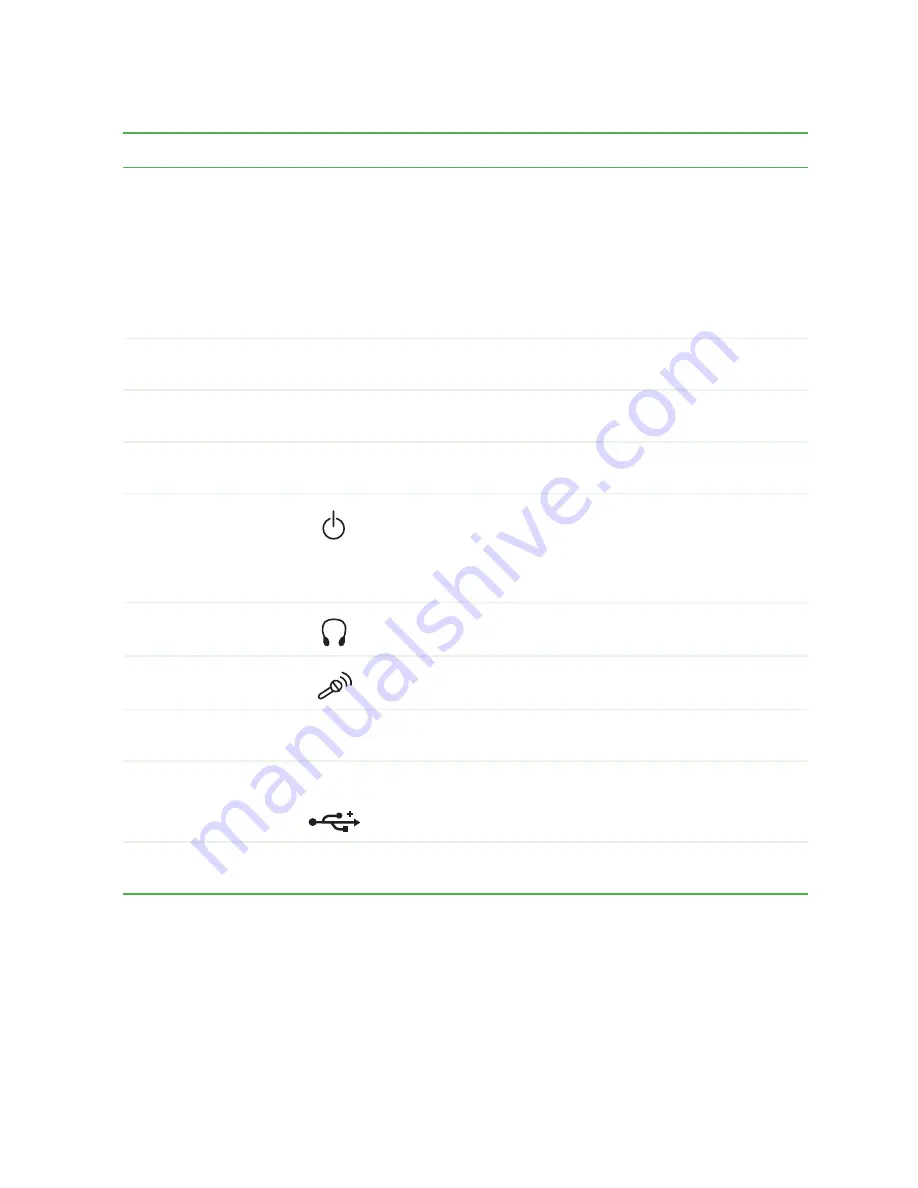
Component
Icon
Description
CD/DVD/Recordable
drive
Use this drive to listen to audio CDs, install games and
programs, watch DVDs, and store large files onto recordable
CDs and DVDs (depending on drive type). For more
information, see
“Using the CD or DVD drive” on page 46
.
This drive may be a CD, CD-RW, DVD, DVD/CD-RW, or
DVD-RAM/-R/-RW/CD-RW drive. To identify your drive type
and for more information about your drive, see
“Identifying
drive types” on page 46
.
5.25-inch drive bay
cover
Remove this cover to install an additional 5.25-inch drive.
3.5-inch drive bay
cover
Remove this cover to install an additional 3.5-inch drive.
Diskette drive
Use this drive to store smaller files on diskettes. For more
information, see
“Using the diskette drive” on page 44
.
Power button
Press this button to turn the power on or off. You can also
configure the power button to operate in Standby/Resume
mode or Hibernate mode. For more information on changing
the power button setting, see
“Changing power settings” on
page 86
.
Headphone jack
(optional)
Plug headphones into this jack. This jack is color-coded lime
green.
Microphone jack
(optional)
Plug a microphone into this jack. This jack is color-coded red
or pink.
CD/DVD eject button
Press this button to open the CD or DVD drive tray. For more
information, see
“Using the CD or DVD drive” on page 46
.
USB 2.0 ports
USB v2.0
Plug USB (Universal Serial Bus) devices (such as a digital
camera) into these ports.
Diskette eject button
Press this button to eject an inserted diskette. For more
information, see
“Using the diskette drive” on page 44
.
Содержание e-4000
Страница 1: ......
Страница 2: ......
Страница 108: ...102 Chapter 6 Restoring Software www gateway com...
Страница 114: ...108 Chapter 7 Adding or Replacing Components www gateway com 6 Push in on the cover release handle...
Страница 115: ...109 Gateway Mid Tower Case www gateway com 7 Pull the side panel away from the case...
Страница 122: ...116 Chapter 7 Adding or Replacing Components www gateway com 4 Slide the release lever toward the open side of the case...
Страница 130: ...124 Chapter 7 Adding or Replacing Components www gateway com 5 Flip the power supply retention clip out...
Страница 138: ...132 Chapter 7 Adding or Replacing Components www gateway com 9 Lift the side panel up...
Страница 139: ...133 Gateway Micro Tower Case www gateway com 10 Lift the side panel away from the case...
Страница 146: ...140 Chapter 7 Adding or Replacing Components www gateway com 6 Slide the release lever toward the rear of the case...
Страница 151: ...145 Gateway Micro Tower Case www gateway com 4 Slide the release lever back toward the rear of the case...
Страница 155: ...149 Gateway Micro Tower Case www gateway com 5 Swing the add in card retention cover open...
Страница 179: ...173 Gateway 4 bay Small Form Factor case www gateway com 4 Slide the release lever toward the front of the case...
Страница 196: ...190 Chapter 7 Adding or Replacing Components www gateway com...
Страница 202: ...196 Chapter 8 Using the BIOS Setup Utility www gateway com...
Страница 232: ...226 Chapter 9 Troubleshooting support gateway com...
Страница 250: ...244 Appendix B Safety Regulatory and Legal Information www gateway com...
Страница 258: ...252...
Страница 259: ......
Страница 260: ...MAN US E4000 SYS GDE R2 12 02...


