6
GETTING STARTED
Using the GOTO Key
A
B
Marking a Position
To mark your present position:
1. Press the
M
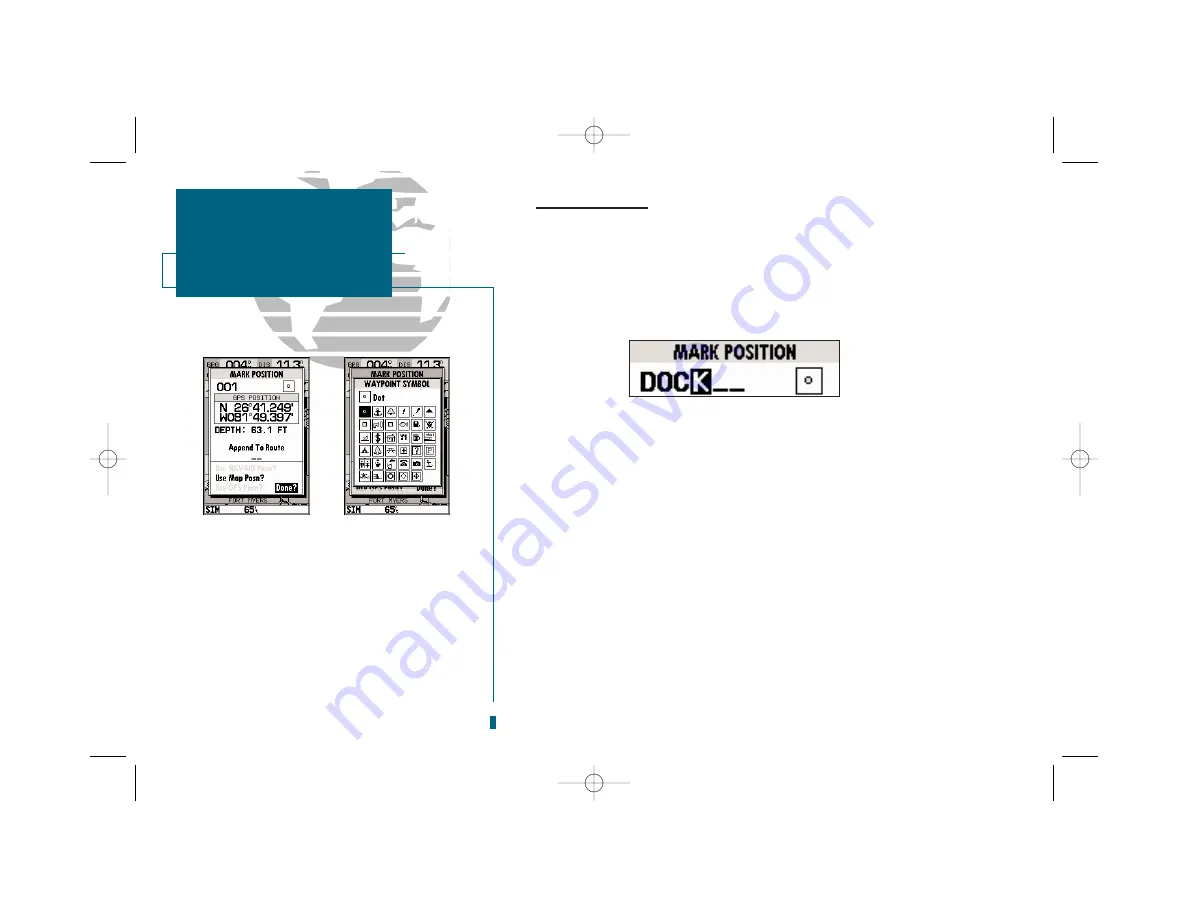
key. The mark position page will appear, with a default three-digit
waypoint name, symbol, position, and depth.
2. Use the
R
keypad to highlight the waypoint name field (001) and press
T
.
3. Press the LEFT ARROW of the
R
keypad to clear the name field.
4. Use the
R
keypad to enter the name ‘DOCK,’ using the UP and DOWN arrows to select
each letter, and the RIGHT arrow key to advance to the next character position. If you
make a mistake and select an incorrect character, simply use the LEFT arrow key of the
R
keypad to backspace the cursor and correct the entry.
5. Press
T
to confirm the name.
6. The field highlight will advance to the symbol field. Press
T
to access the waypoint
symbol page.
7. Use the
R
keypad to highlight the ANCHOR symbol.
8. Press
T
to confirm the symbol.
9. Press
T
again to confirm the ‘DONE?’ prompt and save the waypoint.
The DOCK waypoint is now stored in memory. Waypoints can also be created
graphically from the map display, by manually entering position coordinates, or as
underwater waypoints from the Sounder Page. Each of these techniques is
described in the reference section of the manual or in the quick reference guide.
To continue our tour, let’s move on to the Sounder Page.
1. Press the
J
key to access the Sounder Page.
GETTING STARTED
Marking a Position
A.
The mark position page will automatically assign
a default, three-digit name for each waypoint,
which can be changed at any time to an alphanu-
meric name containing up to six-characters.
B.
A complete set of waypoint symbols allows you to
mark inland and offshore waypoints with a cus-
tom symbol for fast waypoint recognition.
19000138.10A.QXD 11/11/99 8:46 AM Page 6


