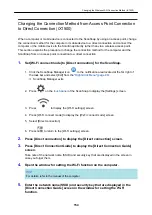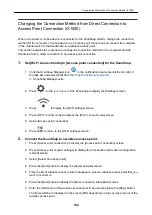
Checking the DNS Server of the ScanSnap (iX1500)
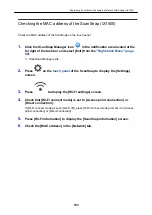
Check the DNS server of the ScanSnap on the touch panel.
1.
Click the ScanSnap Manager icon
in the notification area located at the
far right of the task bar and select [Exit] from the
a
ScanSnap Manager exits.
2.
Press
on the
of the ScanSnap to display the [Settings]
screen.
3.
Press
to display the [Wi-Fi settings] screen.
4.
Check that the name of a network which is currently connected, is displayed
in [Access point connection]
If [Access point connection] is disabled or if a network name is not displayed, refer to
"Connecting the ScanSnap to a Computer in Access Point Connect Mode (iX1500)" (page 120)
and connect the ScanSnap to a wireless access point.
5.
Press [Wi-Fi information] to display the [ScanSnap information] screen.
6.
Check the [DNS Server] in the [Network] tab.
Registering a Certificate/ Checking the Wireless LAN Settings (iX1500)
149
Содержание SV600
Страница 1: ...P3PC 6912 01ENZ2 Basic Operation Guide Windows ...
Страница 54: ...What You Can Do with the ScanSnap 54 ...
Страница 66: ...What You Can Do with the ScanSnap 66 ...
Страница 87: ...Example When SV600 and iX1500 are connected to a computer Right Click Menu 87 ...
Страница 89: ...ScanSnap Setup Window 89 ...
Страница 199: ...l Multiple Carrier Sheets can be loaded in the ADF paper chute cover and scanned Scanning Documents with iX1500 199 ...
Страница 228: ...l Multiple Carrier Sheets can be loaded in the ADF paper chute cover and scanned Scanning Documents with iX500 228 ...
Страница 245: ...For details refer to the Advanced Operation Guide Scanning Documents with iX100 245 ...
Страница 320: ...For details refer to the Advanced Operation Guide Scanning Documents with S1100i 320 ...
Страница 365: ...For details refer to the CardMinder Help Saving Business Cards to a Computer with CardMinder 365 ...
Страница 368: ...HINT For details about ScanSnap Home operations refer to the ScanSnap Home Help Saving Receipt Data to a Computer 368 ...


