10.9 System
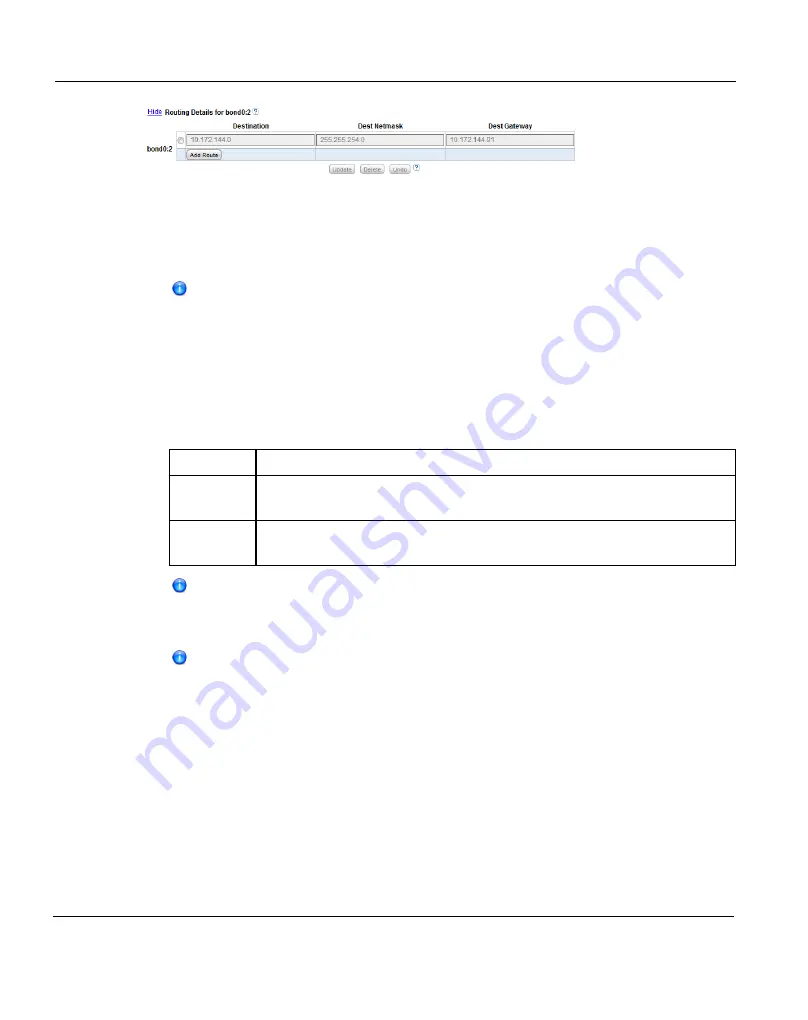
Figure 211: Network Page: Routing Details
1. In the
IP Address Table
(above routing details), select an interface to add or modify
routing data. (To select an interface, click the radio button next to the interface index
name, for example,
bond0:2
.)
After selecting an interface in the
IP Address Table
, the
Routing Details
table below expands to display available routes (if any).
A maximum of 8 routes per interface are allowed.
2. If necessary, click the
Show
link to show the routing details table.
3. Click
Add Route
to add a route to the selected interface.
Or select a route to edit its settings.
4. Enter the following network information as provided by your network administrator:
Destination
The destination network for the route.
Dest
Netmask
The network mask for the route.
Dest
Gateway
The gateway IP address used for
outgoing
traffic sent from the interface
to a host or client. (This is usually not the same as the default gateway.)
The destination gateway of each route
must
match the subnet of at least one
configured IP address listed in the
IP Address Table
. If no match is found,
an error displays stating that the route’s destination gateway is not reachable.
In the example shown in
"Network Configuration" on page 321
, to reach a
host on the 10.50.50.x subnet, you would enter 10.50.50.0 for destination
network, 255.255.255.0 for the destination netmask, and 10.20.20.1 as the
destination gateway.
5. Click
Update
to save the changes you made to the
Routing Details
table. (Clicking
Update
does not yet apply the new network settings to the ETERNUS CS800.)
6. Click
Delete
to remove IP routing information for the selected interface. Or click
Undo
to
revert all current Routing Details changes to the last update.
330
ETERNUS CS800
Содержание ETERNUS CS800
Страница 1: ...ETERNUS CS800 V3 2 User Guide English ...
Страница 2: ......
Страница 3: ...English ETERNUS CS800 User Guide V3 2 Edition October 2015 ...
Страница 26: ...26 ...
Страница 42: ...42 ...
Страница 78: ...78 ...
Страница 114: ...6 3 Running the Getting Started Wizard 6 3 3 Network Configuration Figure 80 Network Configuration 114 ETERNUS CS800 ...
Страница 132: ...6 3 Running the Getting Started Wizard Figure 91 Confirm Page 132 ETERNUS CS800 ...
Страница 143: ...Figure 97 Remote Management Pages Map ETERNUS CS800 143 7 Remote Management ...
Страница 144: ...144 ...
Страница 184: ...8 7 AIS Connect Figure 128 AISConnect Wizard Confirm 184 ETERNUS CS800 ...
Страница 198: ...198 ...
Страница 321: ...Figure 206 Network Configuration ETERNUS CS800 321 10 Configuration ...
Страница 335: ...Figure 215 Date Time Page To set the system date and time ETERNUS CS800 335 10 Configuration ...
Страница 339: ...Figure 216 Access Control Settings Page ETERNUS CS800 339 10 Configuration ...
Страница 362: ...362 ...
Страница 432: ...432 ...
Страница 476: ...476 ...
Страница 494: ...494 ...
Страница 600: ...600 ...


