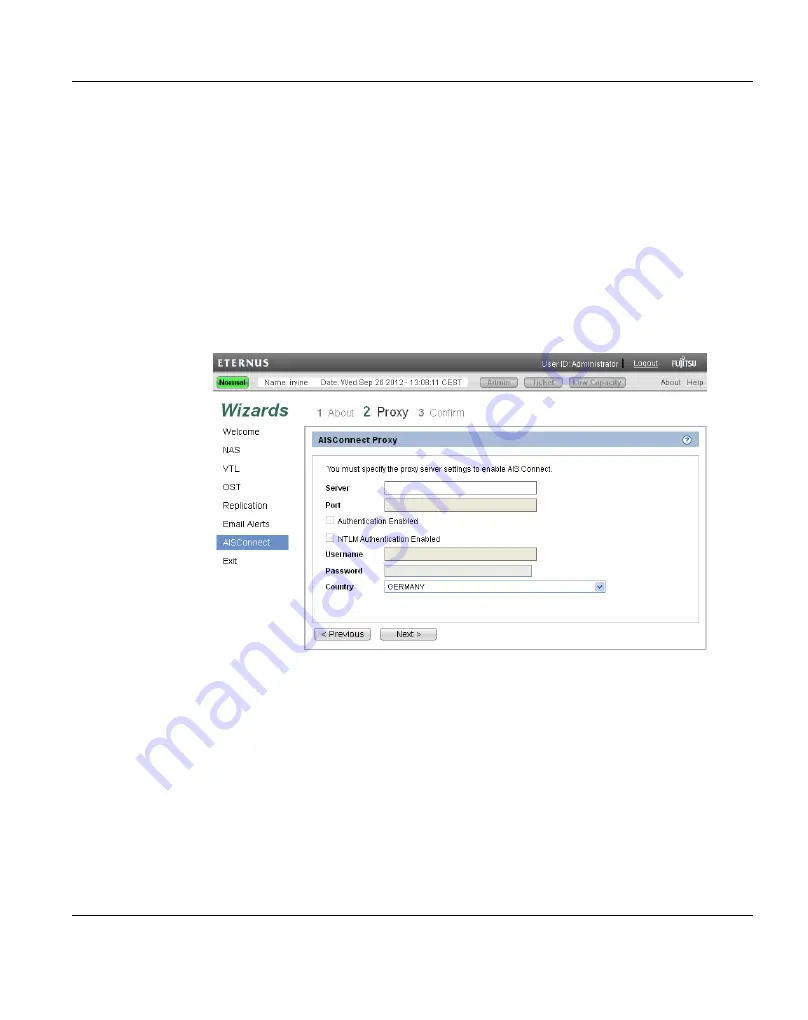
1. Enter the proxy server information:
l
Server
- Enter the IP address of the proxy server.
l
Port
- Enter the port number of the proxy server.
l
Authentication Enabled
- Select the check box if the proxy server requires
authentication.
l
NTLM Authentication Enabled
- Select the check box if the proxy server
requires NTLM (NT LAN Manager) authentication.
l
Username
- Enter the username to use for proxy authentication.
l
Password
- Enter the password to use for proxy authentication.
l
Country
- Select the country where the ETERNUS CS800 is located.
2. Click
Next
.
Figure 127: AISConnect Wizard: Proxy
Step 3: Confirm
After you have confirmed all settings, click
OK
. The wizard configures the ETERNUS
CS800 with the settings you selected.
ETERNUS CS800
183
8 Configuration Wizards
Содержание ETERNUS CS800
Страница 1: ...ETERNUS CS800 V3 2 User Guide English ...
Страница 2: ......
Страница 3: ...English ETERNUS CS800 User Guide V3 2 Edition October 2015 ...
Страница 26: ...26 ...
Страница 42: ...42 ...
Страница 78: ...78 ...
Страница 114: ...6 3 Running the Getting Started Wizard 6 3 3 Network Configuration Figure 80 Network Configuration 114 ETERNUS CS800 ...
Страница 132: ...6 3 Running the Getting Started Wizard Figure 91 Confirm Page 132 ETERNUS CS800 ...
Страница 143: ...Figure 97 Remote Management Pages Map ETERNUS CS800 143 7 Remote Management ...
Страница 144: ...144 ...
Страница 184: ...8 7 AIS Connect Figure 128 AISConnect Wizard Confirm 184 ETERNUS CS800 ...
Страница 198: ...198 ...
Страница 321: ...Figure 206 Network Configuration ETERNUS CS800 321 10 Configuration ...
Страница 335: ...Figure 215 Date Time Page To set the system date and time ETERNUS CS800 335 10 Configuration ...
Страница 339: ...Figure 216 Access Control Settings Page ETERNUS CS800 339 10 Configuration ...
Страница 362: ...362 ...
Страница 432: ...432 ...
Страница 476: ...476 ...
Страница 494: ...494 ...
Страница 600: ...600 ...


