User’s Manual
54
Text-In Search
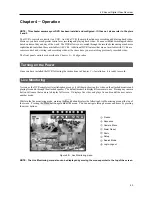
NOTE: Text Input information will be overlaid on the image while the recorded video is played at regular speed.
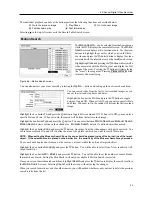
You can also narrow your event search by selecting the
Option…
button and setting up the new search condition.
Highlight the
Channel
and press the button. Select the text-in devices that you want to search for text input.
Highlight the text input device
box and press the button. Select your Text Input Device from the list.
NOTE: The following description is for a
Generic Text
device. The screen changes for different types of text
input devices, and there will be different parameter boxes for you to enter information.
Highlighting the
+
and pressing the button allows you to add a new set of search parameter. Set up the desired search
parameter. Refer to the
Appendix – Text-In Search Examples
for further information on setting up search parameters.
The column can be used to delete a set of search parameter or entire sets of search parameters.
Highlight
Case Sensitive
and press the button. This will toggle between On and Off. When this feature is On,
the search will find only those text strings in which the case matches.
Highlight
Load
and press the button to load saved search option settings. Select the desired search option settings.
Highlight
Save
and press the button to save the current search option settings. A virtual keyboard appears that you
can use to enter the search option name.
Once you set your desired search conditions, highlight
Search
and press the button to display the search results in
the
Text-In
Search
screen. Selecting
Cancel
exits the screen without saving the changes.
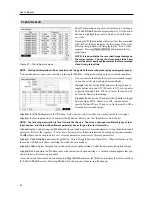
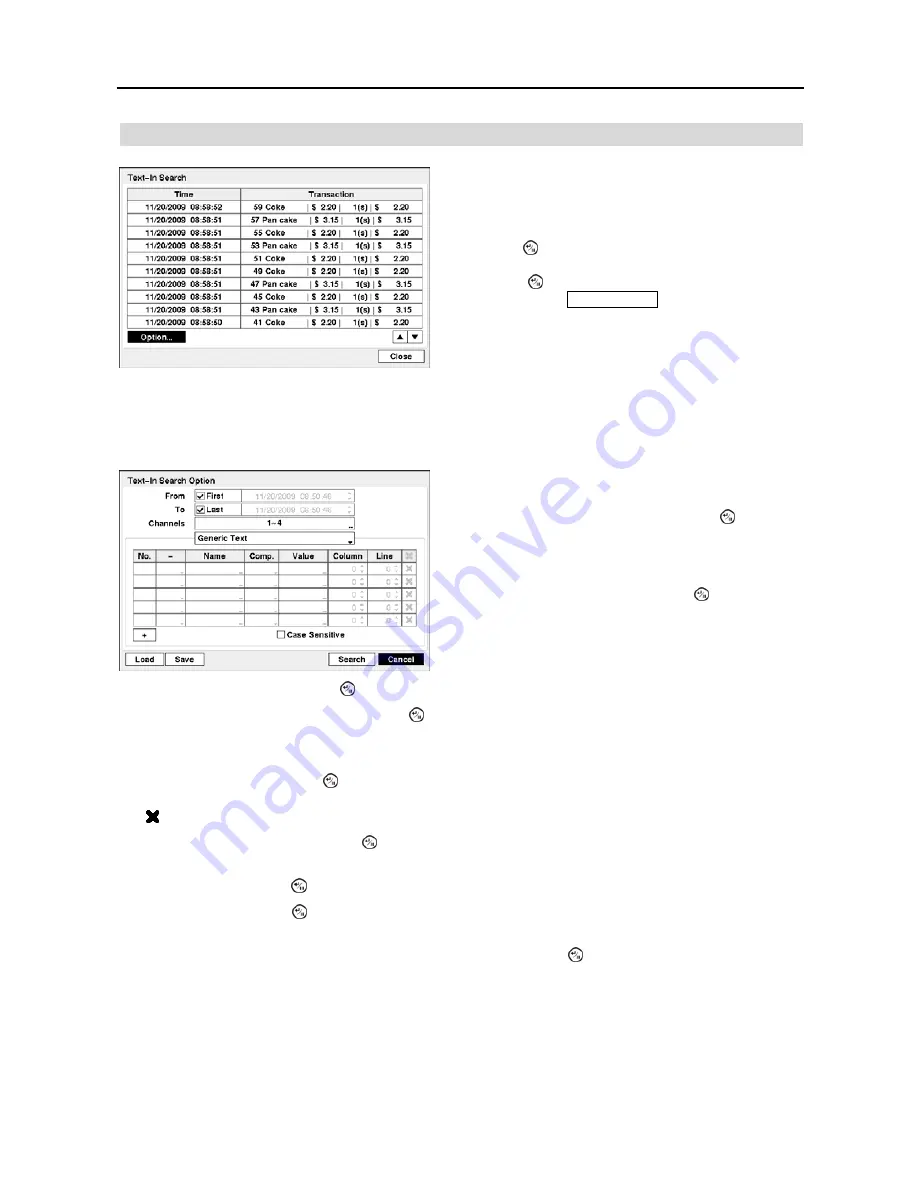
Figure 67
─
Text-In Search screen.
The DVR maintains a log of each time there is Text Input.
The
Text-In Search
screen displays this list. Use the arrow
buttons to highlight the event for which you would like to
see video.
Pressing the (Enter) button will extract the video associated
with the Text Input and display the first image of the event.
Pressing the button will start playing the “event” video
segment. Pressing
Playback Mode
button returns to live
monitoring.
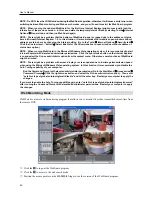
NOTE: It is possible that no recorded image displays on
the current screen. Change the screen mode to 2x2, and
you will be able to easily see the cameras that have recorded
video during target time.
You can search video from the first to last recorded images,
or you can set the start and stop times and dates.
Highlight the box beside
From
and press the button to
toggle between On and Off. When set to Off, you can enter
a specific Date and Time. When set to On, the search will
be from the first recorded image.
Highlight the box beside
To
and press the button to toggle
between On and Off. When set to Off, you can enter a
specific Date and Time. When set to On, the search will be
from the last recorded image.
Содержание 4-Channel
Страница 1: ......
Страница 2: ......
Страница 10: ...User s Manual 2 Figure 1 Typical DVR installation...
Страница 14: ...User s Manual 6...
Страница 50: ...User s Manual 42...
Страница 72: ...User s Manual 64 Map of Screens...


