User’s Manual
50
Camera Menu
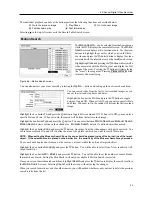
Selecting (Camera Menu) in the Search menu displays the following Camera Menu.
NOTE: The video signal has a time difference of 1/60 second (1/50 second for PAL) between odd and even fields
because it is composed of 60 interlaced fields per second (50 fields for PAL). When recording video with Very
High (D1) resolution, video is made up of frame units combining two fields – one odd field and one even field.
This can cause horizontal scan lines or flashes in areas with motion because of the time difference between the
two fields. Turning on the de-interlace filter provides clearer video by eliminating these horizontal scan lines
and flashes.
NOTE: The
Camera Menu
also can be displayed by clicking the right mouse button on the screen while in the
search mode.
Alarm Reset
Selecting (Alarm Reset) in the Search menu resets the DVR’s outputs including the internal buzzer during an alarm.
It is the same as pressing any button on the front panel when the alarm is activated.
Panic
Selecting (Panic) in the Search menu starts panic recording of all cameras, and selecting again stops panic recording.
It is the same as pressing the
Panic
button on the front panel.
Data Source
Selecting (Data Source) in the Search menu allows you to select the data source to be searched. Selecting
Record
searches recorded data on primary storage installed in the DVR, and selecting
Other
searches recorded data on storage
used for another DVR then installed in this DVR.
Exit
Selecting (Exit) in the Search menu exits the search mode and enters the live monitoring mode.
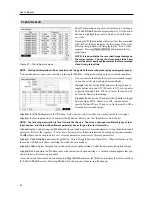
Event Log Search
You can also narrow your event search by selecting the
Option…
button and setting up the new search condition.
Zoom:
Selecting
Zoom
and choosing the camera number zooms the current playback image
of the selected camera on the screen. It is the same as pressing the
Zoom
button on the front
panel. Selecting
Zoom
again exits the Zoom mode.
Audio:
Selecting
Audio
toggles audio playback On and Off. Recorded audio will be played
when the DVR displays a camera with recorded audio in full screen mode.
Enable De-Interlace:
Selecting
Enable De-Interlace
turns the de-interlace filters on.
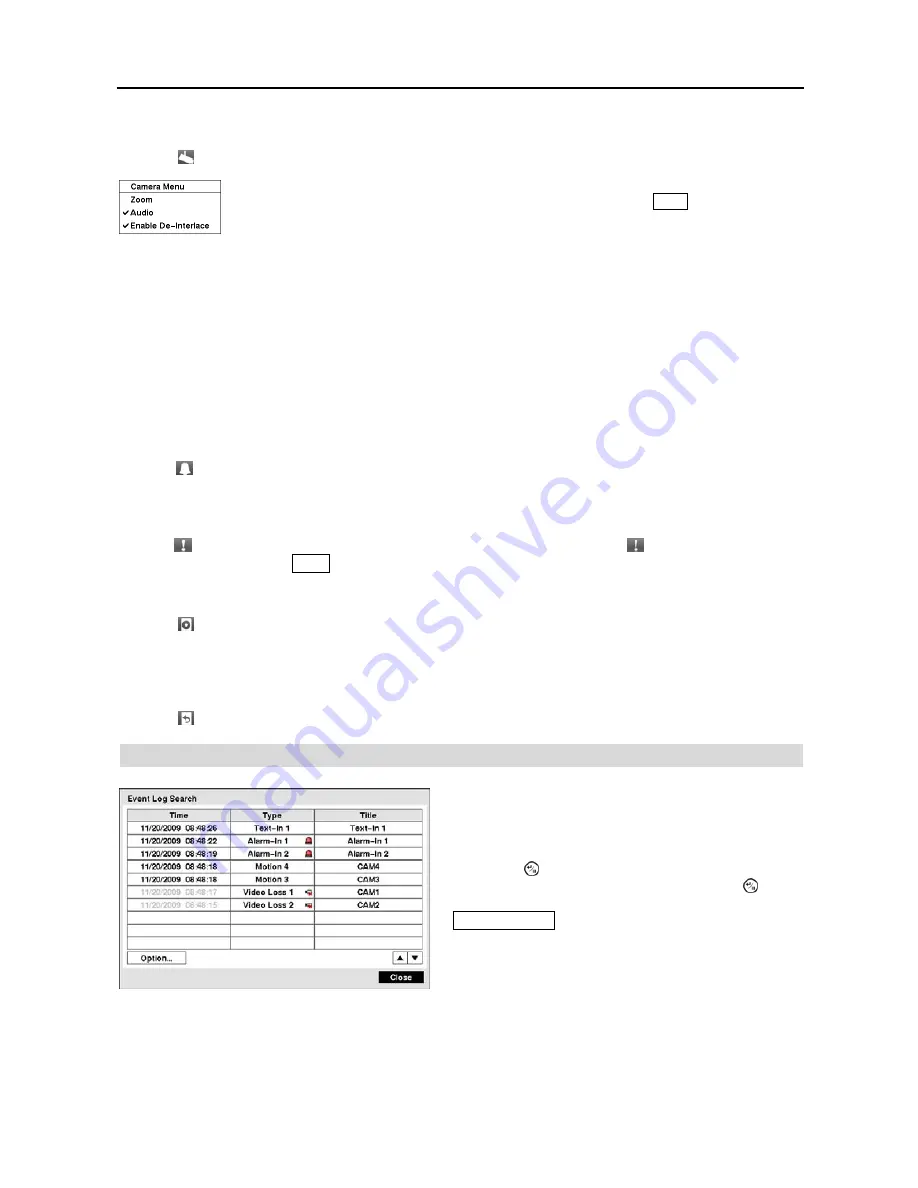
Figure 64
─
Event Log Search screen.
The DVR maintains a log of each time the Alarm Input port
is activated. The
Event Log Search
screen displays this list.
Use the arrow buttons to highlight the event for which you
would like to see video.
Pressing the (Enter) button will extract the event video and
display the first image of the event. Pressing the button
will start playing the “event” video segment. Pressing
Playback Mode
button returns to live monitoring.
NOTE: It is possible that no recorded image displays on
the current screen. Change the screen mode to 2x2, and
you will be able to easily see the cameras that have recorded
video during target time.
Содержание 4-Channel
Страница 1: ......
Страница 2: ......
Страница 10: ...User s Manual 2 Figure 1 Typical DVR installation...
Страница 14: ...User s Manual 6...
Страница 50: ...User s Manual 42...
Страница 72: ...User s Manual 64 Map of Screens...


