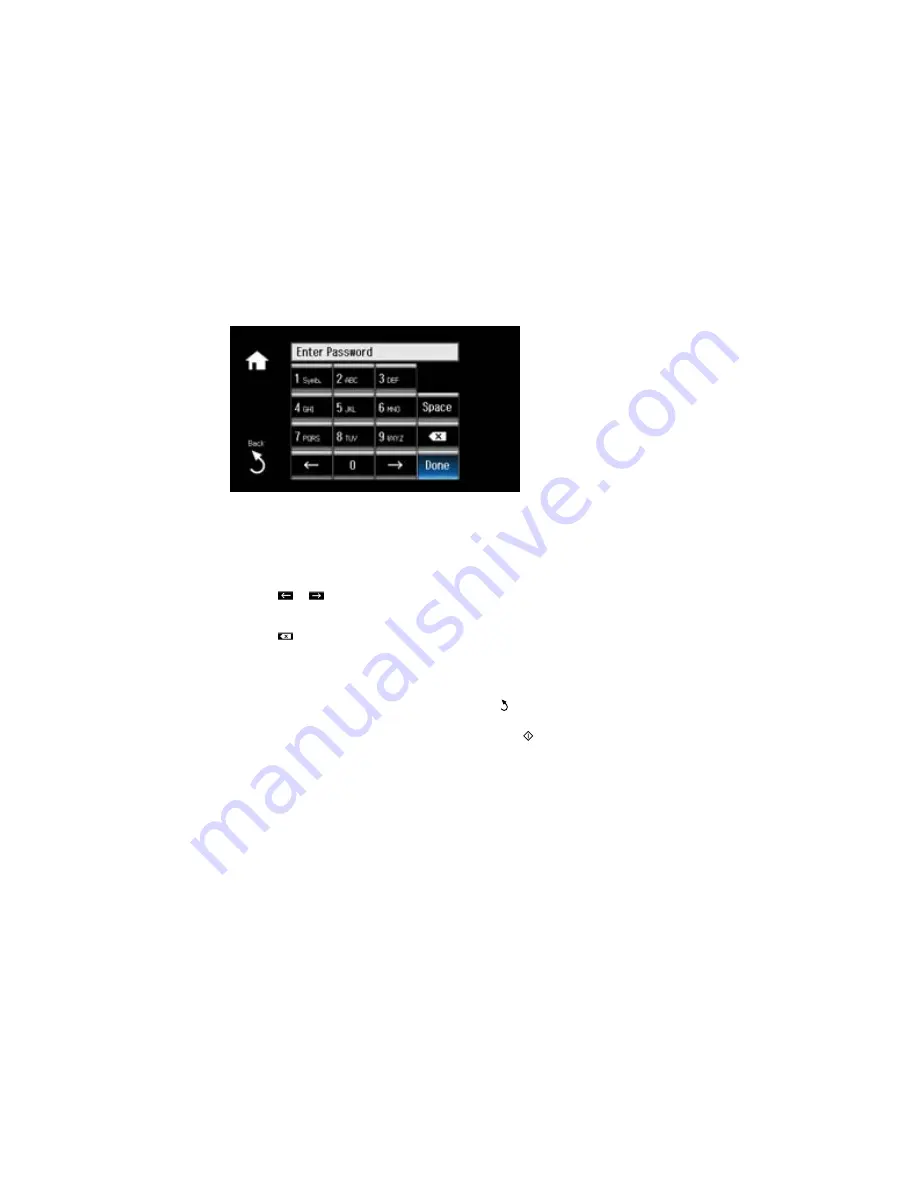
7.
Enter your wireless password (or network name and then password) using the displayed keypad.
Note:
The network name and password are case sensitive. Be sure to correctly enter uppercase and
lowercase letters, and numeric or special characters.
• Press the touch screen buttons repeatedly to scroll through characters.
• Press
or
to move the cursor.
• Press
1 Symb.
to enter symbols.
• Press
to delete the previous character.
8.
Press
Done
when you’re finished entering your password.
9.
Confirm the displayed network settings and select
Proceed
to save them.
Note:
If you need to change a setting, press the
back button.
10. If you want to print a network setup report, press the
start button. (Otherwise, select
Done
.)
40
Содержание XP-860
Страница 1: ...XP 860 User s Guide ...
Страница 2: ......
Страница 15: ...XP 860 User s Guide Welcome to the XP 860 User s Guide For a printable PDF copy of this guide click here 15 ...
Страница 27: ...Product Parts Back 1 AC inlet 2 Rear cover duplexer 3 Vents 4 LINE port 27 ...
Страница 61: ...4 Slide out the paper support 5 Slide the edge guides outward 61 ...
Страница 136: ...You see this window 2 Select the Image Type setting that matches your original 136 ...
Страница 151: ...1 Start Epson Scan and select Professional Mode as the Mode setting 151 ...
Страница 152: ...You see this window 152 ...
Страница 210: ...You see this window 3 Select Fax Settings for Printer Select your product if prompted 210 ...
Страница 339: ...4 Leave the ADF cover open then raise the scanner unit 5 Press the tabs and remove the document mat 339 ...
Страница 387: ...7 14 CPD 41233 Parent topic Copyright Notice 387 ...


