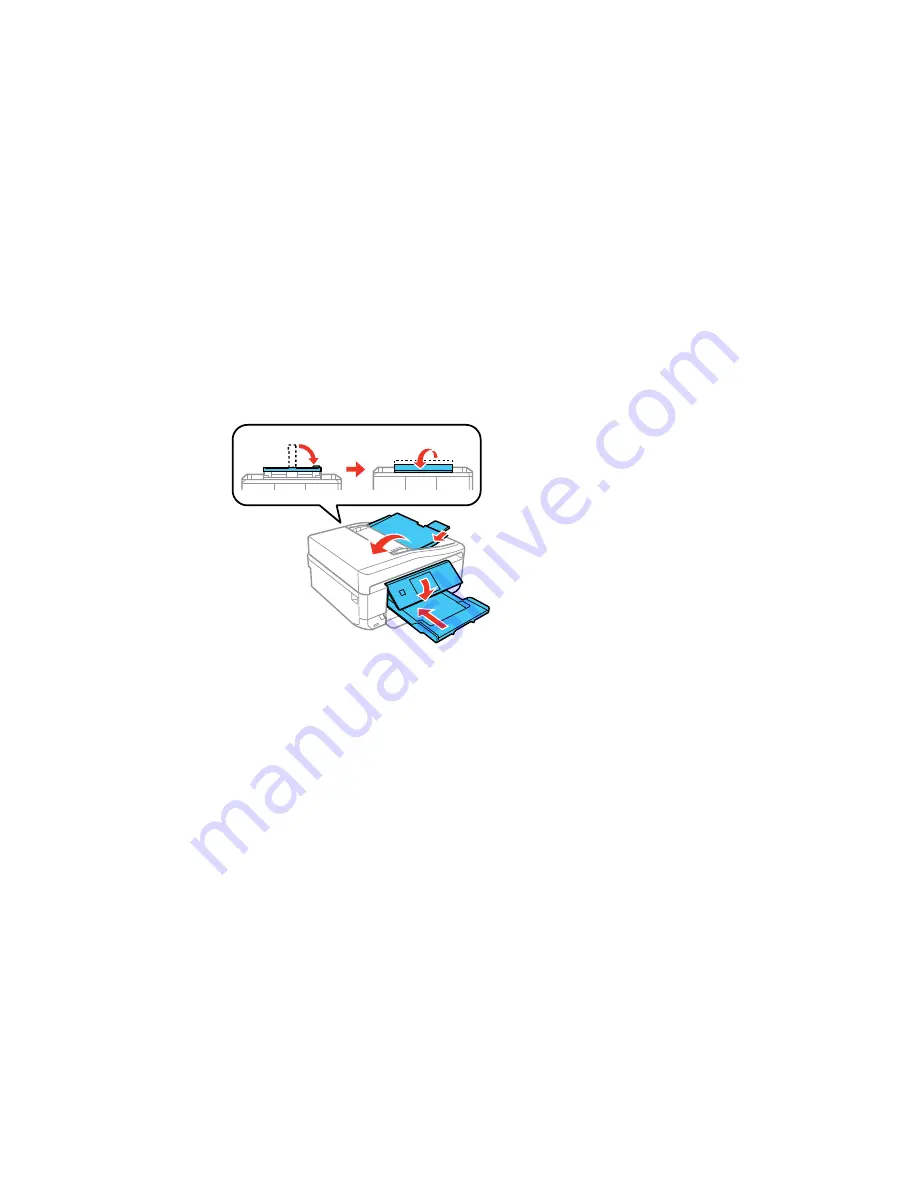
5.
Remove all the paper from the product.
6.
Remove any memory cards inserted in the product.
7.
Unplug the power cable.
8.
Disconnect any connected cables.
9.
Close the rear paper feed slot cover, the output tray, the ADF input tray, and the ADF output tray
extension. Then lower the control panel.
10. Place the product in its original packing materials, if possible, or use equivalent materials with
cushioning around the product.
Keep the product level during transportation. Be sure to remove the tape from the ink cartridge holder
before turning on your product. If print quality has declined when you print again, clean and align the
print head.
Parent topic:
Cleaning and Transporting Your Product
Related concepts
Print Head Cleaning
Print Head Alignment
319
Содержание XP-860
Страница 1: ...XP 860 User s Guide ...
Страница 2: ......
Страница 15: ...XP 860 User s Guide Welcome to the XP 860 User s Guide For a printable PDF copy of this guide click here 15 ...
Страница 27: ...Product Parts Back 1 AC inlet 2 Rear cover duplexer 3 Vents 4 LINE port 27 ...
Страница 61: ...4 Slide out the paper support 5 Slide the edge guides outward 61 ...
Страница 136: ...You see this window 2 Select the Image Type setting that matches your original 136 ...
Страница 151: ...1 Start Epson Scan and select Professional Mode as the Mode setting 151 ...
Страница 152: ...You see this window 152 ...
Страница 210: ...You see this window 3 Select Fax Settings for Printer Select your product if prompted 210 ...
Страница 339: ...4 Leave the ADF cover open then raise the scanner unit 5 Press the tabs and remove the document mat 339 ...
Страница 387: ...7 14 CPD 41233 Parent topic Copyright Notice 387 ...


