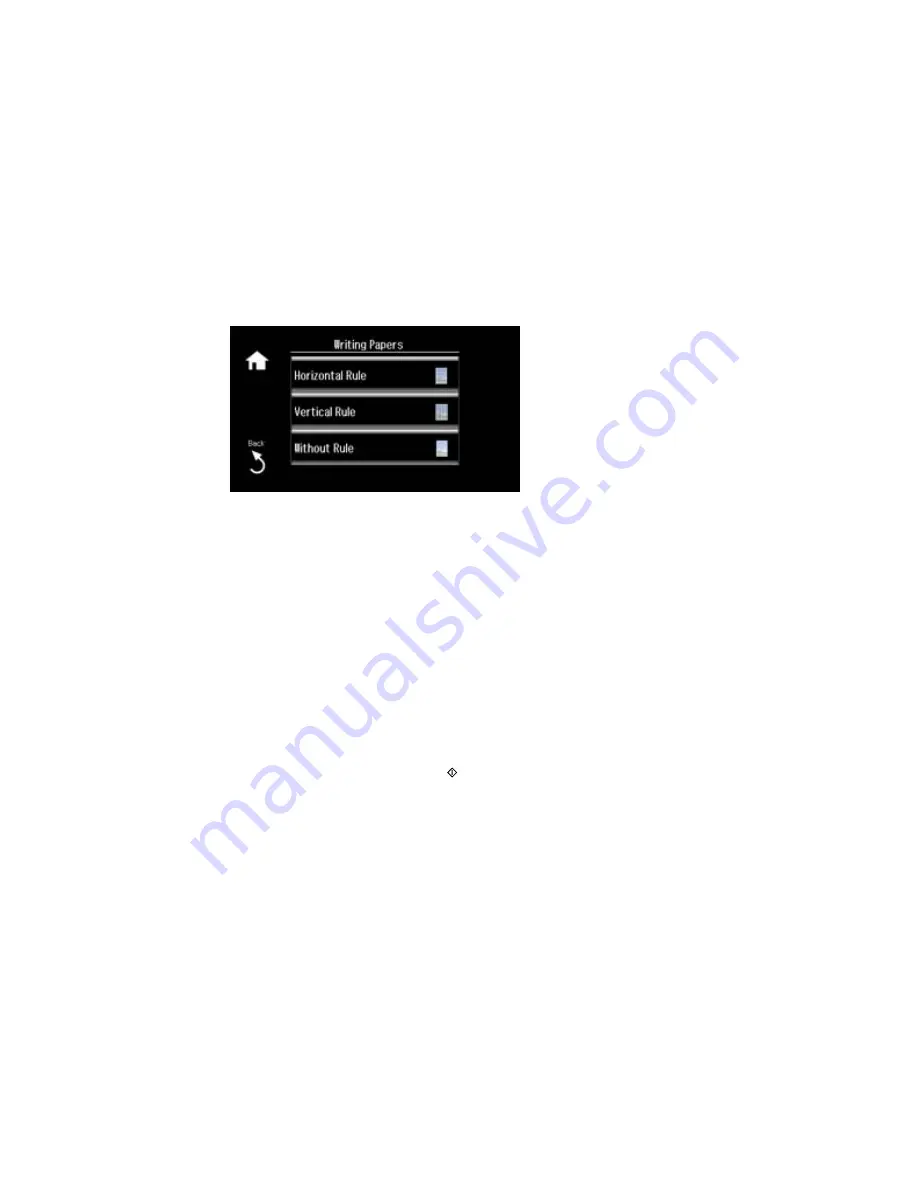
6.
Select
Writing Papers
.
7.
Select one of the following settings:
•
Horizontal Rule
•
Vertical Rule
•
Without Rule
Note:
View the thumbnails next to each option to preview the design layout.
8.
Select the size of paper you loaded.
9.
Select the photo you want to use for your note paper, then select
Proceed
.
Note:
To rotate the layout, select
Rotate
.
10. When you see a message asking you to load paper, select
Proceed
.
11. To print more than one sheet, press
+
or
–
to select the number (up to 99).
12. When you are ready to print, press the
start button.
Note:
To cancel printing, select
Cancel
.
Parent topic:
Printing Personalized Projects
267
Содержание XP-860
Страница 1: ...XP 860 User s Guide ...
Страница 2: ......
Страница 15: ...XP 860 User s Guide Welcome to the XP 860 User s Guide For a printable PDF copy of this guide click here 15 ...
Страница 27: ...Product Parts Back 1 AC inlet 2 Rear cover duplexer 3 Vents 4 LINE port 27 ...
Страница 61: ...4 Slide out the paper support 5 Slide the edge guides outward 61 ...
Страница 136: ...You see this window 2 Select the Image Type setting that matches your original 136 ...
Страница 151: ...1 Start Epson Scan and select Professional Mode as the Mode setting 151 ...
Страница 152: ...You see this window 152 ...
Страница 210: ...You see this window 3 Select Fax Settings for Printer Select your product if prompted 210 ...
Страница 339: ...4 Leave the ADF cover open then raise the scanner unit 5 Press the tabs and remove the document mat 339 ...
Страница 387: ...7 14 CPD 41233 Parent topic Copyright Notice 387 ...


