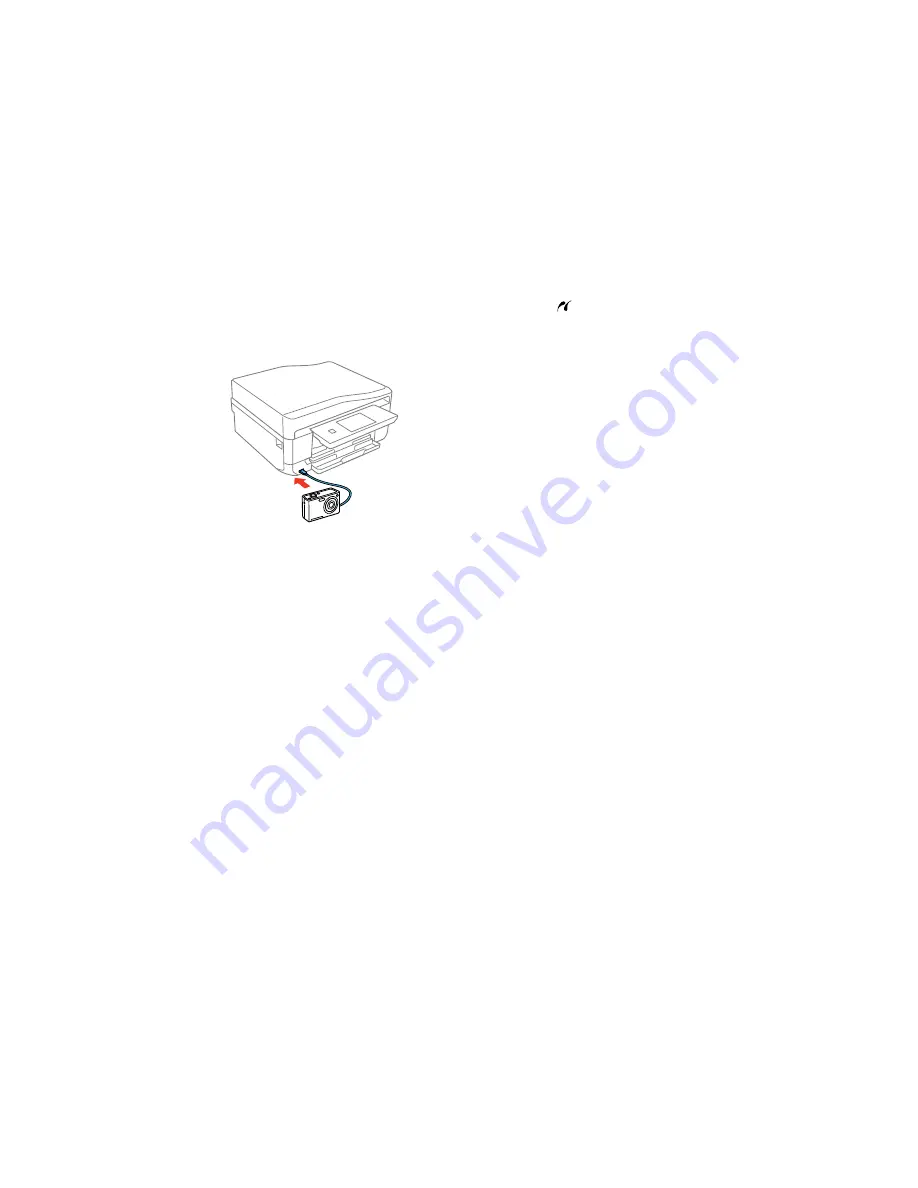
3.
Connect the USB cable that came with your camera to the
USB port on the front of your product.
Note:
You cannot use the USB port to transfer images from your camera to your computer.
4.
Turn on your camera.
5.
Follow the instructions that came with your camera to select and print your photos.
When you finish printing, turn off your camera and disconnect it from the product.
Parent topic:
Printing from a Camera
Related tasks
Removing a Memory Card
Related topics
Loading Paper
Printing from a Camera Wirelessly
You can print photos from a digital camera using a wireless connection. Make sure your digital camera
can connect to a network and is PictBridge compatible (DPS over IP).
1.
Remove any memory cards from the product.
2.
Load the paper you want to use for printing.
3.
Turn on your camera.
261
Содержание XP-860
Страница 1: ...XP 860 User s Guide ...
Страница 2: ......
Страница 15: ...XP 860 User s Guide Welcome to the XP 860 User s Guide For a printable PDF copy of this guide click here 15 ...
Страница 27: ...Product Parts Back 1 AC inlet 2 Rear cover duplexer 3 Vents 4 LINE port 27 ...
Страница 61: ...4 Slide out the paper support 5 Slide the edge guides outward 61 ...
Страница 136: ...You see this window 2 Select the Image Type setting that matches your original 136 ...
Страница 151: ...1 Start Epson Scan and select Professional Mode as the Mode setting 151 ...
Страница 152: ...You see this window 152 ...
Страница 210: ...You see this window 3 Select Fax Settings for Printer Select your product if prompted 210 ...
Страница 339: ...4 Leave the ADF cover open then raise the scanner unit 5 Press the tabs and remove the document mat 339 ...
Страница 387: ...7 14 CPD 41233 Parent topic Copyright Notice 387 ...


