2.
Load a few sheets of plain paper in the product.
3.
Do one of the following:
•
Windows:
Right-click the product icon in the Windows taskbar.
•
OS X
: In the Apple menu or the Dock, select
System Preferences
. Select
Print & Fax
or
Print &
Scan
, select your product, and select
Options & Supplies
. Select
Utility
and select
Open
Printer Utility
.
4.
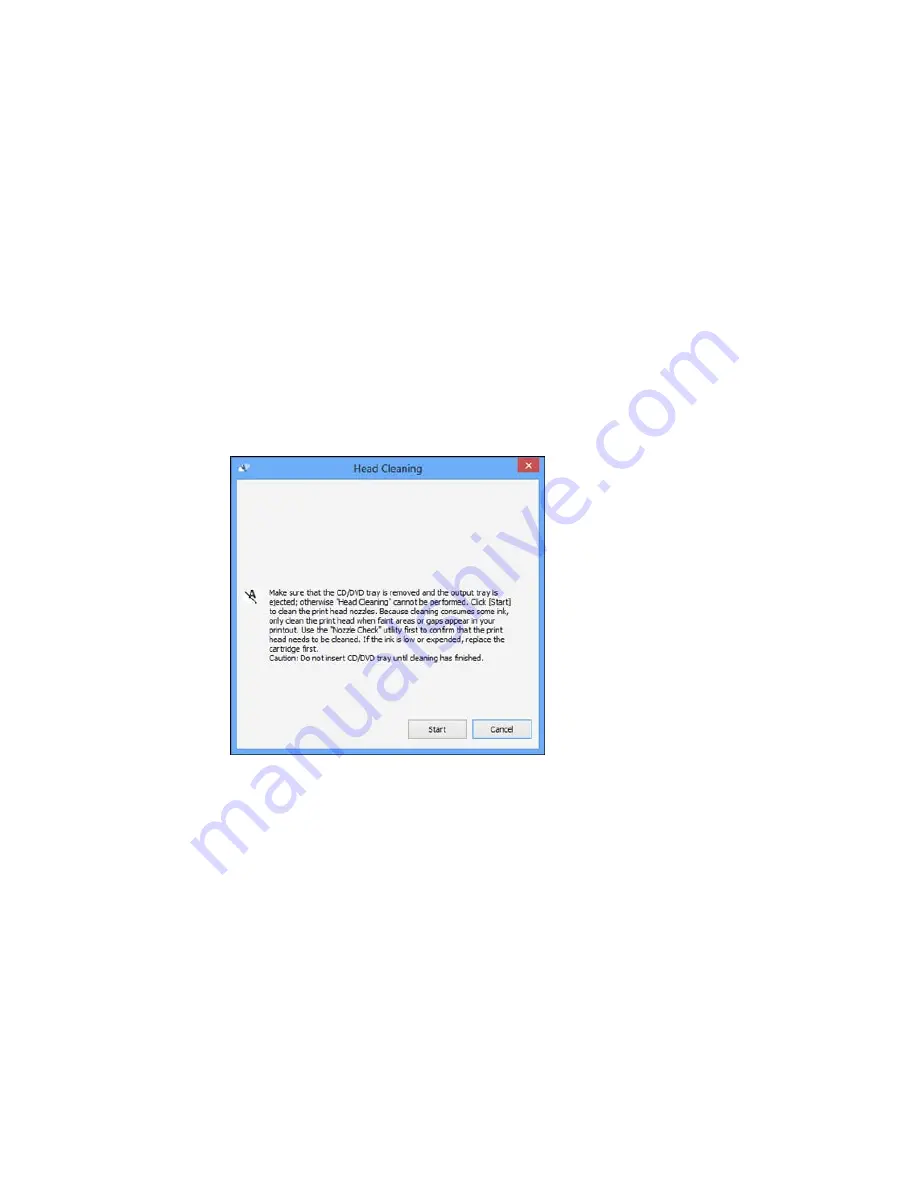
Select
Head Cleaning
.
You see a window like this:
5.
Click
Start
to begin the cleaning cycle.
You see a message on the LCD screen during the cleaning cycle.
Caution:
Never turn off the product during a cleaning cycle or you may damage it.
308
Содержание XP-860
Страница 1: ...XP 860 User s Guide ...
Страница 2: ......
Страница 15: ...XP 860 User s Guide Welcome to the XP 860 User s Guide For a printable PDF copy of this guide click here 15 ...
Страница 27: ...Product Parts Back 1 AC inlet 2 Rear cover duplexer 3 Vents 4 LINE port 27 ...
Страница 61: ...4 Slide out the paper support 5 Slide the edge guides outward 61 ...
Страница 136: ...You see this window 2 Select the Image Type setting that matches your original 136 ...
Страница 151: ...1 Start Epson Scan and select Professional Mode as the Mode setting 151 ...
Страница 152: ...You see this window 152 ...
Страница 210: ...You see this window 3 Select Fax Settings for Printer Select your product if prompted 210 ...
Страница 339: ...4 Leave the ADF cover open then raise the scanner unit 5 Press the tabs and remove the document mat 339 ...
Страница 387: ...7 14 CPD 41233 Parent topic Copyright Notice 387 ...


