Aligning the Print Head Using the Product Control Panel
You can align the print head using the control panel on your product.
1.
Make sure there are no errors on the LCD screen and plain paper is loaded.
2.
Press the
home button, if necessary.
3.
Select
Setup
.
4.
Select
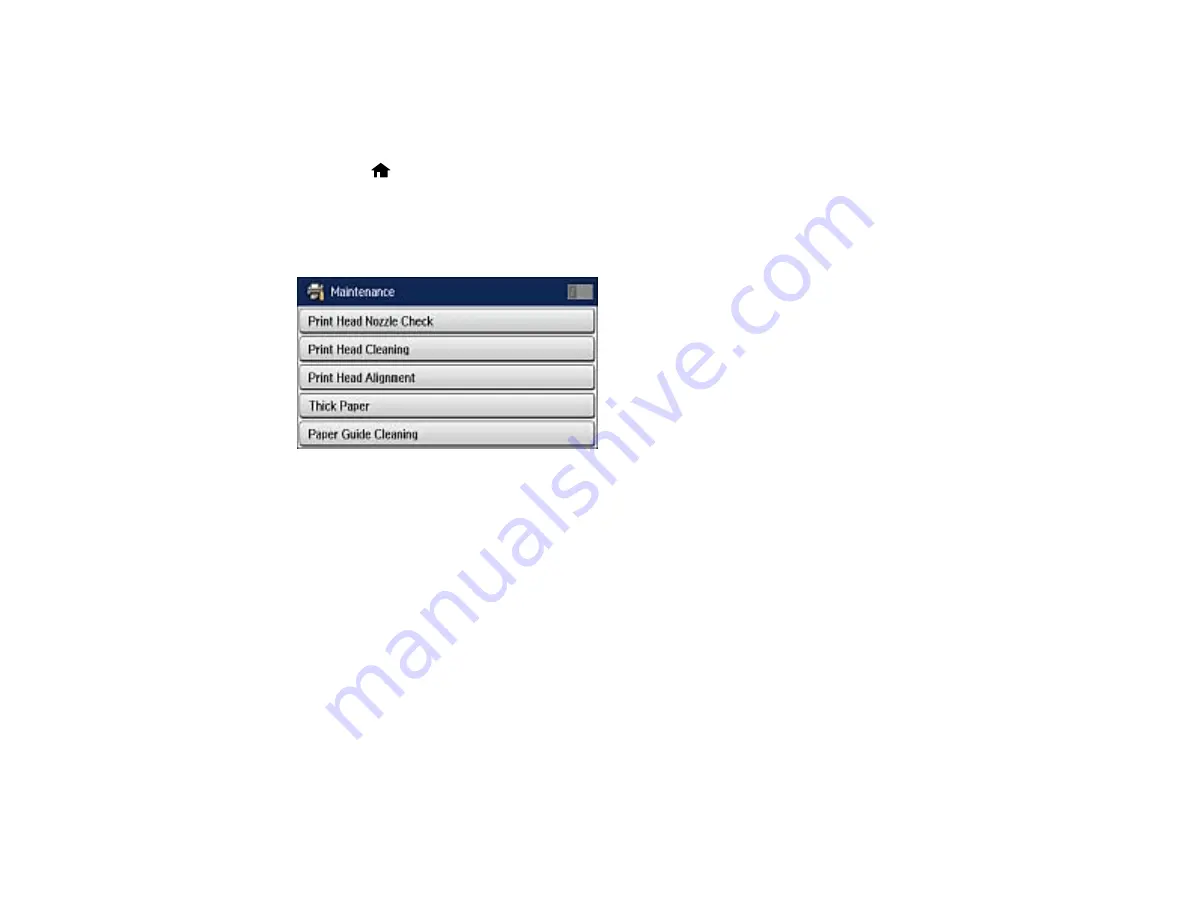
Maintenance
.
You see a screen like this:
5.
Select
Print Head Alignment
.
6.
Do one of the following:
• If vertical lines are misaligned, select
Ruled Line Alignment
.
• If your printouts look blurry, select
Vertical Alignment
.
• If you see horizontal bands at regular intervals, select
Horizontal Alignment
.
7.
Follow the on-screen instructions to print an alignment sheet.
Note:
Do not cancel printing while you are printing head alignment patterns.
269
Содержание WF-R4640
Страница 1: ...WF R4640 User s Guide ...
Страница 2: ......
Страница 14: ......
Страница 62: ...2 Open the feeder guard and pull up the paper support 3 Slide out the edge guides 62 ...
Страница 151: ...You see this window 151 ...
Страница 174: ...4 Click OK Parent topic Scanning 174 ...
Страница 207: ...You see this window 3 Select Fax Settings for Printer Select your product if prompted 207 ...
Страница 208: ...You see this window 4 Select Speed Dial Group Dial List 208 ...


