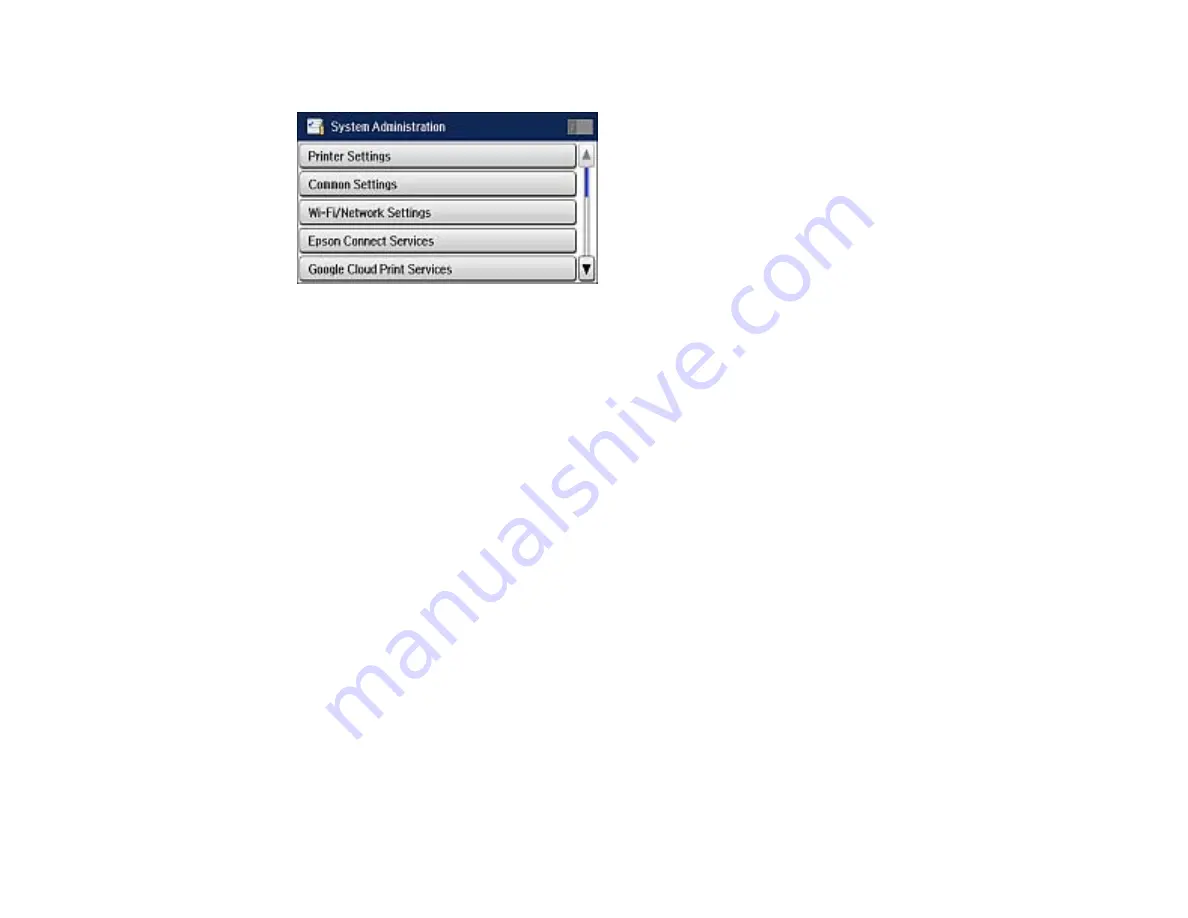
3.
Scroll down and select
System Administration
. Enter the administrator password, if necessary.
4.
Scroll down and select
Fax Settings
.
5.
Select
Output Settings
.
6.
Select
Fax Output
.
7.
Select
Settings
.
8.
Select
Forward
.
9.
Select
On
.
Note:
If you want to print the fax automatically before forwarding it, select
Yes and Print
.
10. Select the forwarding destination from the contact list.
Note:
Select
View
to sort your contacts by the printer's features. You can select up to 5 forwarding
destinations.
11. When you are finished selecting your forwarding destinations, select
Proceed
.
12. Confirm the displayed forwarding destinations are correct and select
Close
.
13. Select
Options When Forwarding Failed
.
14. Select the option you want to occur when received faxes fail to be forwarded; print the faxes or save
them in the printer's inbox.
229
Содержание WF-R4640
Страница 1: ...WF R4640 User s Guide ...
Страница 2: ......
Страница 14: ......
Страница 62: ...2 Open the feeder guard and pull up the paper support 3 Slide out the edge guides 62 ...
Страница 151: ...You see this window 151 ...
Страница 174: ...4 Click OK Parent topic Scanning 174 ...
Страница 207: ...You see this window 3 Select Fax Settings for Printer Select your product if prompted 207 ...
Страница 208: ...You see this window 4 Select Speed Dial Group Dial List 208 ...


