306
Installing Options
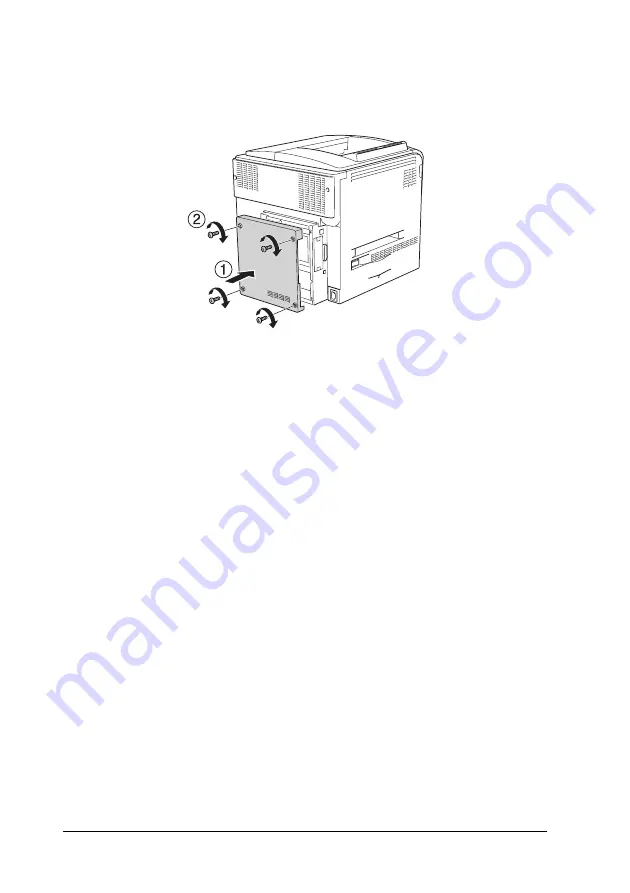
6. Reattach the cover to the back side of the printer and secure
it with the four screws.
7. Reconnect the interface cable and power cord and turn the
printer on.
To confirm that the option is installed correctly, print a Status
Sheet. See "Printing a Status Sheet" on page 370.
Note for Windows users:
If EPSON Status Monitor 3 is not installed, you have to make settings
manually in the printer driver. See "Making Optional Settings" on page
98.
Note for Macintosh users:
When you have attached or removed printer options, you need to delete
the printer using
Print Setup Utility
(for Mac OS X 10.3),
Center
(for Mac OS X 10.2 or below), or
Chooser
(for Mac OS 9),
and then re-register the printer.
Содержание Aculaser 2600 Series
Страница 113: ...Using the Printer Software with Windows 113 4 4 4 4 4 4 4 4 4 4 4 4 2 Click EPSON Status Monitor 3 ...
Страница 294: ...294 Installing Options 2 Open the MP tray 3 Push the latch on cover A to the left and open the cover ...
Страница 296: ...296 Installing Options 7 Fit the hooks on cover A into the notches on the Duplex Unit ...
Страница 318: ...318 Replacing Consumable Products 7 Insert the new cartridge into the printer 8 Close the toner cartridge cover ...
Страница 334: ...334 Replacing Consumable Products 7 Close cover D ...
Страница 388: ...388 Troubleshooting 1 Access the printer driver see Accessing the printer driver on page 66 then click the Details tab ...


