8-61
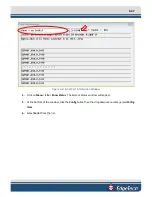
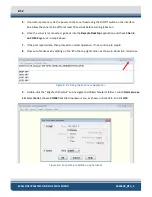
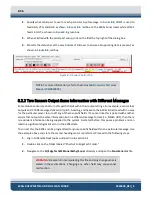
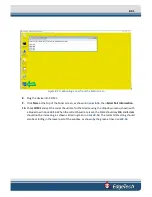
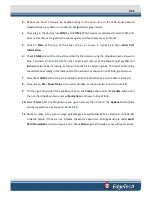
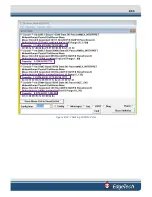
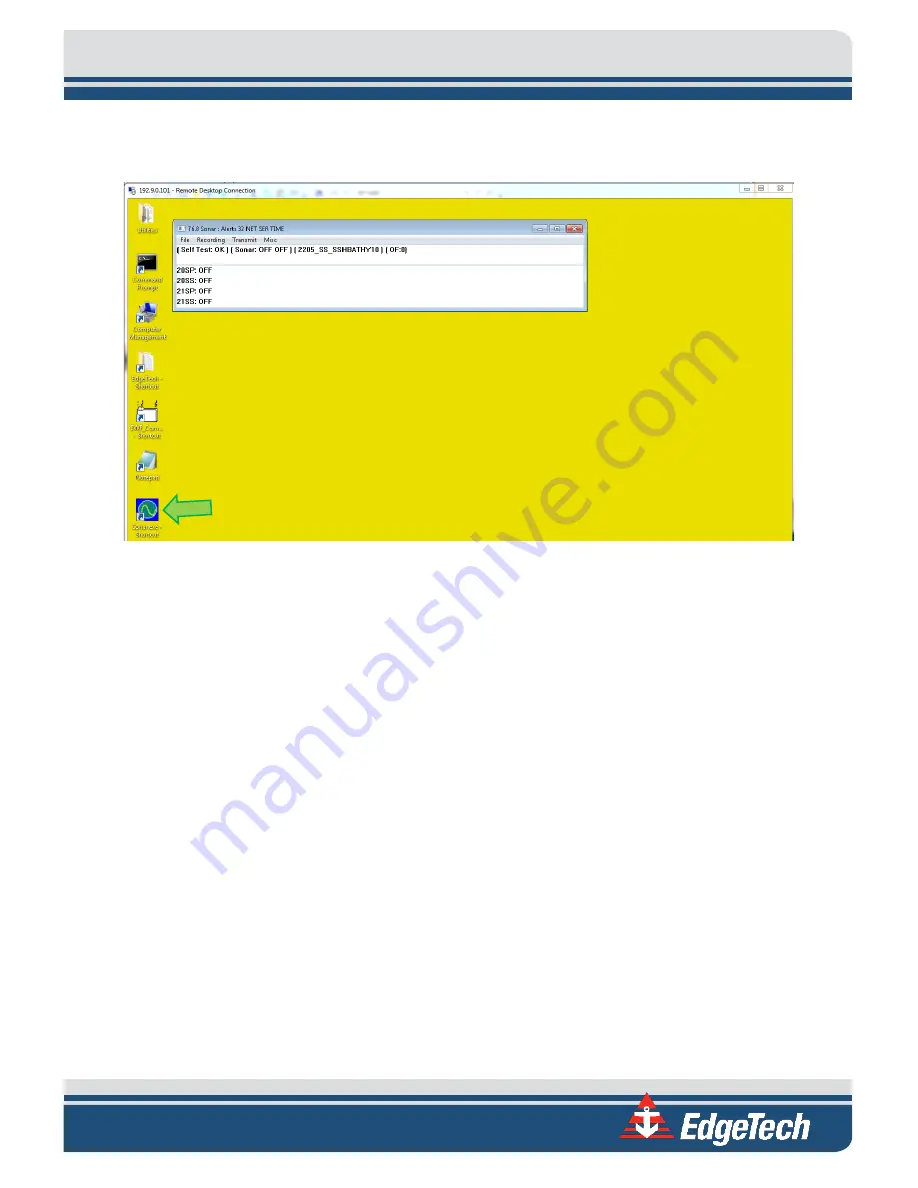
Figure 8-15: Rebooting Sonar from the Main Screen
8.
Plug the device into COM 1.
9.
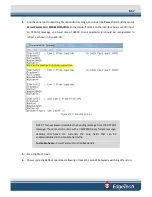
Click
Misc.
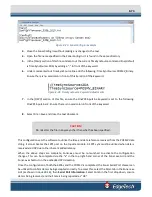
at the top of the Sonar screen, as shown in
, then
Serial Port Information.
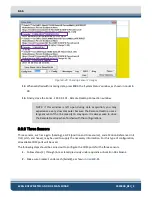
10.
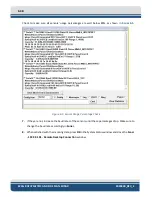
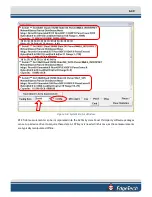
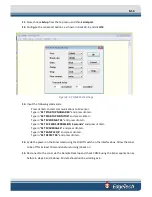
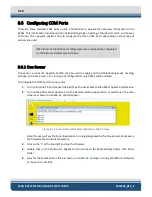
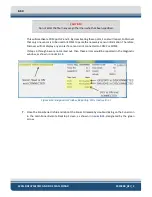
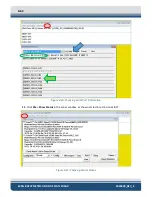
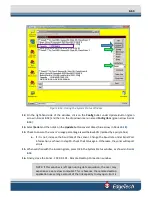
Check
COM1
and set the correct baud rate for that device using the dropdown menu, shown with
a blue arrow in
. When the correct baud rate is set, the State should say
OK,
and
Errors
should not be increasing, as shown circled in green in
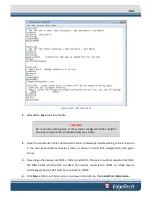
. The correct data string should
also be scrolling in the lower part of the window, as shown by the green arrow,
Содержание 6205S
Страница 27: ...2 10 Figure 2 5 Acoustic Center Location in X Y and Z and Bolt Pattern of Standard 6205s 0019604...
Страница 28: ...2 11 Figure 2 6 Acoustic Center Location in X Y and Z Dimensions and Bolt Pattern with Adaptor Flange 0021206...
Страница 37: ...3 20 Figure 3 5 6205s Exploded View with Adaptor Flange...
Страница 38: ...3 21 Figure 3 6 6205s Transducer...
Страница 40: ...3 23 Figure 3 8 6205s Wiring Diagram 0019627...
Страница 86: ...8 69 Figure 8 22 Checking all COM Ports...
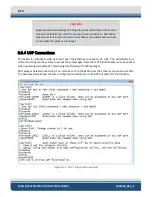
Страница 92: ...8 75 Figure 8 28 UDP broadcast settings example Figure 8 29 Eth1 data output...
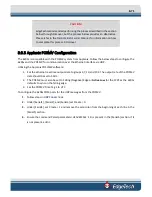
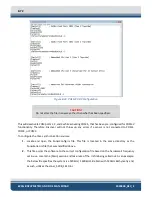
Страница 94: ...8 77 Figure 8 31 1PPS settings example Falling Edge and 1msec duration...

