8-78
6205s BATHYMETRIC AND SIDE SCAN SONAR
0020300_REV_E
8.4
SYSTEM RESTORE
This section outlines the procedures for backing up and restoring the optional EdgeTech supplied Laptop
crash. If the user experiences any issues, contact
the system and get the survey back up and running as soon as possible.
CAUTION!
All data will be lost upon restoring the system to factory settings. Be sure
to backup all data before performing the procedure below.
1.
Ensure that the topside is off.
2.
Insert USB3 flash drive in a blue USB3 port.
3.
Start topside and be prepared to press a function key when prompted:
a.
If the topside is rack mount, press
F11
.
b.
If the topside is a laptop, press
F12
.
4.
Under
select boot device:
By using up/down arrow keys, select
EUFI: Corsair Voyager
3.0 000A,
then press
Enter
.
5.
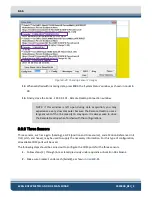
Wait for
Paragon Backup & Recovery 14 Home
screen to appear, then click
Restore
icon.
6.
On
Welcome to the Restore Wizard
screen, click
Next
.
7.
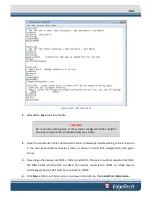
On
Browse for Archive
screen, drag down menu and click on
⊞
to the left of
(E:)
. Click
on the folder named as a variation of
V
⋆
.
⋆
.
⋆
_
⋆⋆⋆⋆
R
for rack mounts, or
V
⋆
.
⋆
.
⋆
_
⋆⋆⋆⋆
P
for laptops. When the
Archive File Details
window appears, click
Next
.
8.
At
What to restore
window, click
Basic MBR Hard Disk 0
, click
Next
.
9.
At
Where to restore
window, ensure that
Basic MBR Hard Disk 0
is already selected
(brown box around it). If it is not, use up/down arrow keys to select. Click
Next
.
10.
At
Restore results
window, make no selection and click
Next
.
11.
At the
Ready to restore from the archive
window, select
ʘ
Yes, apply the changes
physically.
Click
Next
.
Restoring will begin.
12.
At
Completing the restore wizard
, click
Finish
. Click
Shutdown
.
13.
Remove the USB3 flash drive and restart the topside.
Содержание 6205S
Страница 27: ...2 10 Figure 2 5 Acoustic Center Location in X Y and Z and Bolt Pattern of Standard 6205s 0019604...
Страница 28: ...2 11 Figure 2 6 Acoustic Center Location in X Y and Z Dimensions and Bolt Pattern with Adaptor Flange 0021206...
Страница 37: ...3 20 Figure 3 5 6205s Exploded View with Adaptor Flange...
Страница 38: ...3 21 Figure 3 6 6205s Transducer...
Страница 40: ...3 23 Figure 3 8 6205s Wiring Diagram 0019627...
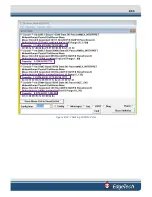
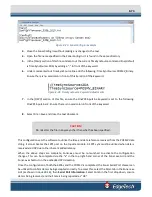
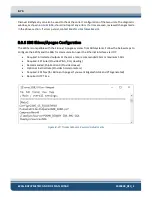
Страница 86: ...8 69 Figure 8 22 Checking all COM Ports...
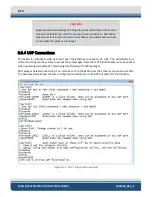
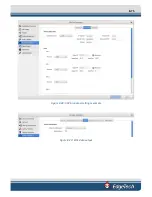
Страница 92: ...8 75 Figure 8 28 UDP broadcast settings example Figure 8 29 Eth1 data output...
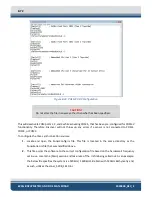
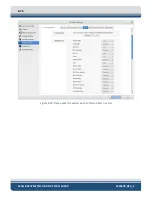
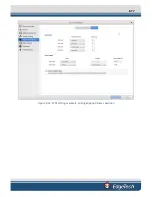
Страница 94: ...8 77 Figure 8 31 1PPS settings example Falling Edge and 1msec duration...

