14
3
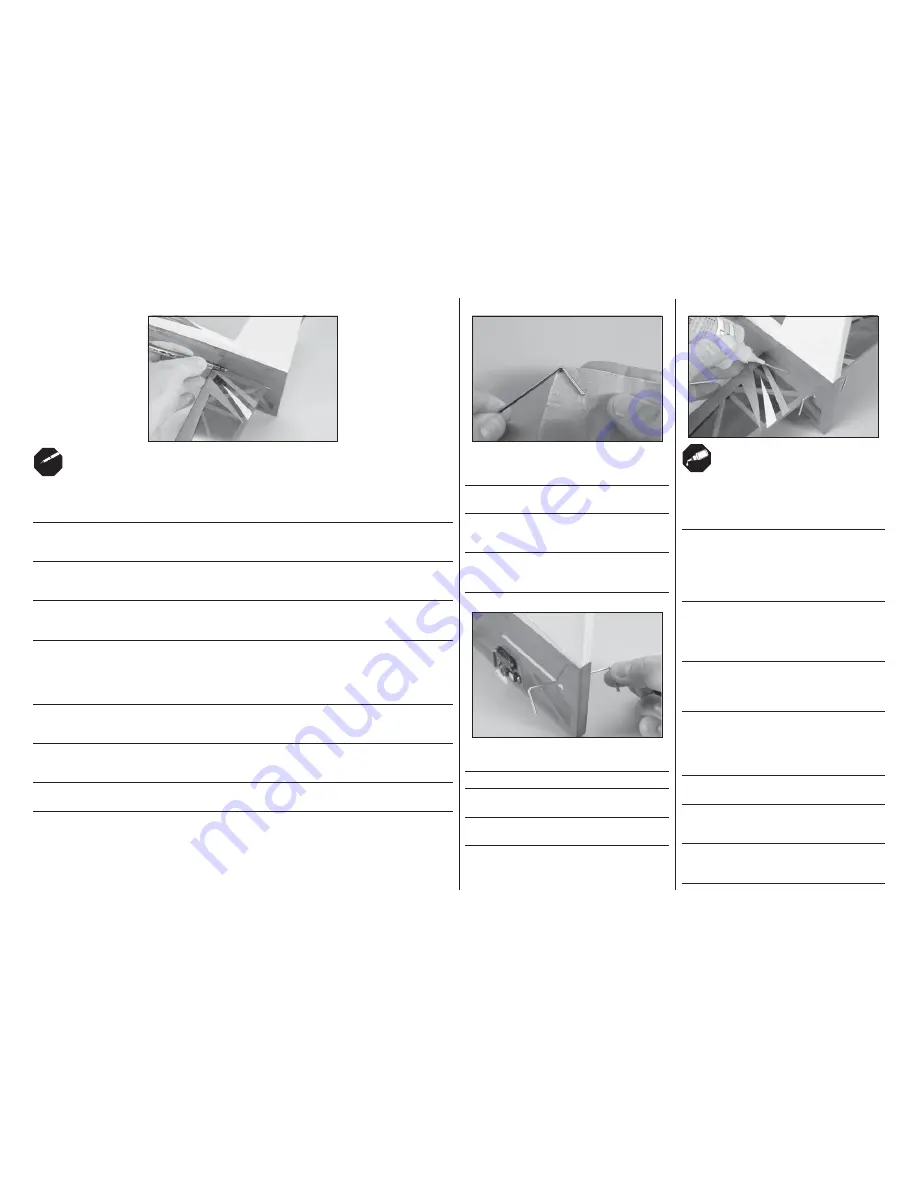
Use a felt-tipped pen to trace the outline of the fuselage onto the top and bottom of the stabilizer. Remove the
stabilizer from the fuselage and use a hobby knife with a sharp #11 blade to remove the covering from the stabilizer
1/16 inch (1.5mm) inside the lines drawn. Remove the pen lines using a paper towel and isopropyl alcohol.
Markieren Sie die Aussenlinie auf der Ober- und Unterseite des Ruders mit einem Faserstift. Nehmen Sie das
Höhenruder aus dem Rumpf heraus und entfernen 1,5 mm nach innen hinter der Markierung die Folie mit einem
Hobbymesser mit 11 Klinge. Entfernen Sie die Markierung mit Reinigungsalkohol und einem Papiertuch.
Utilisez un feutre fi n pour tracer l’emplacement du fuselage sur le dessus et le dessous du stabilisateur. Retirez
le stabilisateur et utilisez un couteau de modélisme équipé d’une lame #11 pour découper l’entoilage à 1.5mm à
l’intérieur des lignes tracées. Effacez les lignes à l’aide de papier absorbant et d’alcool isopropylique.
Con un pennarello segnare sulla parte superiore e inferiore dello stabilizzatore il profi lo della fusoliera. Togliere lo
stabilizzatore e usare una lametta per togliere il rivestimento a 1,5mm all’interno delle linee segnate prima. Togliere il
segno del pennarello con un fazzoletto di carta e alcool isopropilico.
Î
NOTICE
: Do not cut into the underlying wood. This will weaken the structure and
could cause failure in flight. As an option, use a soldering iron or hot knife with light pressure
to carefully melt the covering and avoid the potential of cutting into the wood.
Î
HINWEIS
: Schneiden Sie nicht in das darunterliegende Holz. Das schwächt die Struktur und könnte
zum Ausfall während des Fluges führen. Verwenden Sie alternativ ein Bügeleisen oder heisses Messer
mit etwas Druck und schmelzen damit die Bespannung, ohne die Gefahr das Holz zu zerschneiden.
Î
REMARQUE
: Ne coupez pas dans le bois. Cela affaiblirait la structure pouvant aller
jusqu’à la rupture en vol. Une solution possible est d’utiliser un fer à souder ou un couteau chaud
avec une légère pression pour découper l’entoilage et éviter de couper dans le bois.
Î
AVVISO
: si raccomanda di non tagliare il legno per non indebolire la struttura e avere possibili cedimenti
in volo. Come opzione si può usare un saldatore o una lama riscaldata per non premere troppo sul legno.
4
Use sandpaper to lightly sand the elevator joiner wire
where it will fi t into the elevators.
Schleifen Sie mit Schleifpapier den Leitwerksverbinder an
wo er in das Höhenruder geht.
Utilisez du papier abrasif pour légèrement dépolir
la tige de jonction des gouvernes de profondeur aux
emplacements où elle rentre dans les gouvernes.
Usare della carta vetrata per carteggiare la barretta di
acciaio che unisce le due parti dell’elevatore, per la parte
che entra nel legno.
5
Slide the joiner wire into the slot for the stabilizer.
Schieben Sie den Verbinder in den Schlitz im Rumpf.
Glissez le tige de jonction dans la rainure du
stabilisateur.
Inserire la suddetta barretta di unione, nella fessura
prevista per lo stabilizzatore.
6
Slide the stabilizer back into the fuselage. After checking
the alignment, wick thin CA along the joint between the
stabilizer and fuselage. Apply CA to both the top and
bottom and left and right of the stabilizer/fuselage joint.
Schieben Sie das Höhenleitwerk wieder in den Rumpf.
Kleben Sie es nach Überprüfung der Ausrichtung mit
dünnfl üssigen Sekundenkleber ein. Bitte achten Sie
darauf den Kleber auf der linken, rechten Seite sowie
oben und unten aufzutragen um sicherzustellen, dass das
Leitwerk sicher verklebt ist.
Replacez le stabilisateur dans le fuselage. Après avoir
contrôlé l’alignement, appliquez de la colle CA fi ne à la
jonction du stabilisateur et du fuselage. Appliquez la colle
du côté gauche, du côté droit, au-dessus et en dessous
du stabilisateur pour assurer sa fi xation.
Inserire lo stabilizzatore nella fusoliera. Dopo aver
verifi cato l’allineamento, far scorrere della colla CA
liquida lungo la linea di unione tra stabilizzatore e
fusoliera, sui lati, sopra e sotto.
Î
Do not use CA accelerator during this
step. The CA must be allowed to wick into the
joint between the fuselage and stabilizer.
Î
Verwenden Sie während dieses Schrittes keinen
Aktivator. Der Kleber muß richtig eindringen können.
Î
Ne pas utiliser d’accélérateur CA lors de cette
étape. La colle CA doit avoir le temps de pénétrer
dans la jonction entre le stabilisateur et le fuselage.
Î
Non usare acceleranti CA durante
questa fase. La colla CA potrebbe penetrare
nel giunto tra fusoliera e stabilizzatore.
Содержание Extra 330SC BP
Страница 39: ...39...


