31
Working with Graphics
Drawing Tools
Many word processors have built-in drawing tools. You can use these tools to
enhance the look of your labels. Designs can be as complex as you desire, but col-
ors should be kept to black and white. Black and white will give you the best con-
trast, and the best printing output. Actual print color depends on the ribbon and
tape loaded in the DuraLabel 4 and is unaffected by the colors shown on your
screen.
Images
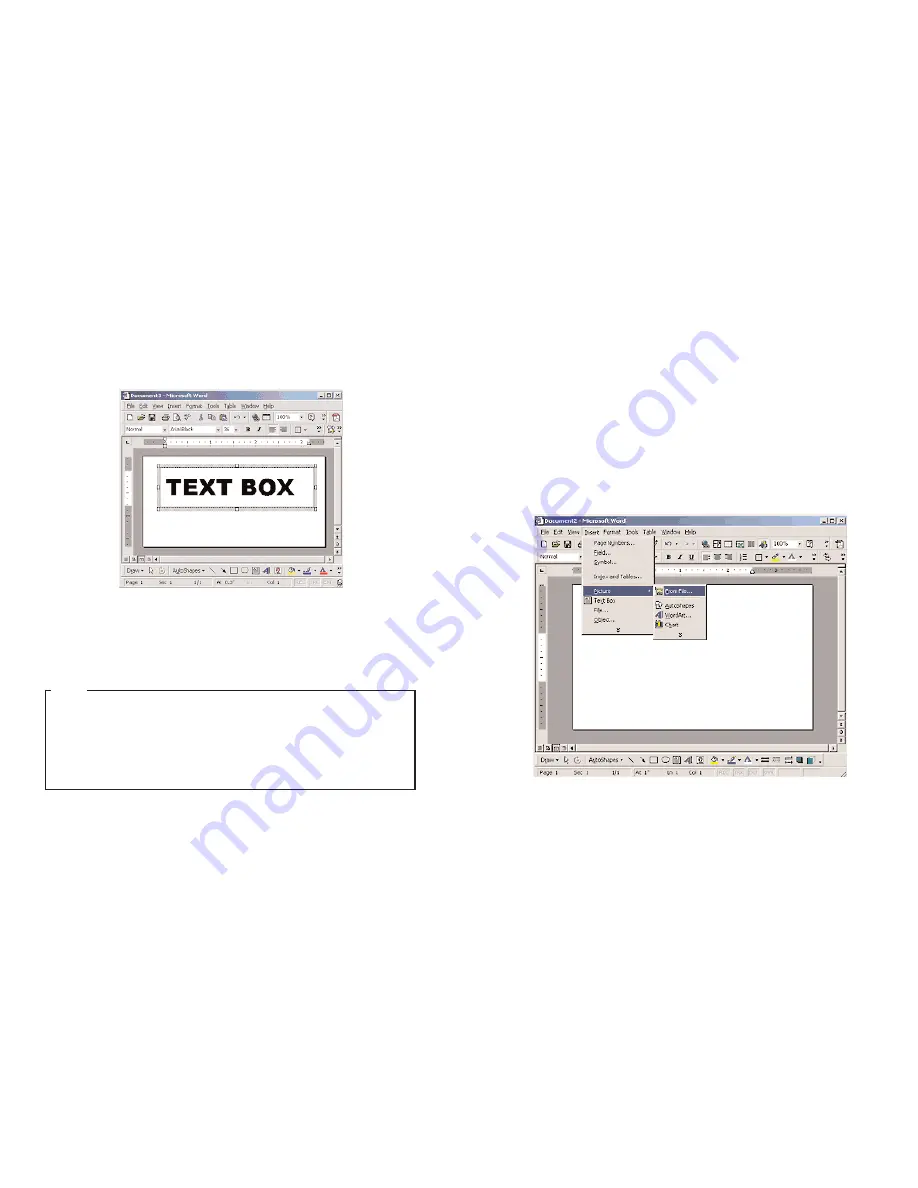
To insert a picture into a
Word
Document, first
create a new text
box so you can
insert the picture into the text box (this allows the image to be moved). Once you’ve
created a text box, select it by clicking inside the box, then click on
Insert >>>
Picture >>> From File
, then choose the location of the file you desire to insert.
Insert symbols by browsing to the
Symbols
folder on the DuraLabel CD. The picture
is automatically placed in your
Word
document. Change the size by dragging the cor-
ner of the box to the desired size.
Format the text inside the box to any size and style, then position the box for the
desired layout. Initially, the text box will have a border around it. To get rid of the
border, double-click the text box. When you do this, the
Format Text Box
dialog will
appear. Click the
Colors & Lines
tab. Click the
Color
drop-down menu under
Line
and select
No Color
. Then, click
OK
, and the border will be gone.
30
If you choose not to use
text boxes
for your text, you will still be able to print your label,
but formatting problems may prevent you from getting the results you desire.
Information on the text box tool is available through your word processors help file.
Consult the
help file
for more detailed information on using text boxes.
NOTE
Содержание 4 TTP
Страница 1: ...DuraLabel 4 TTP User s Guide ...


