2
ED50/ED100/ED250
09-2021
DL4617-003
dormakaba ED50/ED100/ED250 OHC Header
Setup and Troubleshooting Instructions
Table of Contents
Table of contents
2
1
General information
4
1.1
General information
4
2
ED50/100/ED250 OHC product
description 5
3
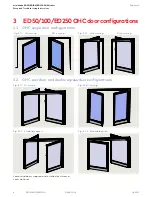
ED50/100/ED250 OHC door configurations
6
3.1
OHC single door configurations
6
3.2
OHC pair door and double egress door
configurations 6
4
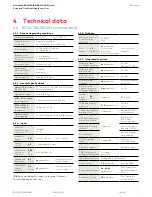
Technical data
7
4.1
ED50/100/ED250 technical data
7
4.2
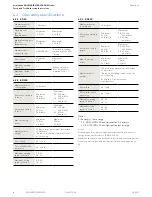
Operating specifications
8
5
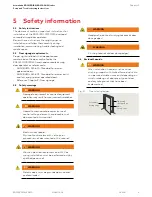
Safety information
9
6
ED50/ED100/ED250 User interface
10
6.1 Overview
10
6.2
4 button keypad and display
10
6.3
Operator status LEDs
11
6.4
Mode switch and Exit Only switch panel
12
6.5
ED50/ED100/ED250 automatic and
manual modes
13
6.6
Low and full energy doors
13
7
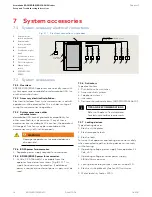
System accessories
14
7.1
System accessory electrical connections
14
7.2
System accessories
14
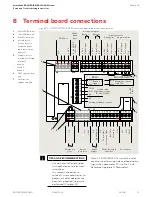
8
Terminal board connections
15
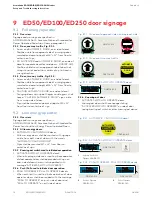
9
ED50/ED100/ED250 door signage
16
9.1
Full energy operator
16
9.2
Low energy operator
16
9.3
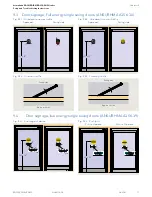
Door signage, full energy single swing
doors (ANSI/BHMA A156.10)
17
9.4
Door signage, low energy single swing
doors (ANSI/BHMA A156.19)
17
9.5
Door signage, full energy pair swing doors
(ANSI/BHMA A156.10)
18
9.6
Door signage, low energy pair swing doors
(ANSI/BHMA A156.19)
19
9.7
Door signage, full energy double egress
swing doors (ANSI/BHMA A156.19)
20
9.8
Safety label, automatic swing doors
21
9.9
Safety label, low energy swing doors
21
Table of contents
10 Parameters
22
10.1 ED50/ED100/ED250 OHC – viewing and
changing parameters
22
10.2 Configuration parameters
22
10.3 Driving parameters
22
11
System setup for single door installation
24
11.1 Set operator spring tension
24
11.2 Set braking circuit plug position
25
11.3 ED50/ED100/ED250 OHC power on
26
11.4 Set installation type parameter
AS 27
11.5 Set door width parameter
Tb 28
11.6 Set OHC reveal depth parameter
rd
= 0
29
11.7 Set door type parameter
dL 30
11.8 Perform partial learning cycle to rotate
arm to door installation position
31
12
Single door installation
33
12.1 Customer supplied single door -
installation 33
12.2 Prepare top of door for overhead arm
34
12.3 Prepare door for bottom door pivot and
install pivot
35
12.4 Install floor pivot shaft bearing
35
12.5 Hang door
36
12.6 Perform learning cycle
38
13
Set power fail closing speed
39
13.1 Set power fail closing speed
39
14
Pair door installation
40
14.1 Customer supplied doors - pair door
installation 40
14.2 Perform learning cycle for each door
40
14.3 Set power fail closing speed
40
15
Pair door parameters, Sync cable
41
15.1 Set ED operator parameters for pair door
operation 41
15.2 Connect Sync cable between
ED50/ED100/ED250 operators
42
17
Connect accessory wiring
43
17.1 Connect accessory wiring, single door
43
17.2 Connect accessory wiring, double doors
43
18
Install door signage, header cover
44
18.1 Install door signage
44
18.2 Install header cover
44


